Removing and Installing Motor Controller – RxC Series
Table of Contents
Important
Before working on your Optibike always turn off the main power switch located on the battery.
Tools in this guide
5mm Allen/Hex Wrench
4mm Allen/Hex Wrench
3mm Allen/Hex Wrench
2.5mm Allen/Hex Wrench
(If needed) Section of rigid wire from coat hanger or similar, at least 24″ length
Removing
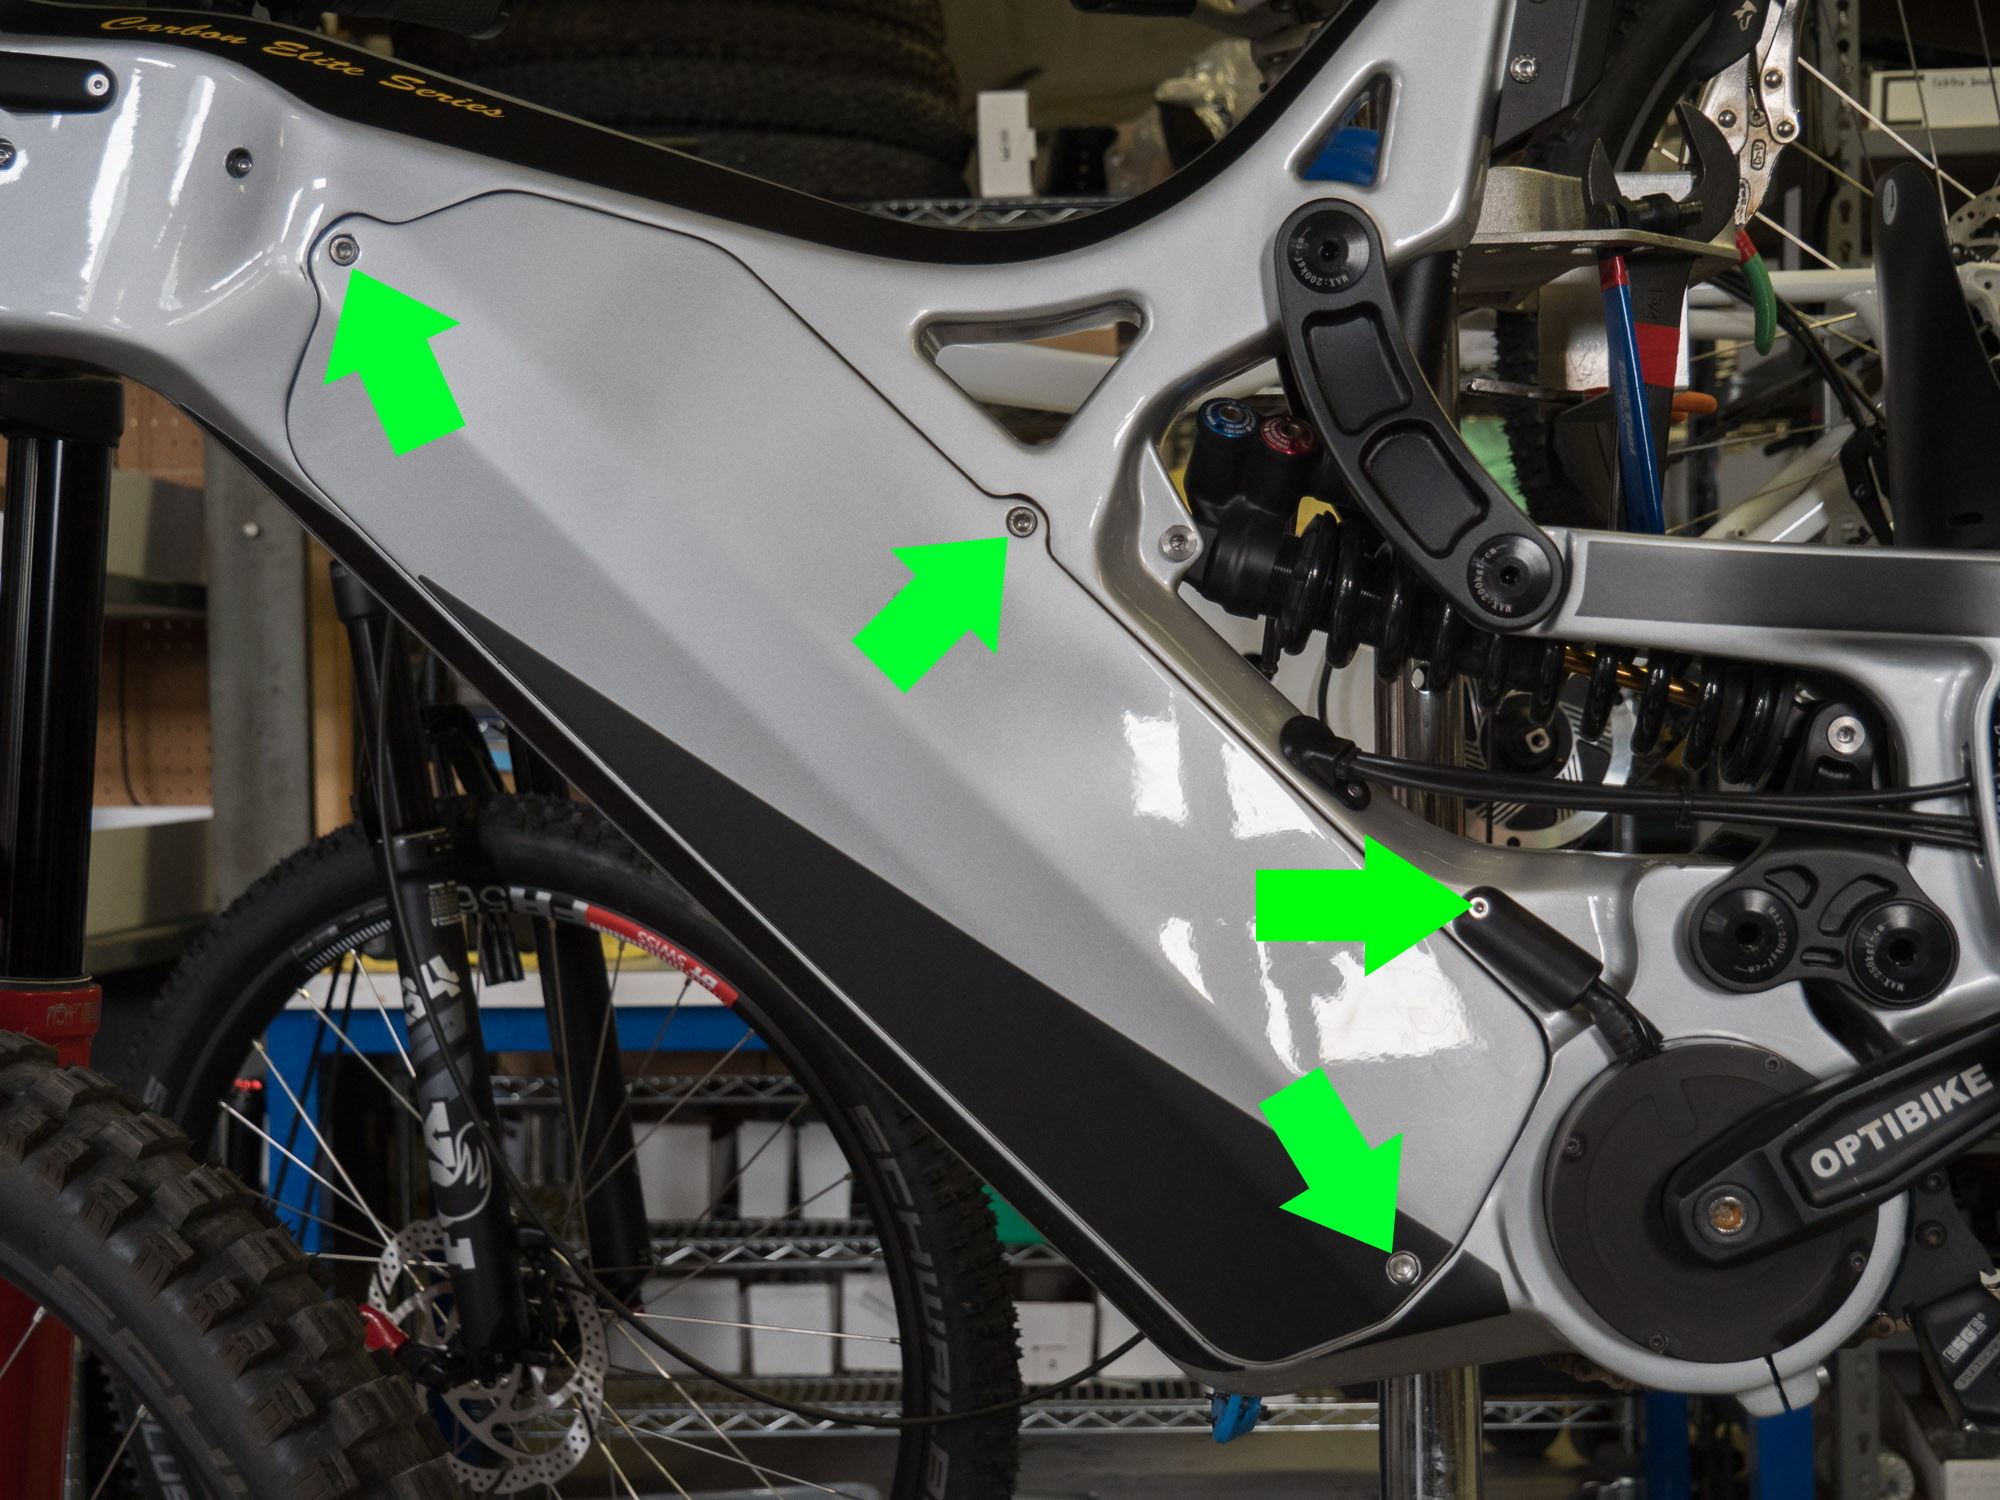
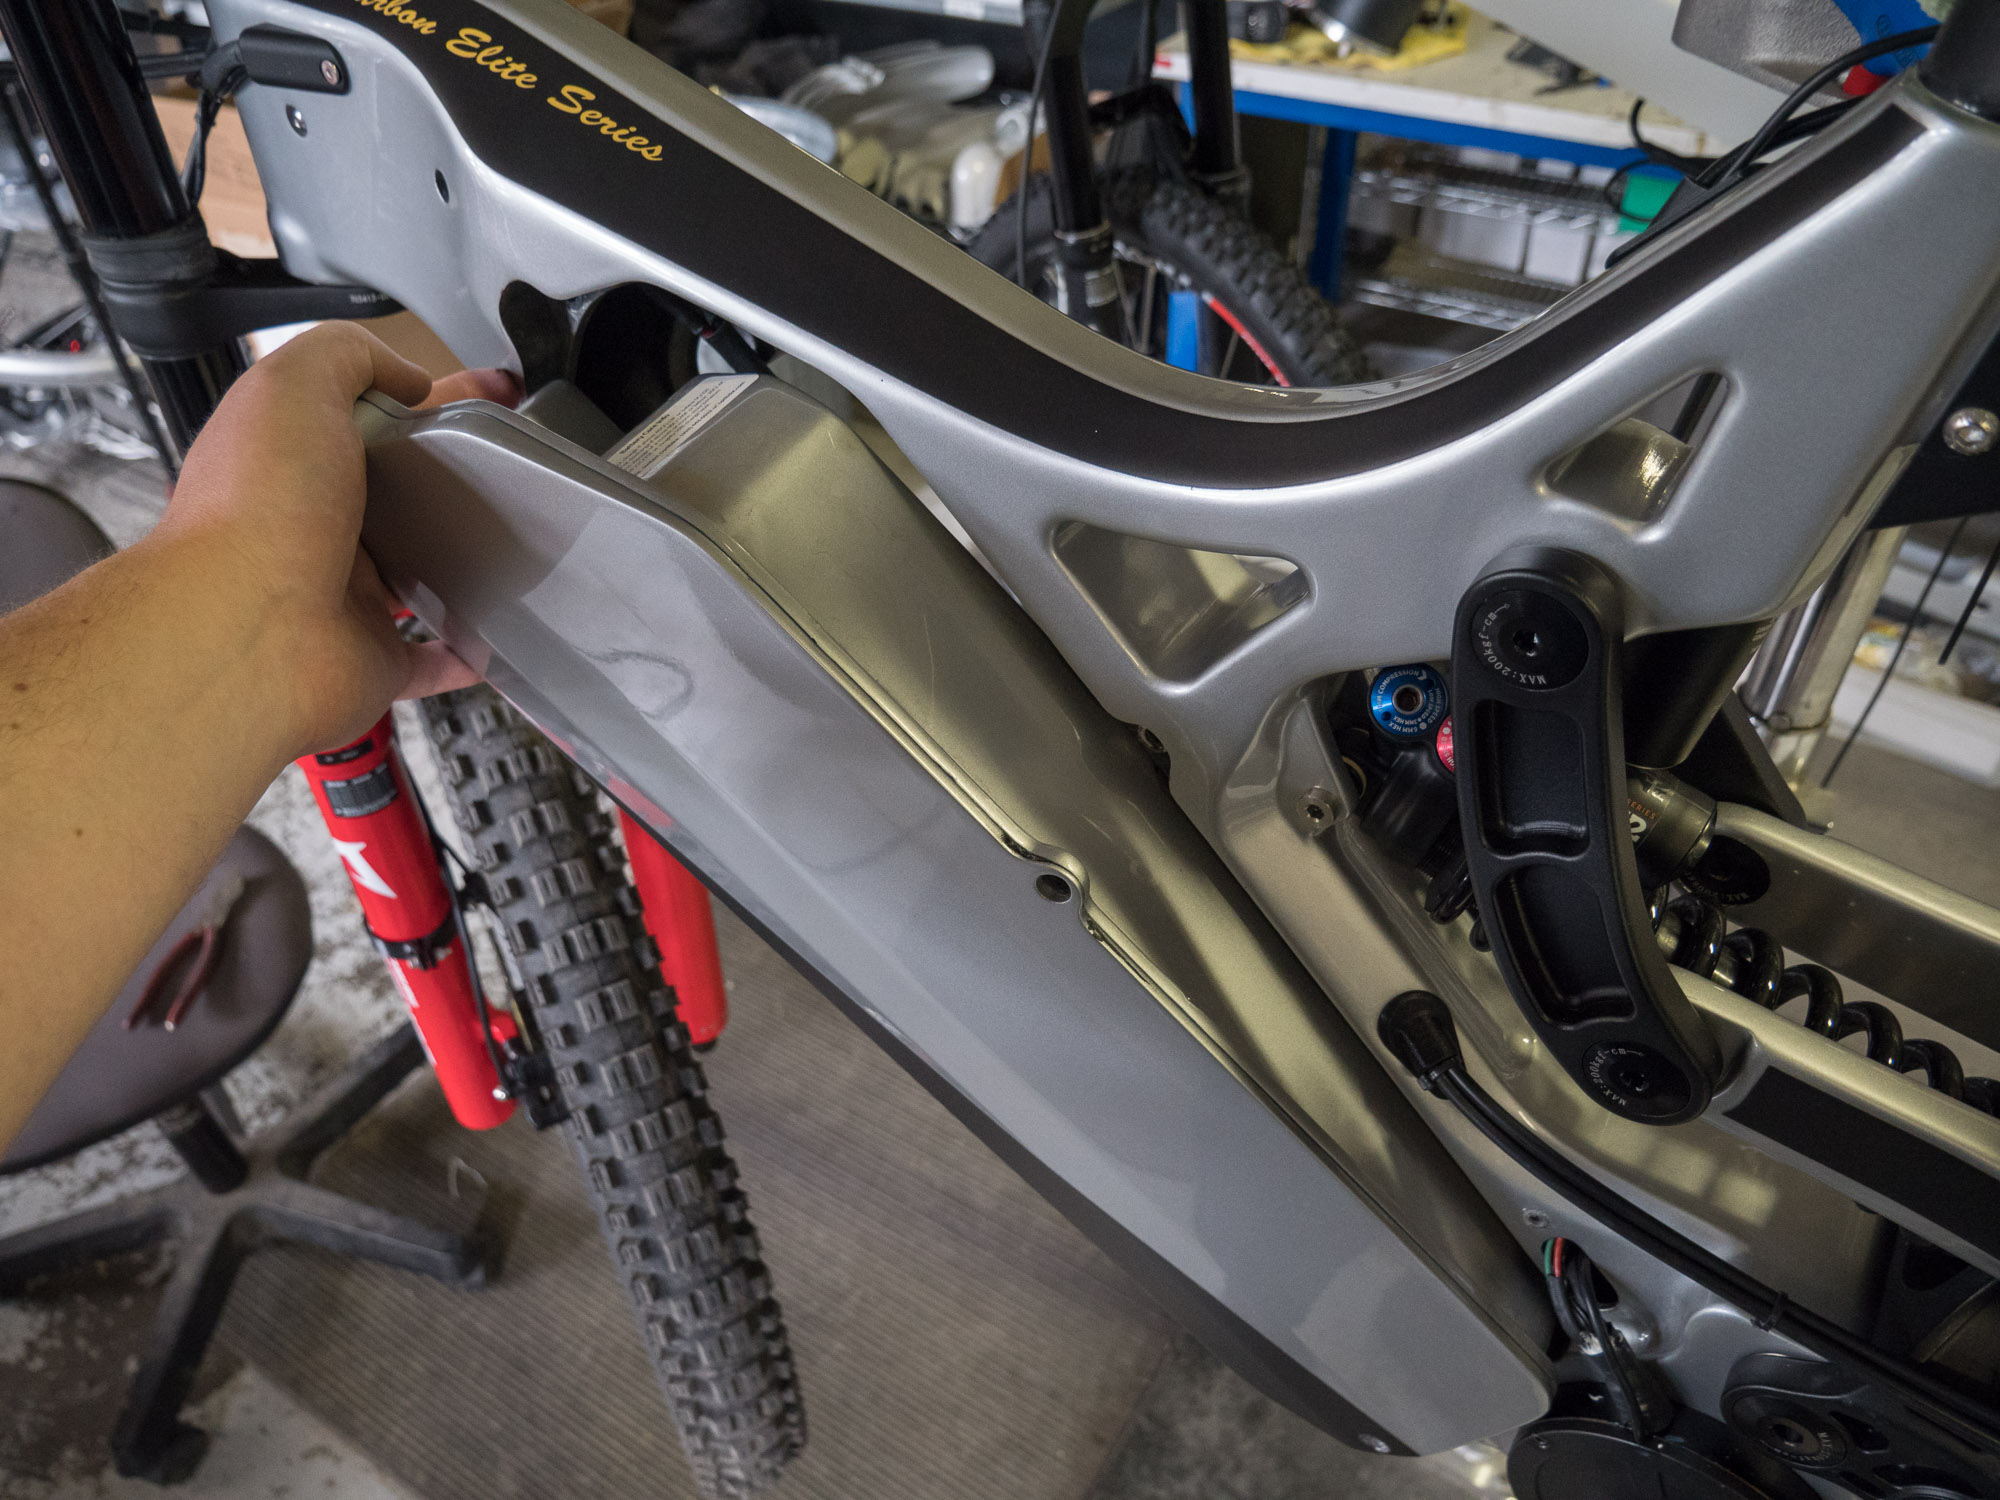
Remove battery
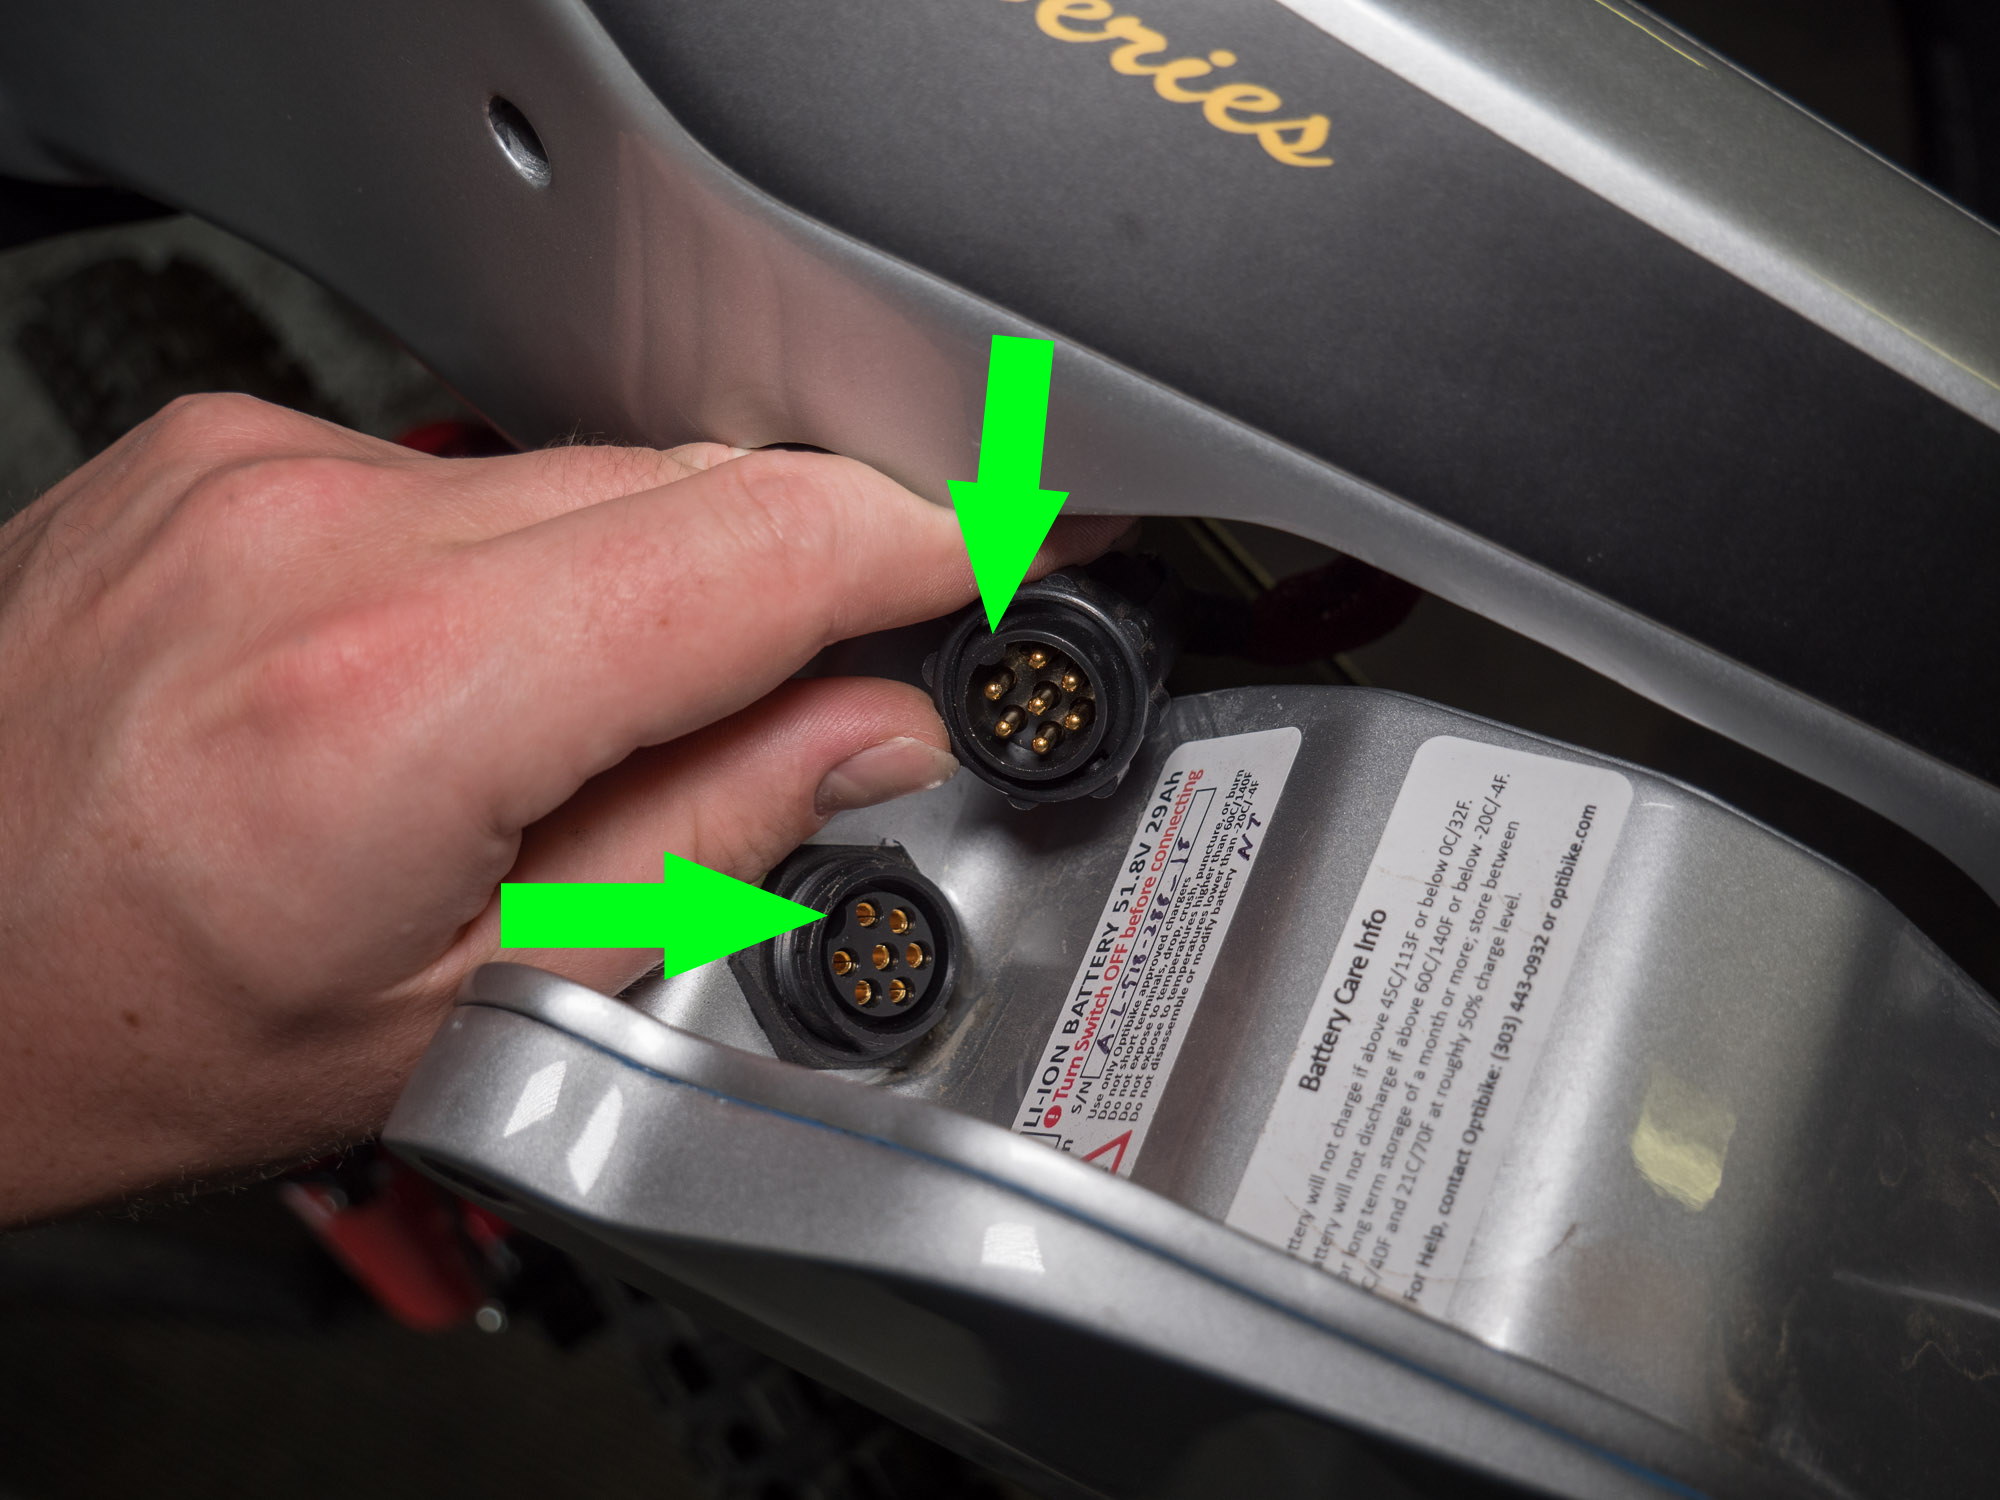
Remove bolts shown above, using a 5mm and 3mm allen wrench. The mid/center bolt on the battery is the shorter bolt. Also remove the motor wire cover and set aside.Pull the battery out at the top enough to access the connector, make sure the battery doesn’t fall out.Rotate the connector lock counter-clockwise, and then pull the connector backwards. Giving it a little wiggle can help here. Now remove the battery entirely and set aside.
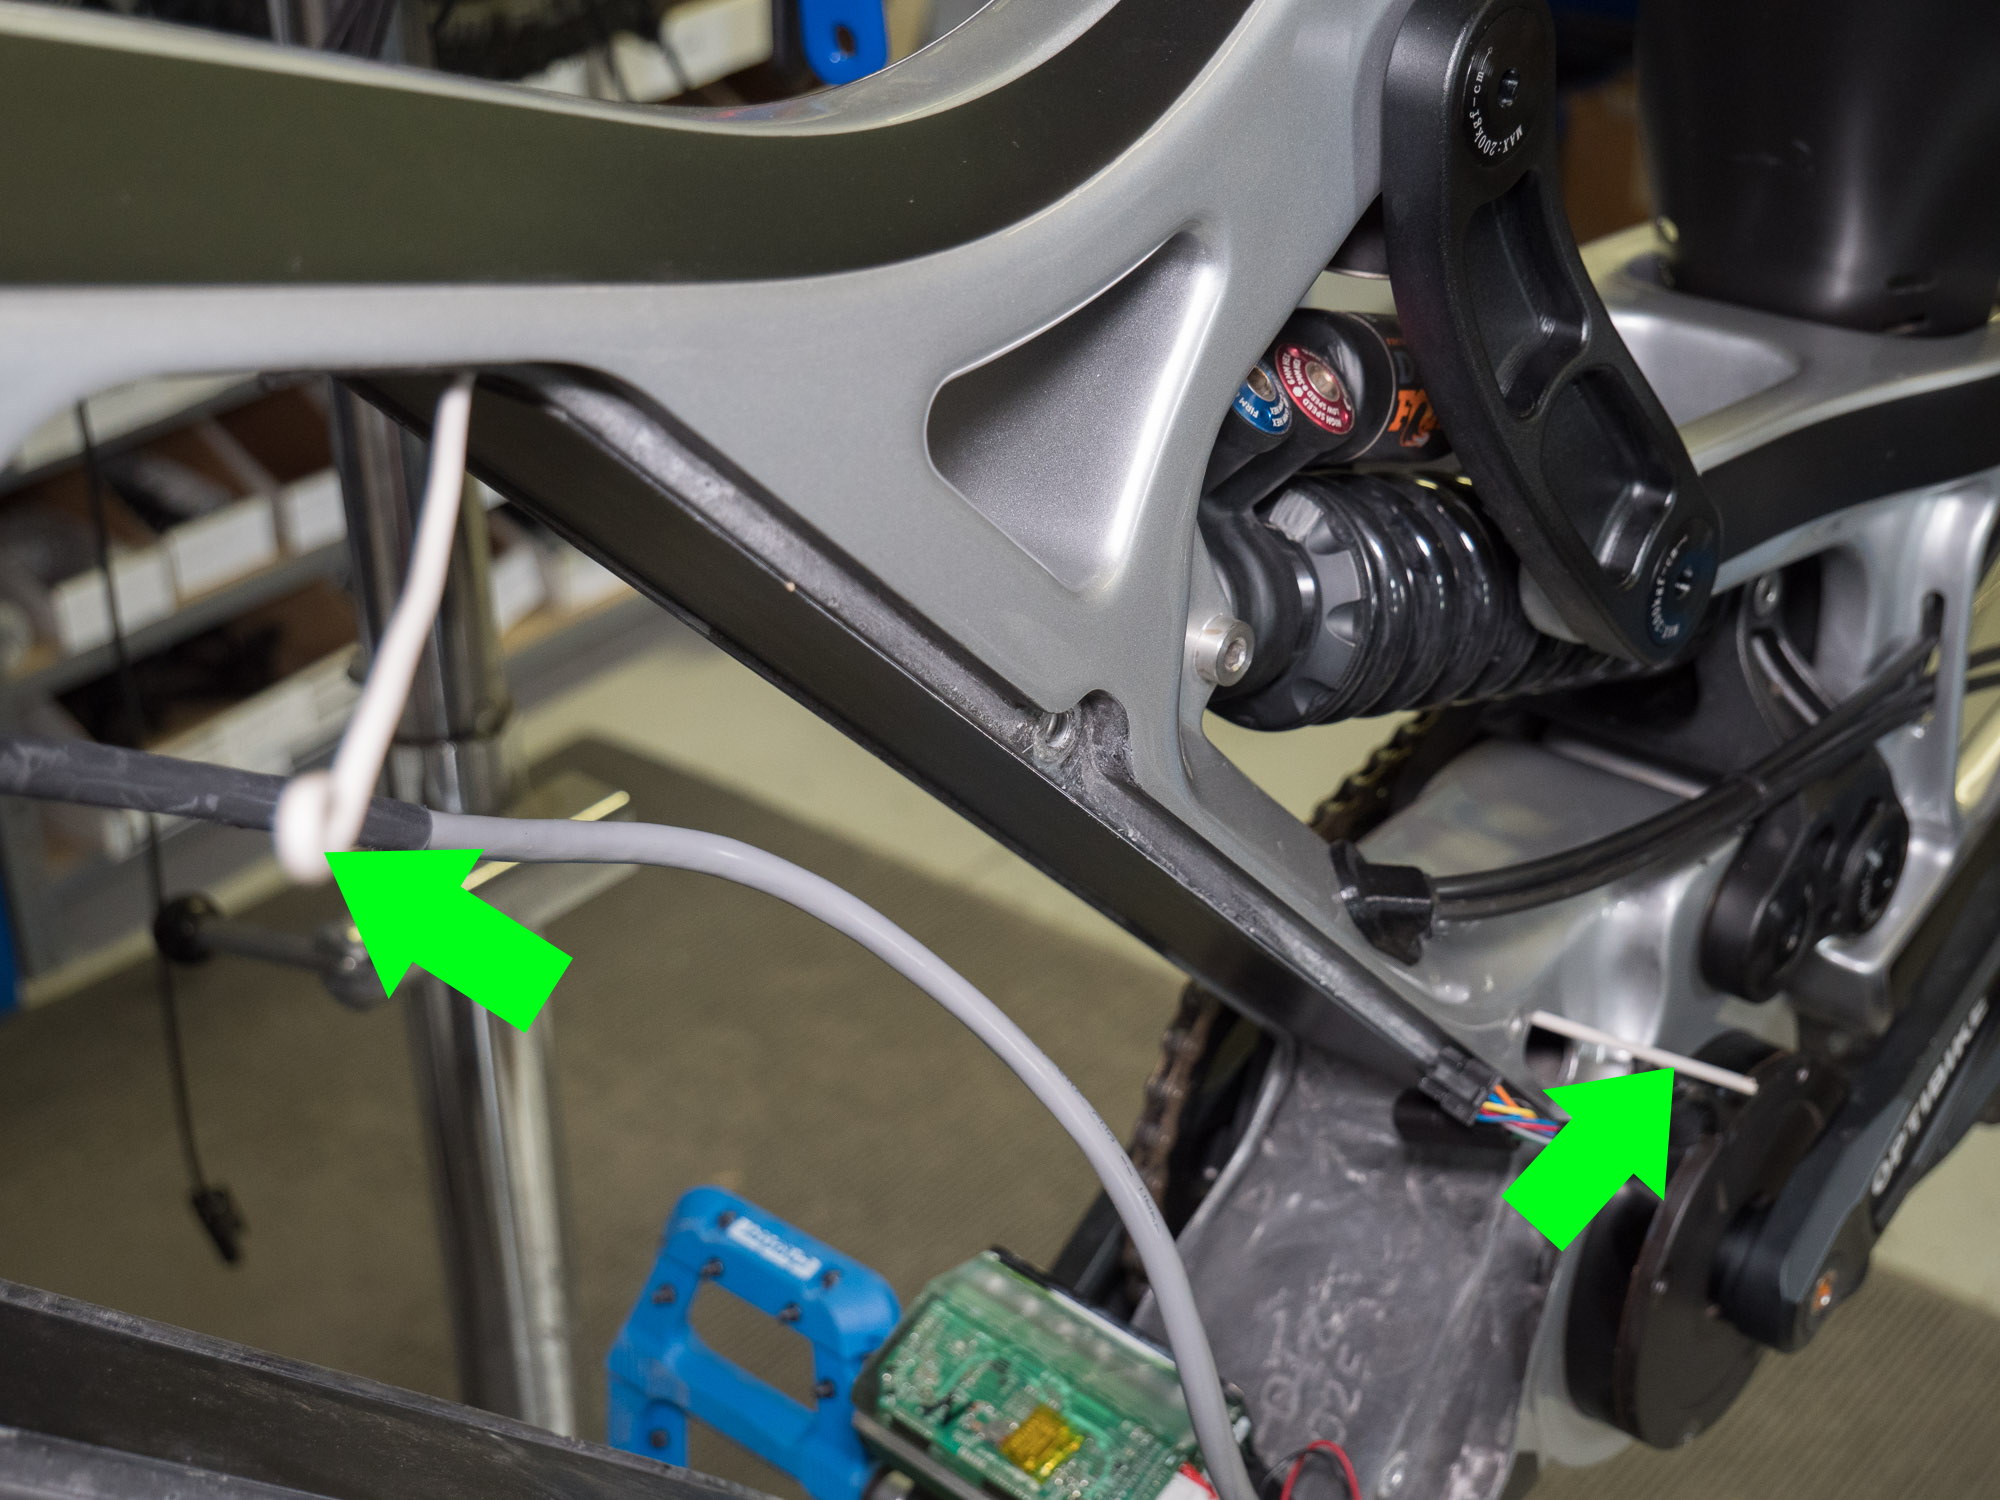
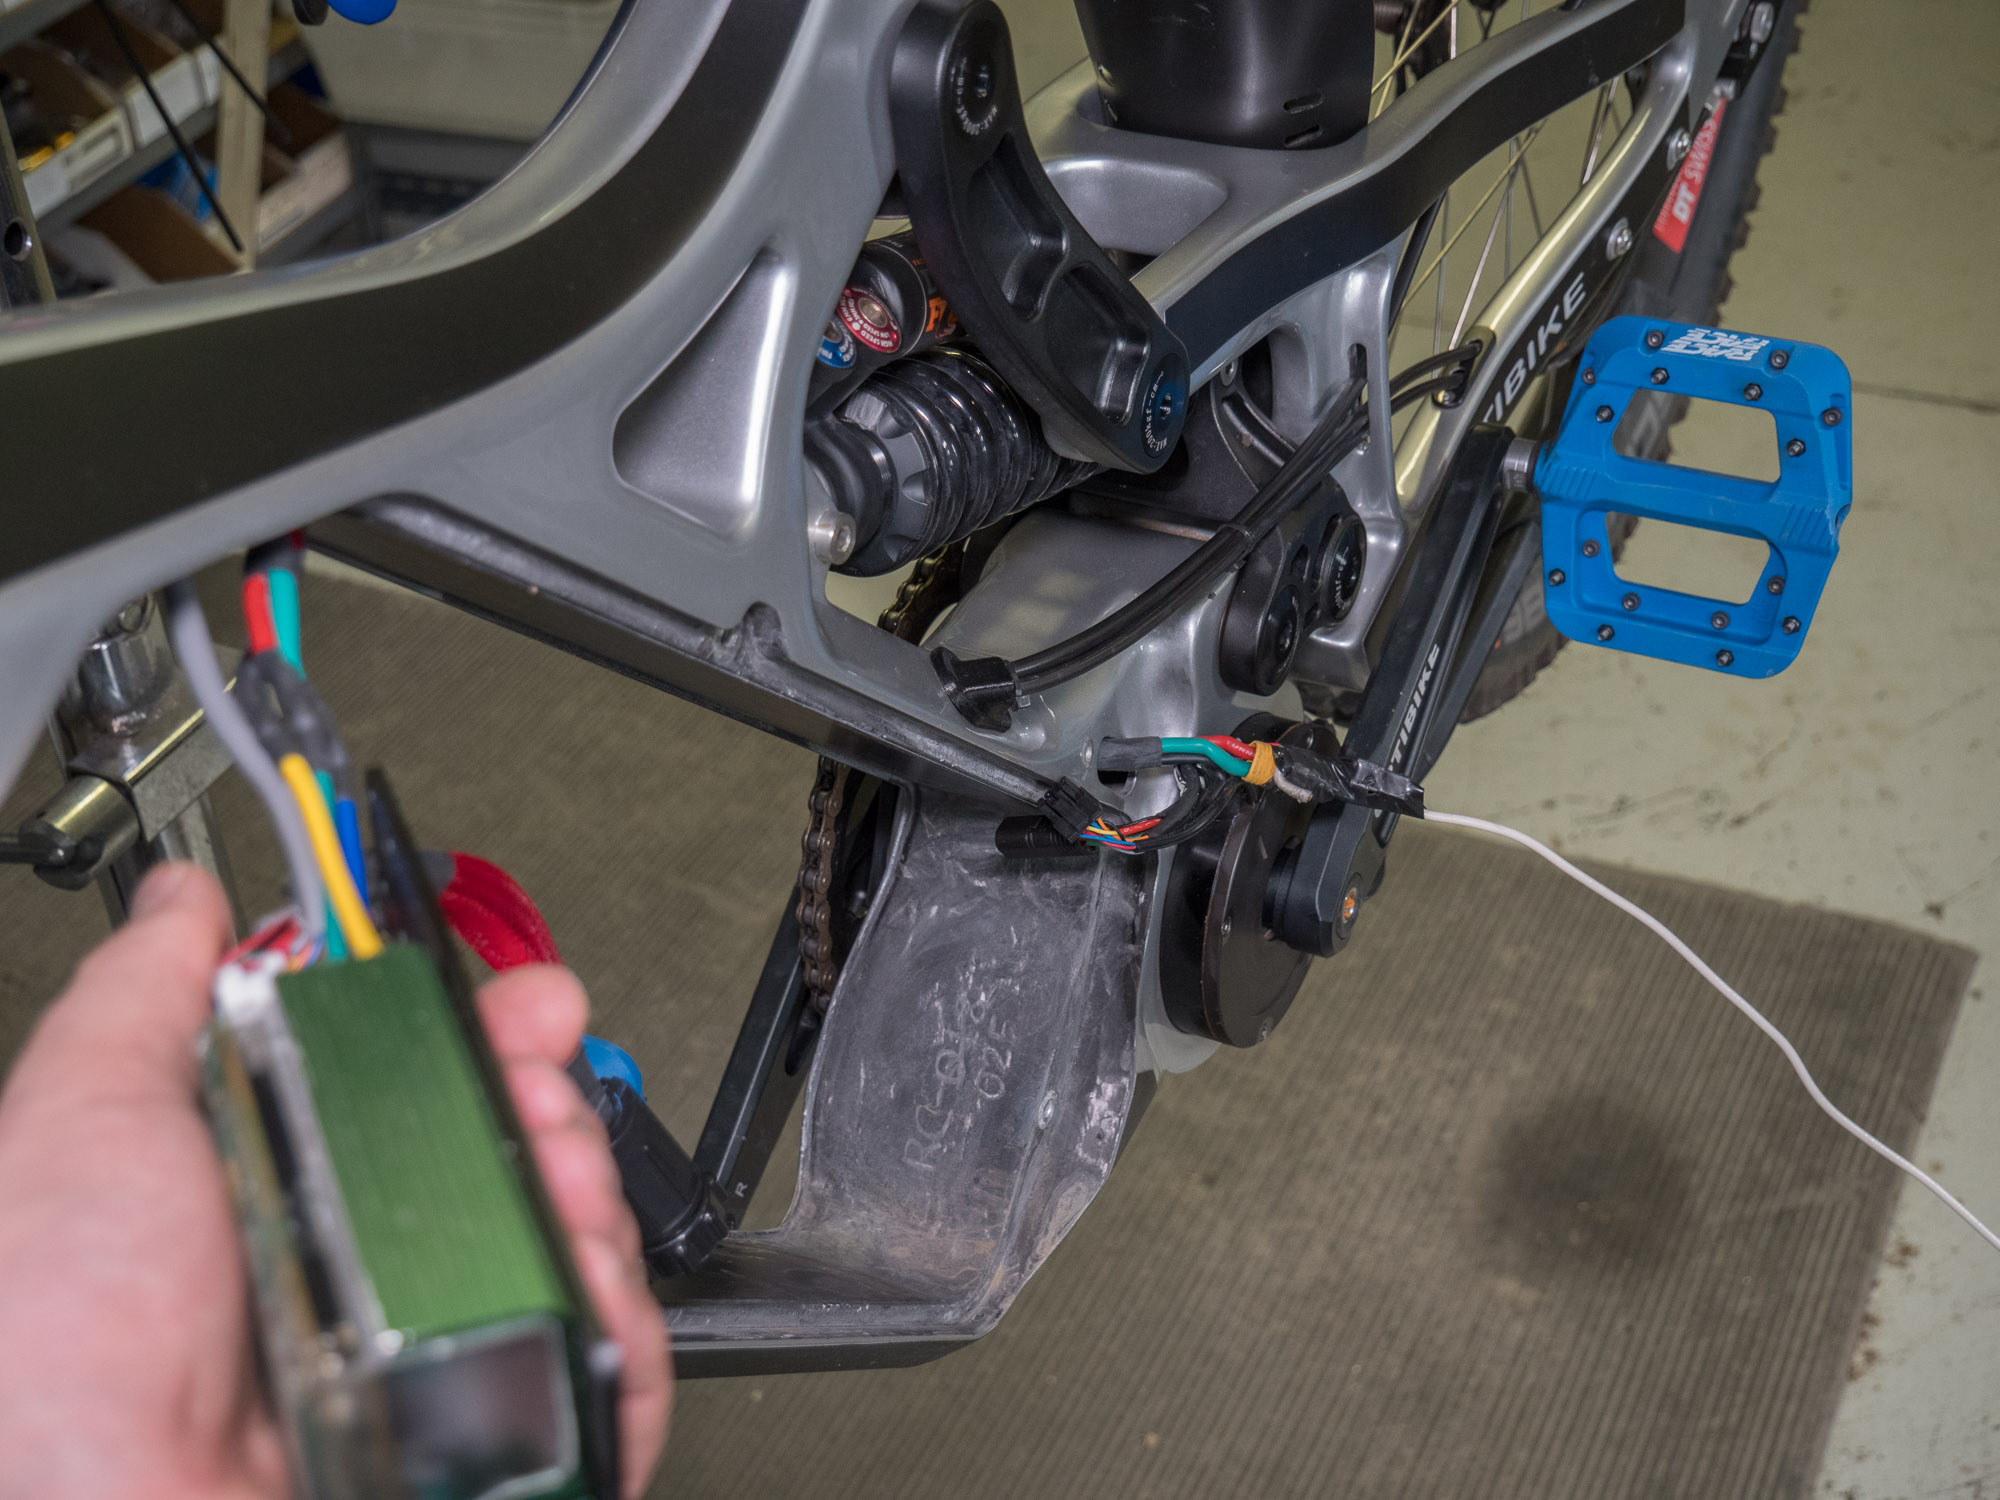
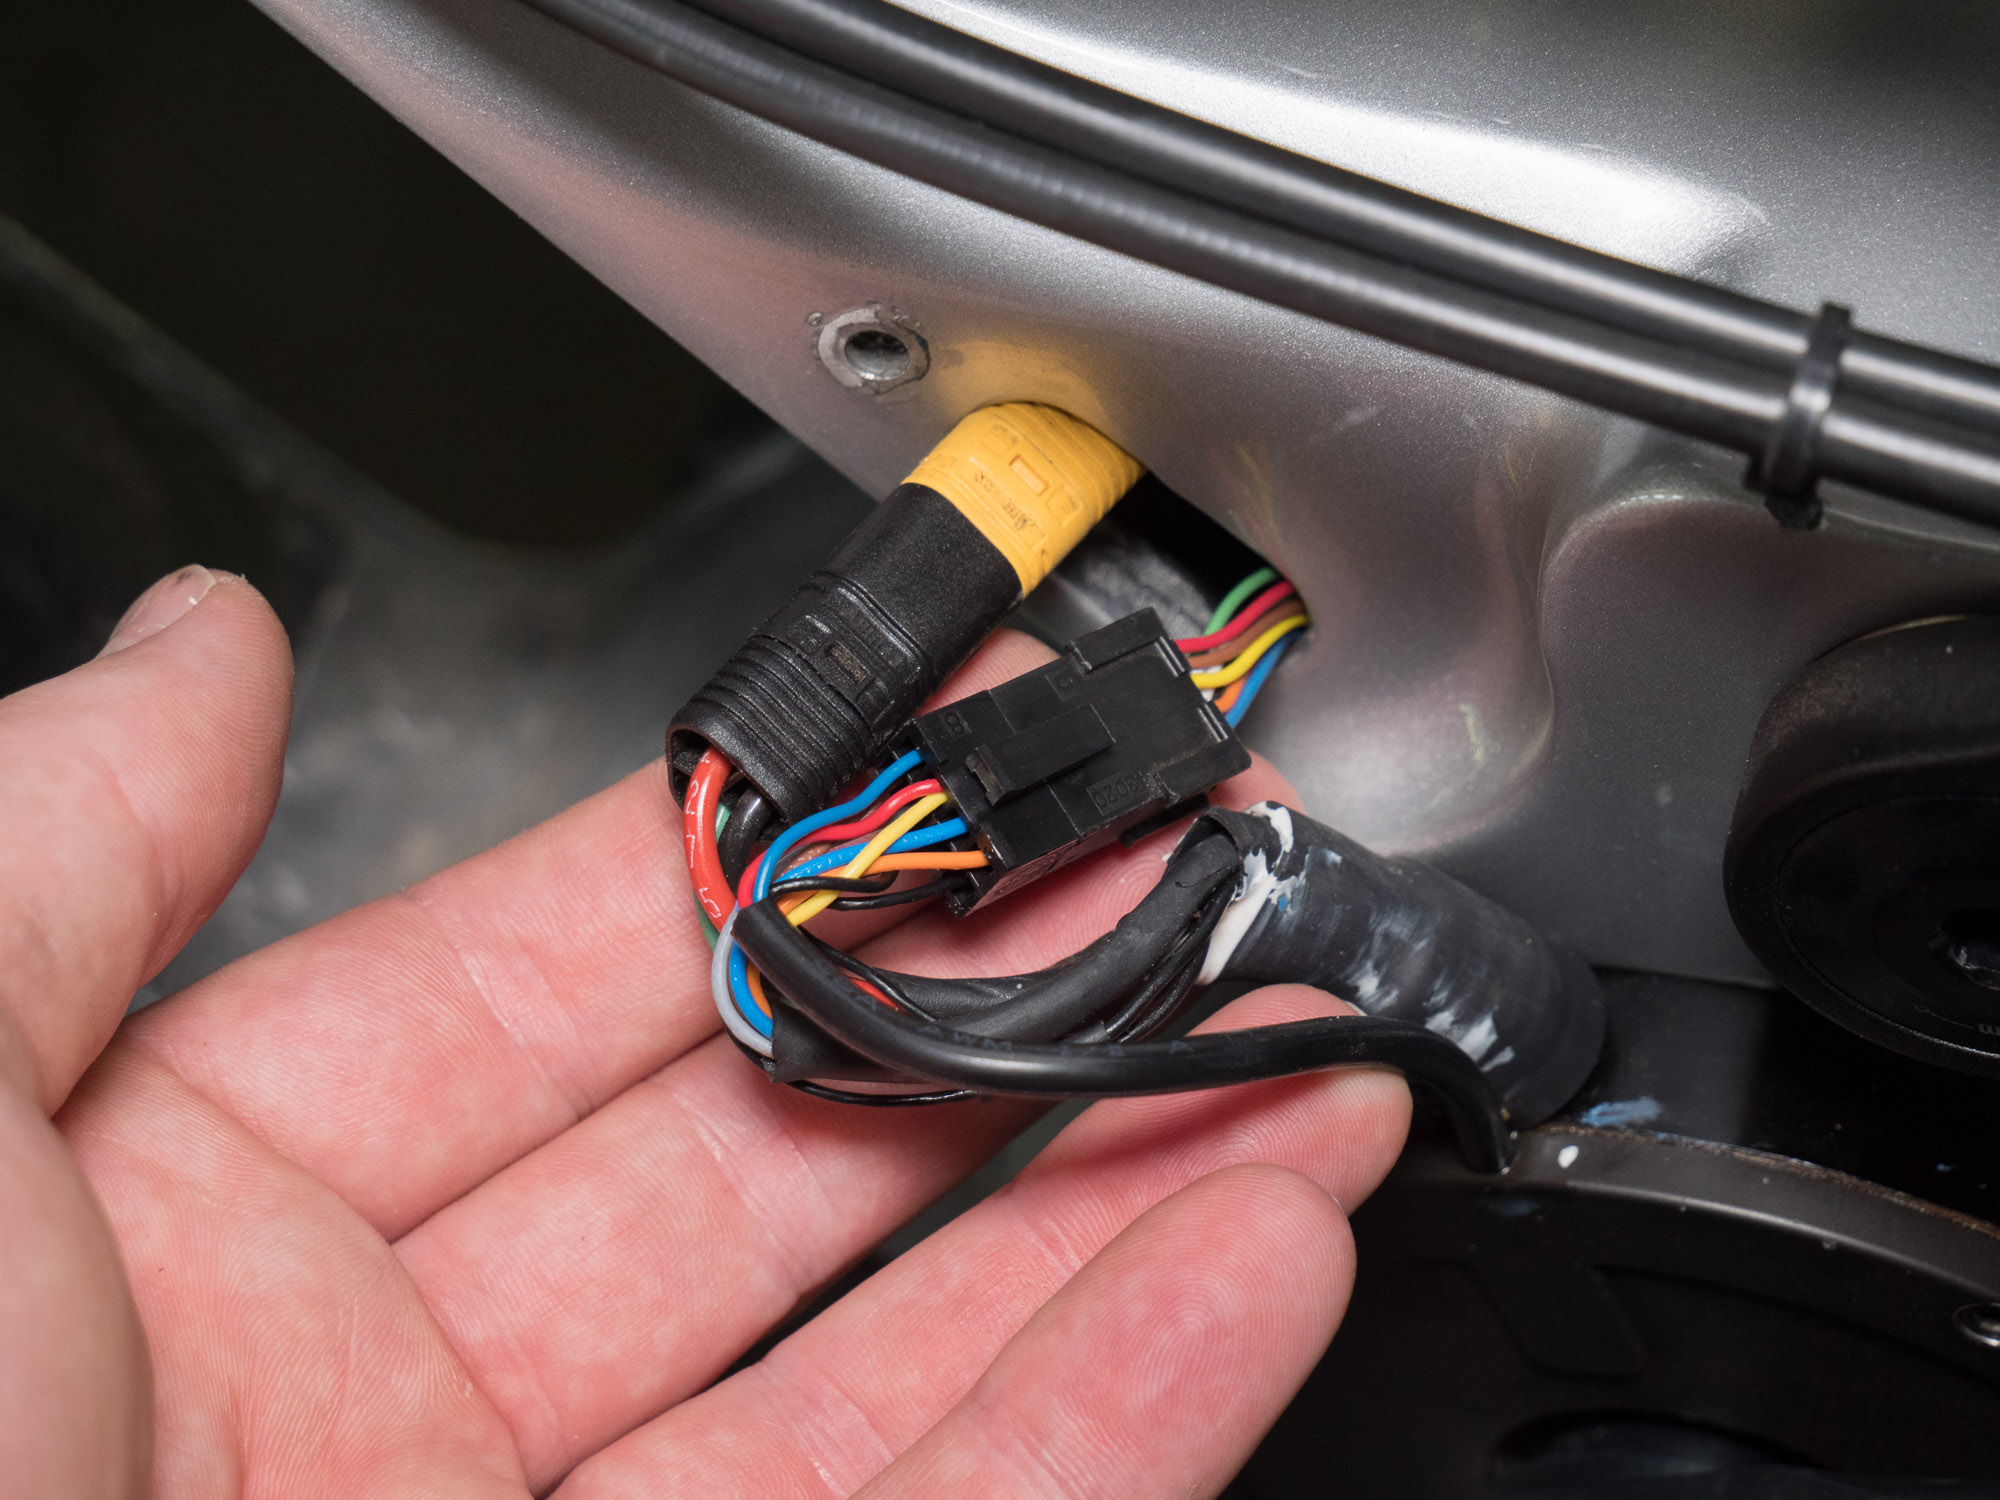
Disconnect Motor
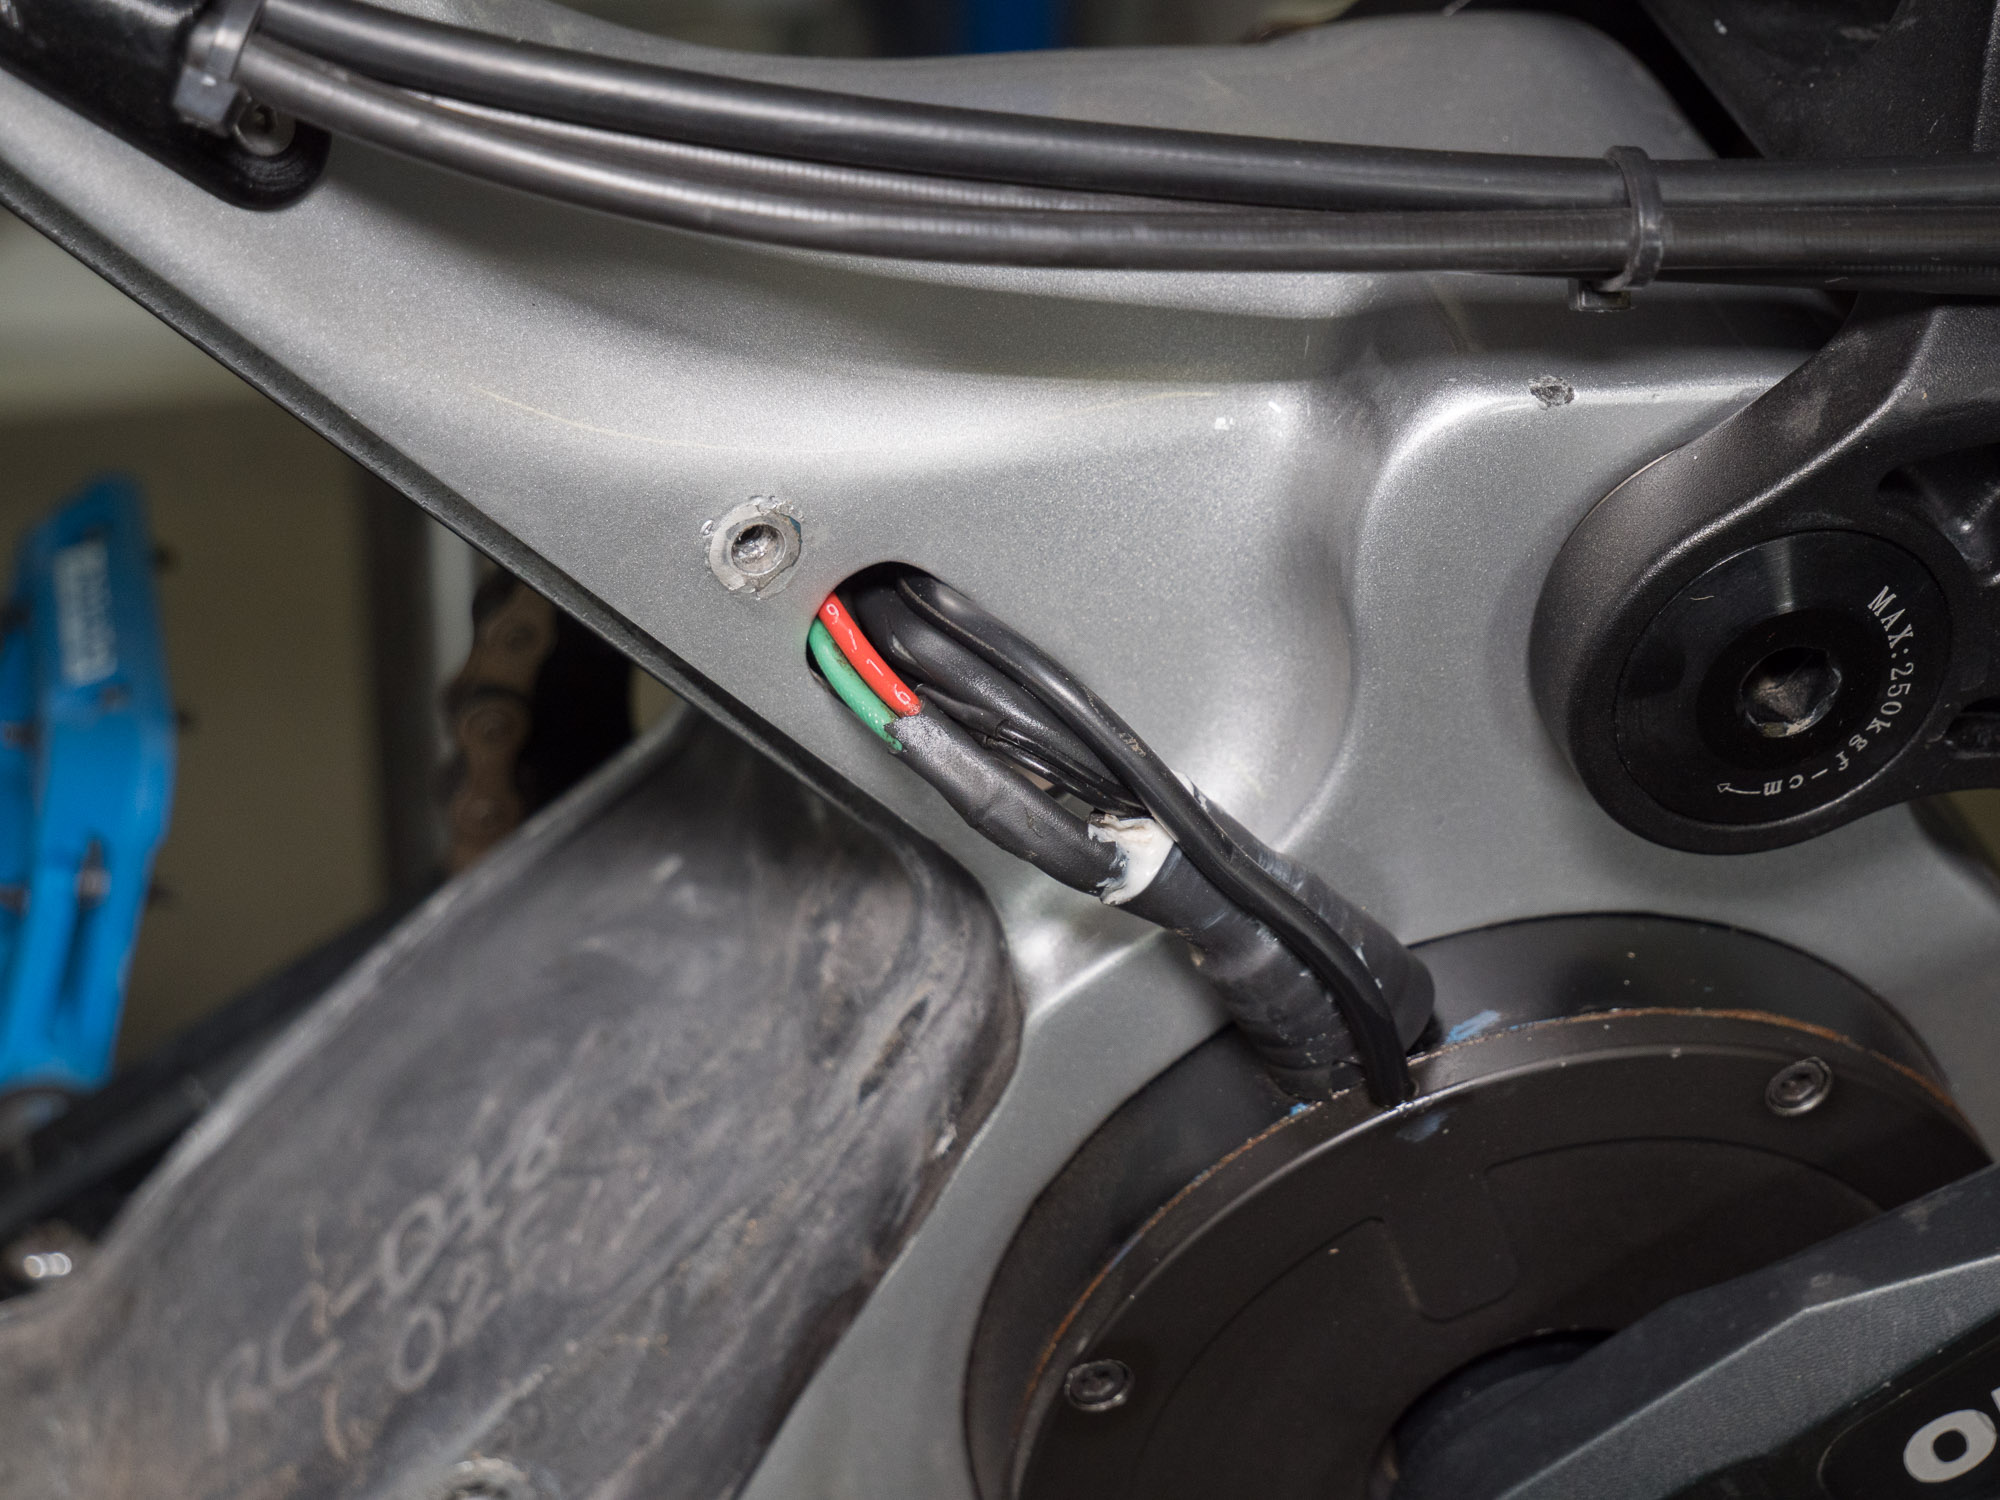
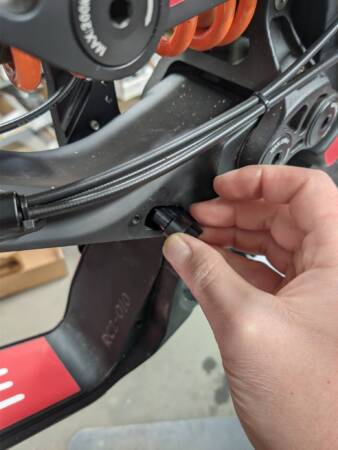
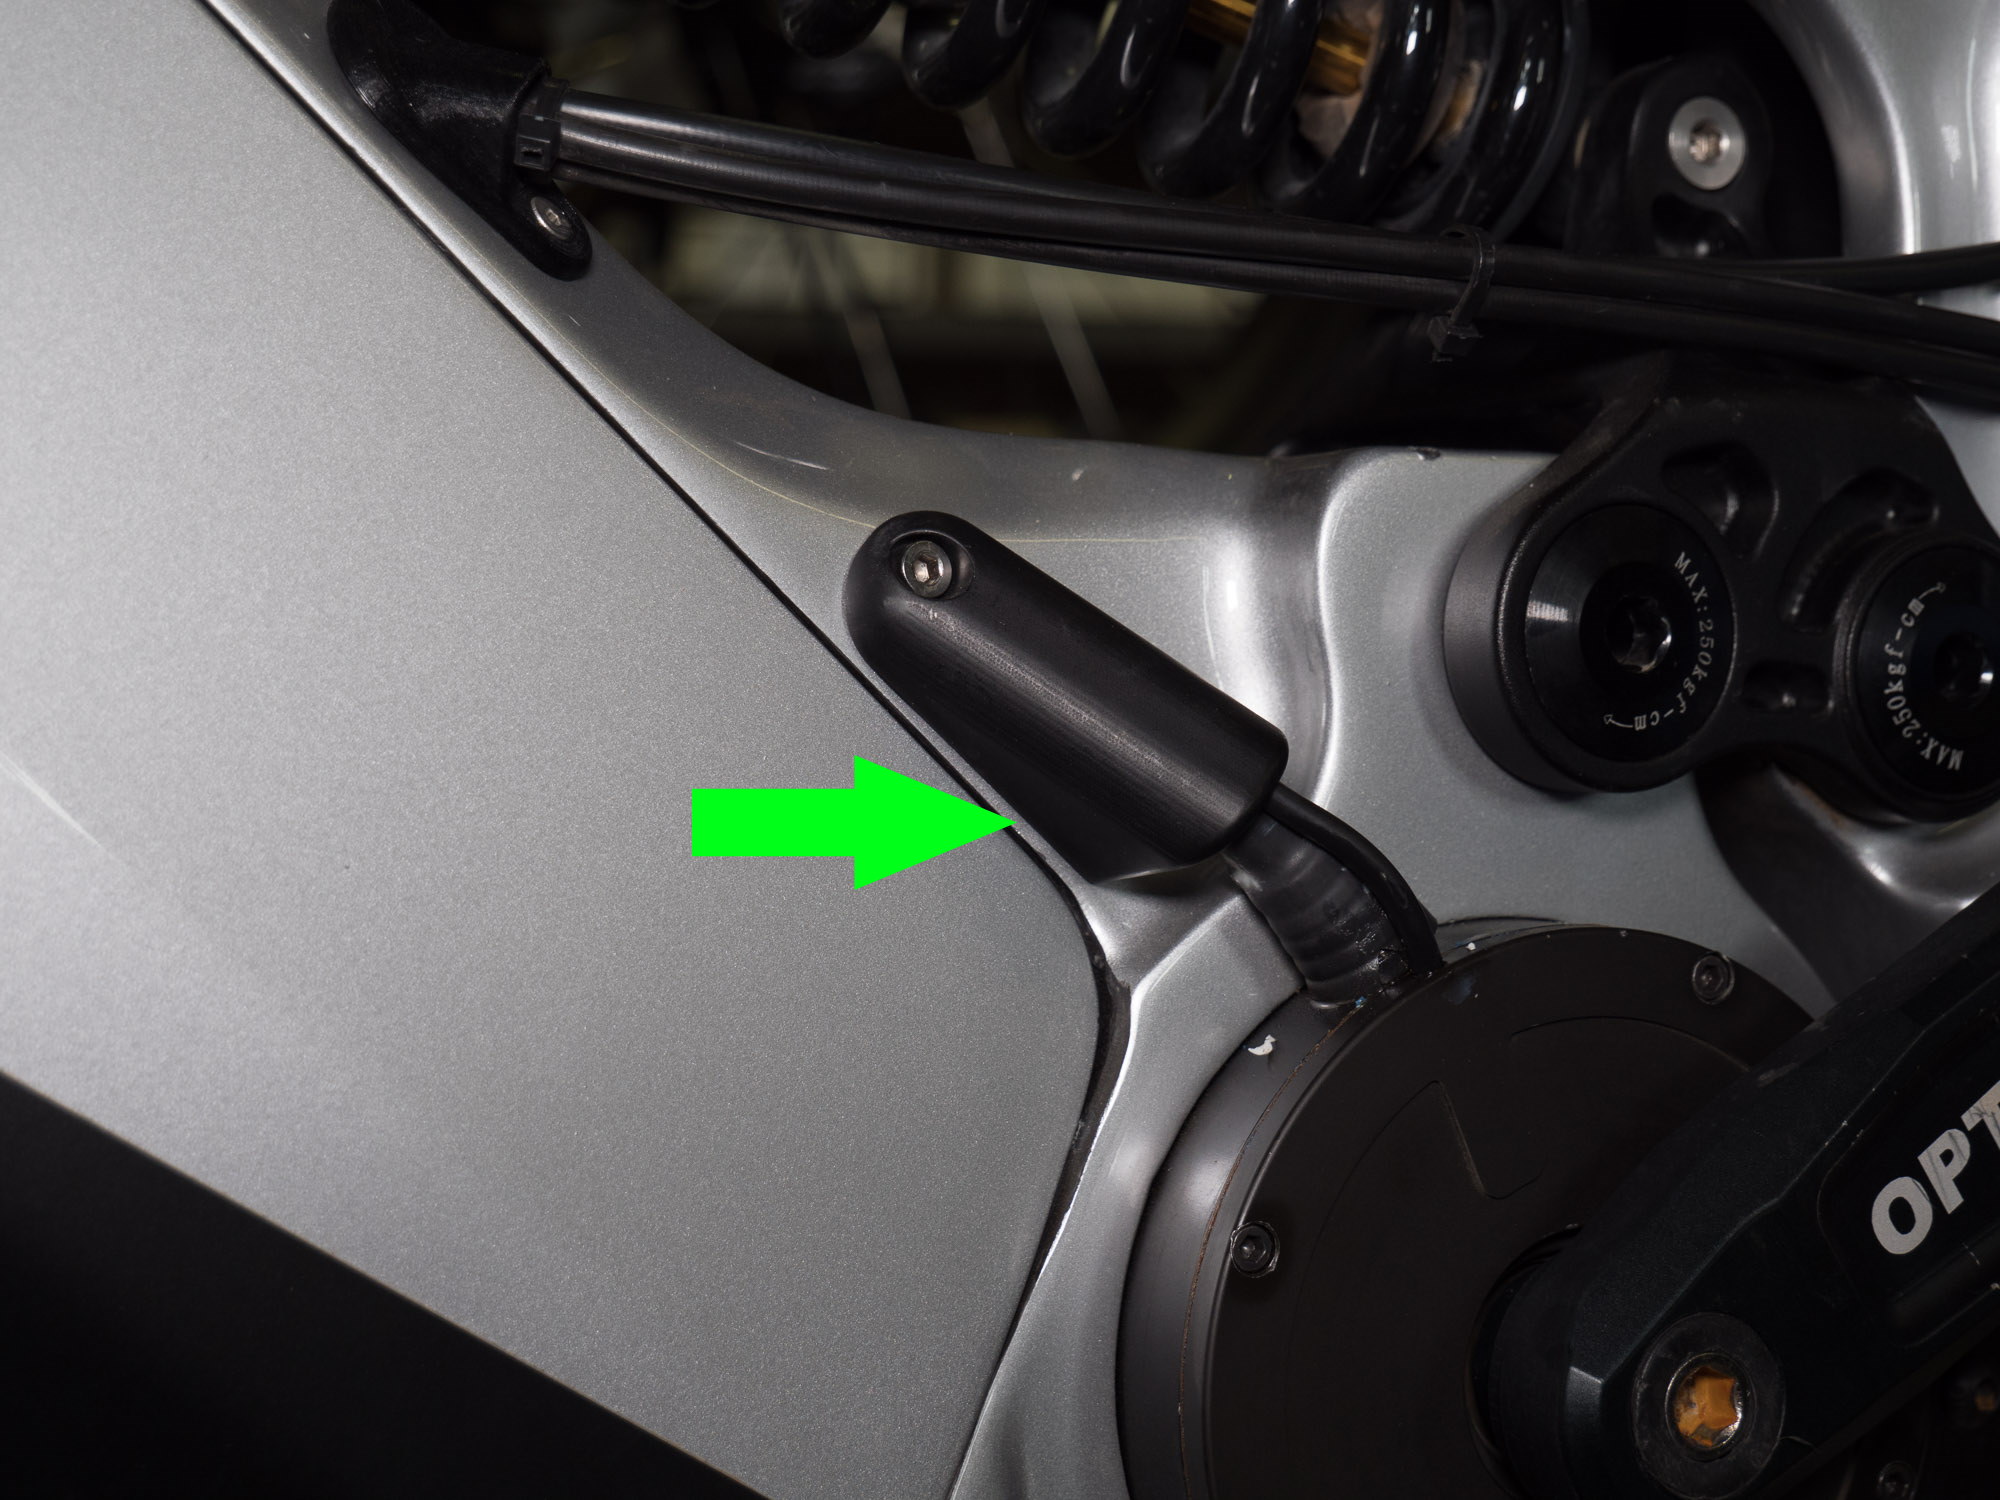
Gently pull the motor wires out from the frame to expose the connectors. The connectors can catch on the frame a bit and may need some re-alignment.Disconnect both connectors. The 8 pin connector has a latch you’ll need to press (shown by arrow). The 3 pin connector simply pulls apart.
Disconnect Head Cable from Headlight
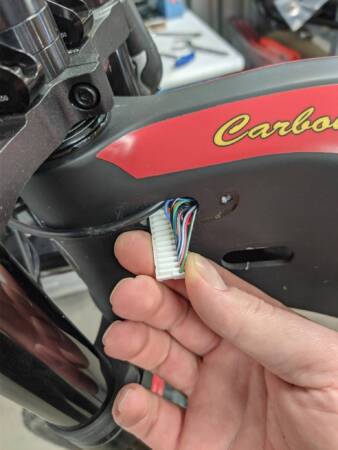
Using a 2.5mm wrench remove the 3 headlight bolts. If you have the older style molded plastic headlight, there are 5 bolts underneathDisconnect the large 15 pin connector, you may need to disconnect any other connectors that are in the way. In which case, it’s a good idea to snap a photo to remember where everything goes.
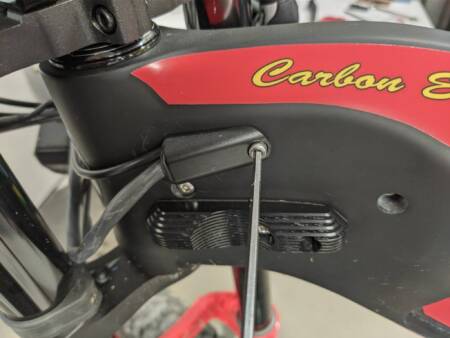
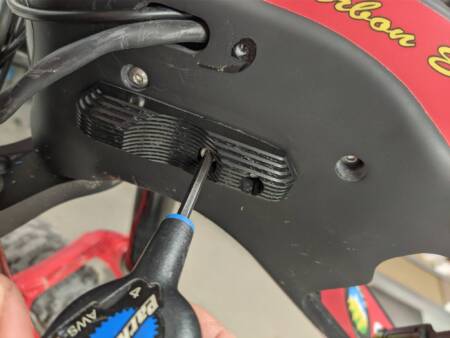
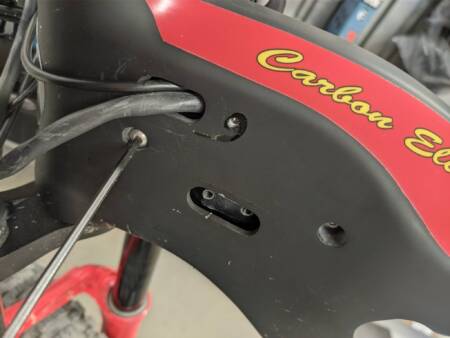
Remove Controller Bolts
Using a 3mm wrench remove the head cable wire cover(If the bike has a heatsink) Using a 4mm wrench remove the controller heatsinkUsing a 3mm wrench remove the 2 controller bolts
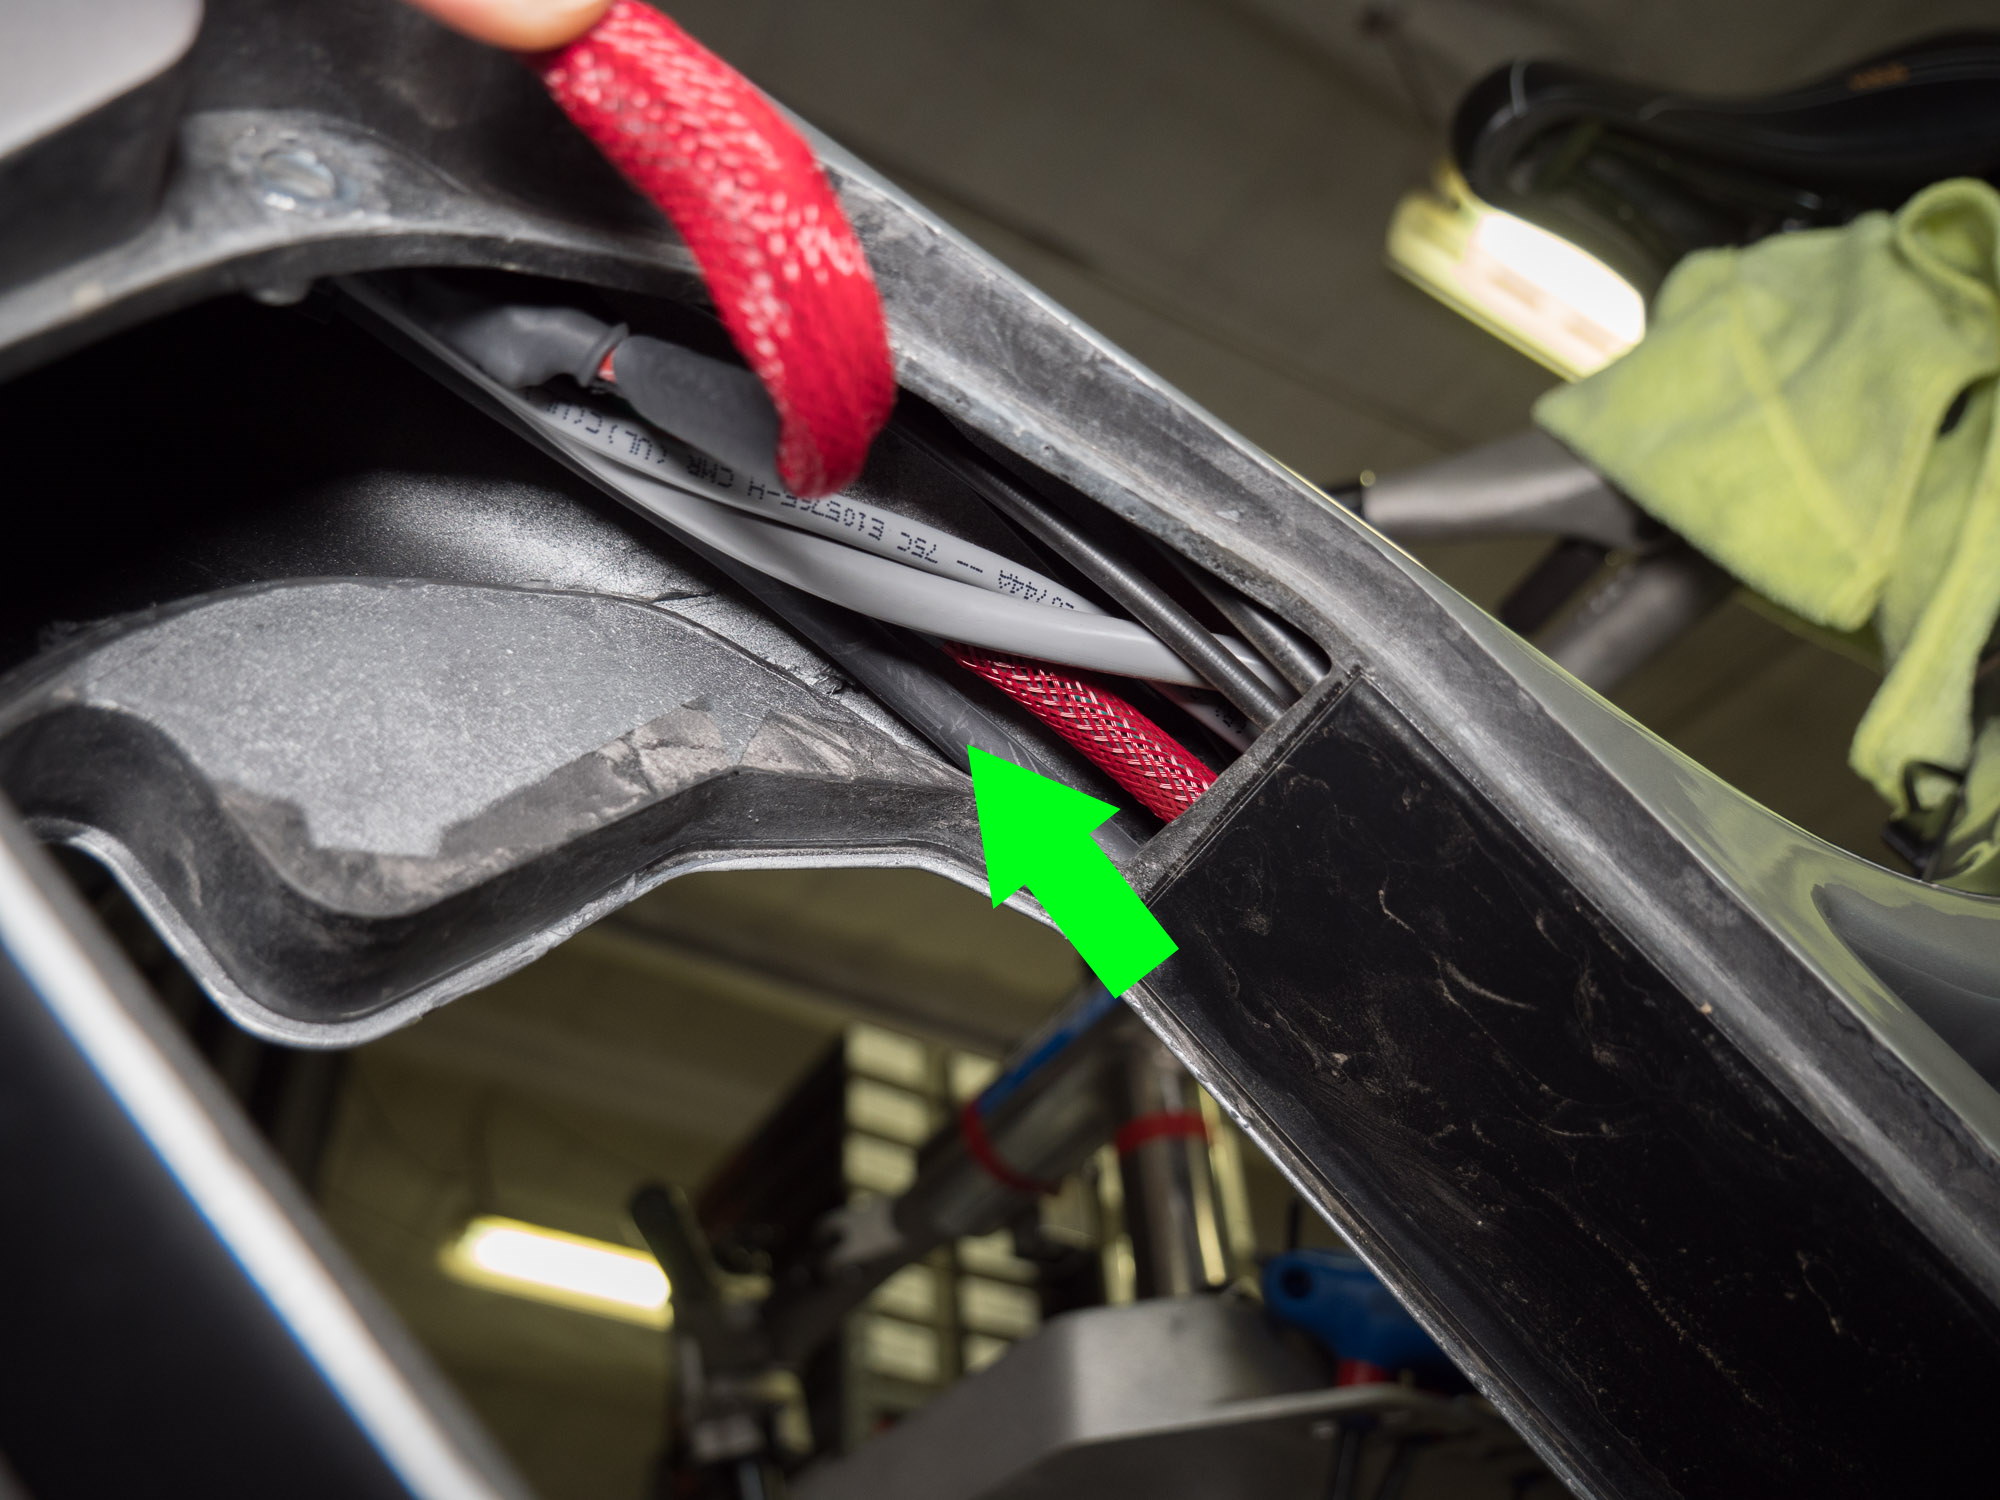
Pull Wires Out Through Frame
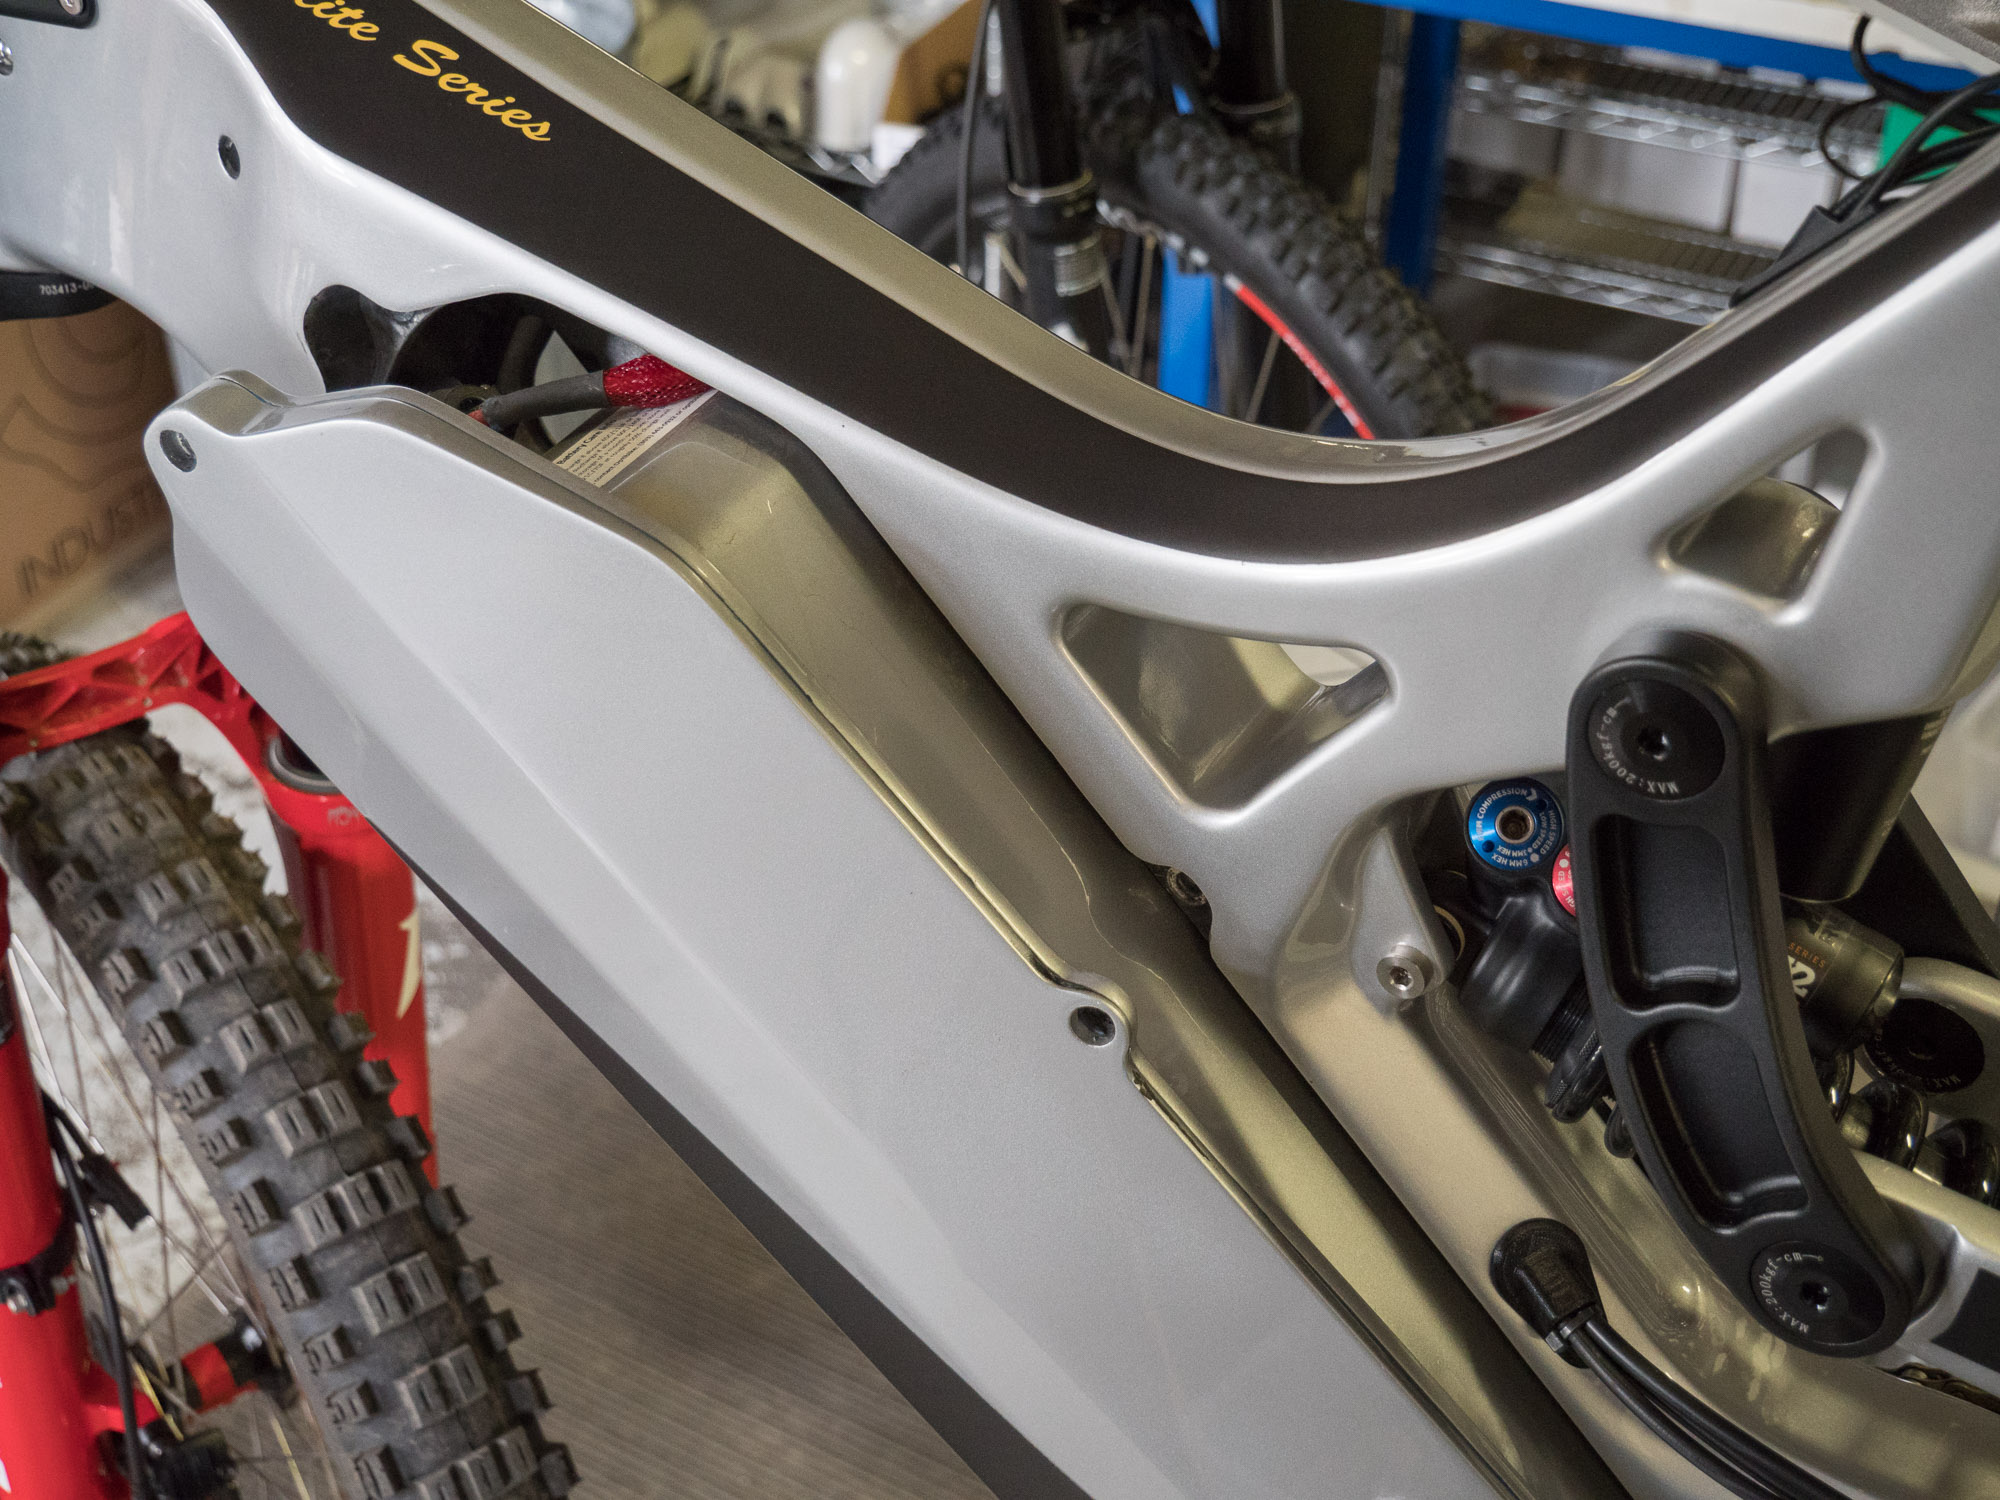
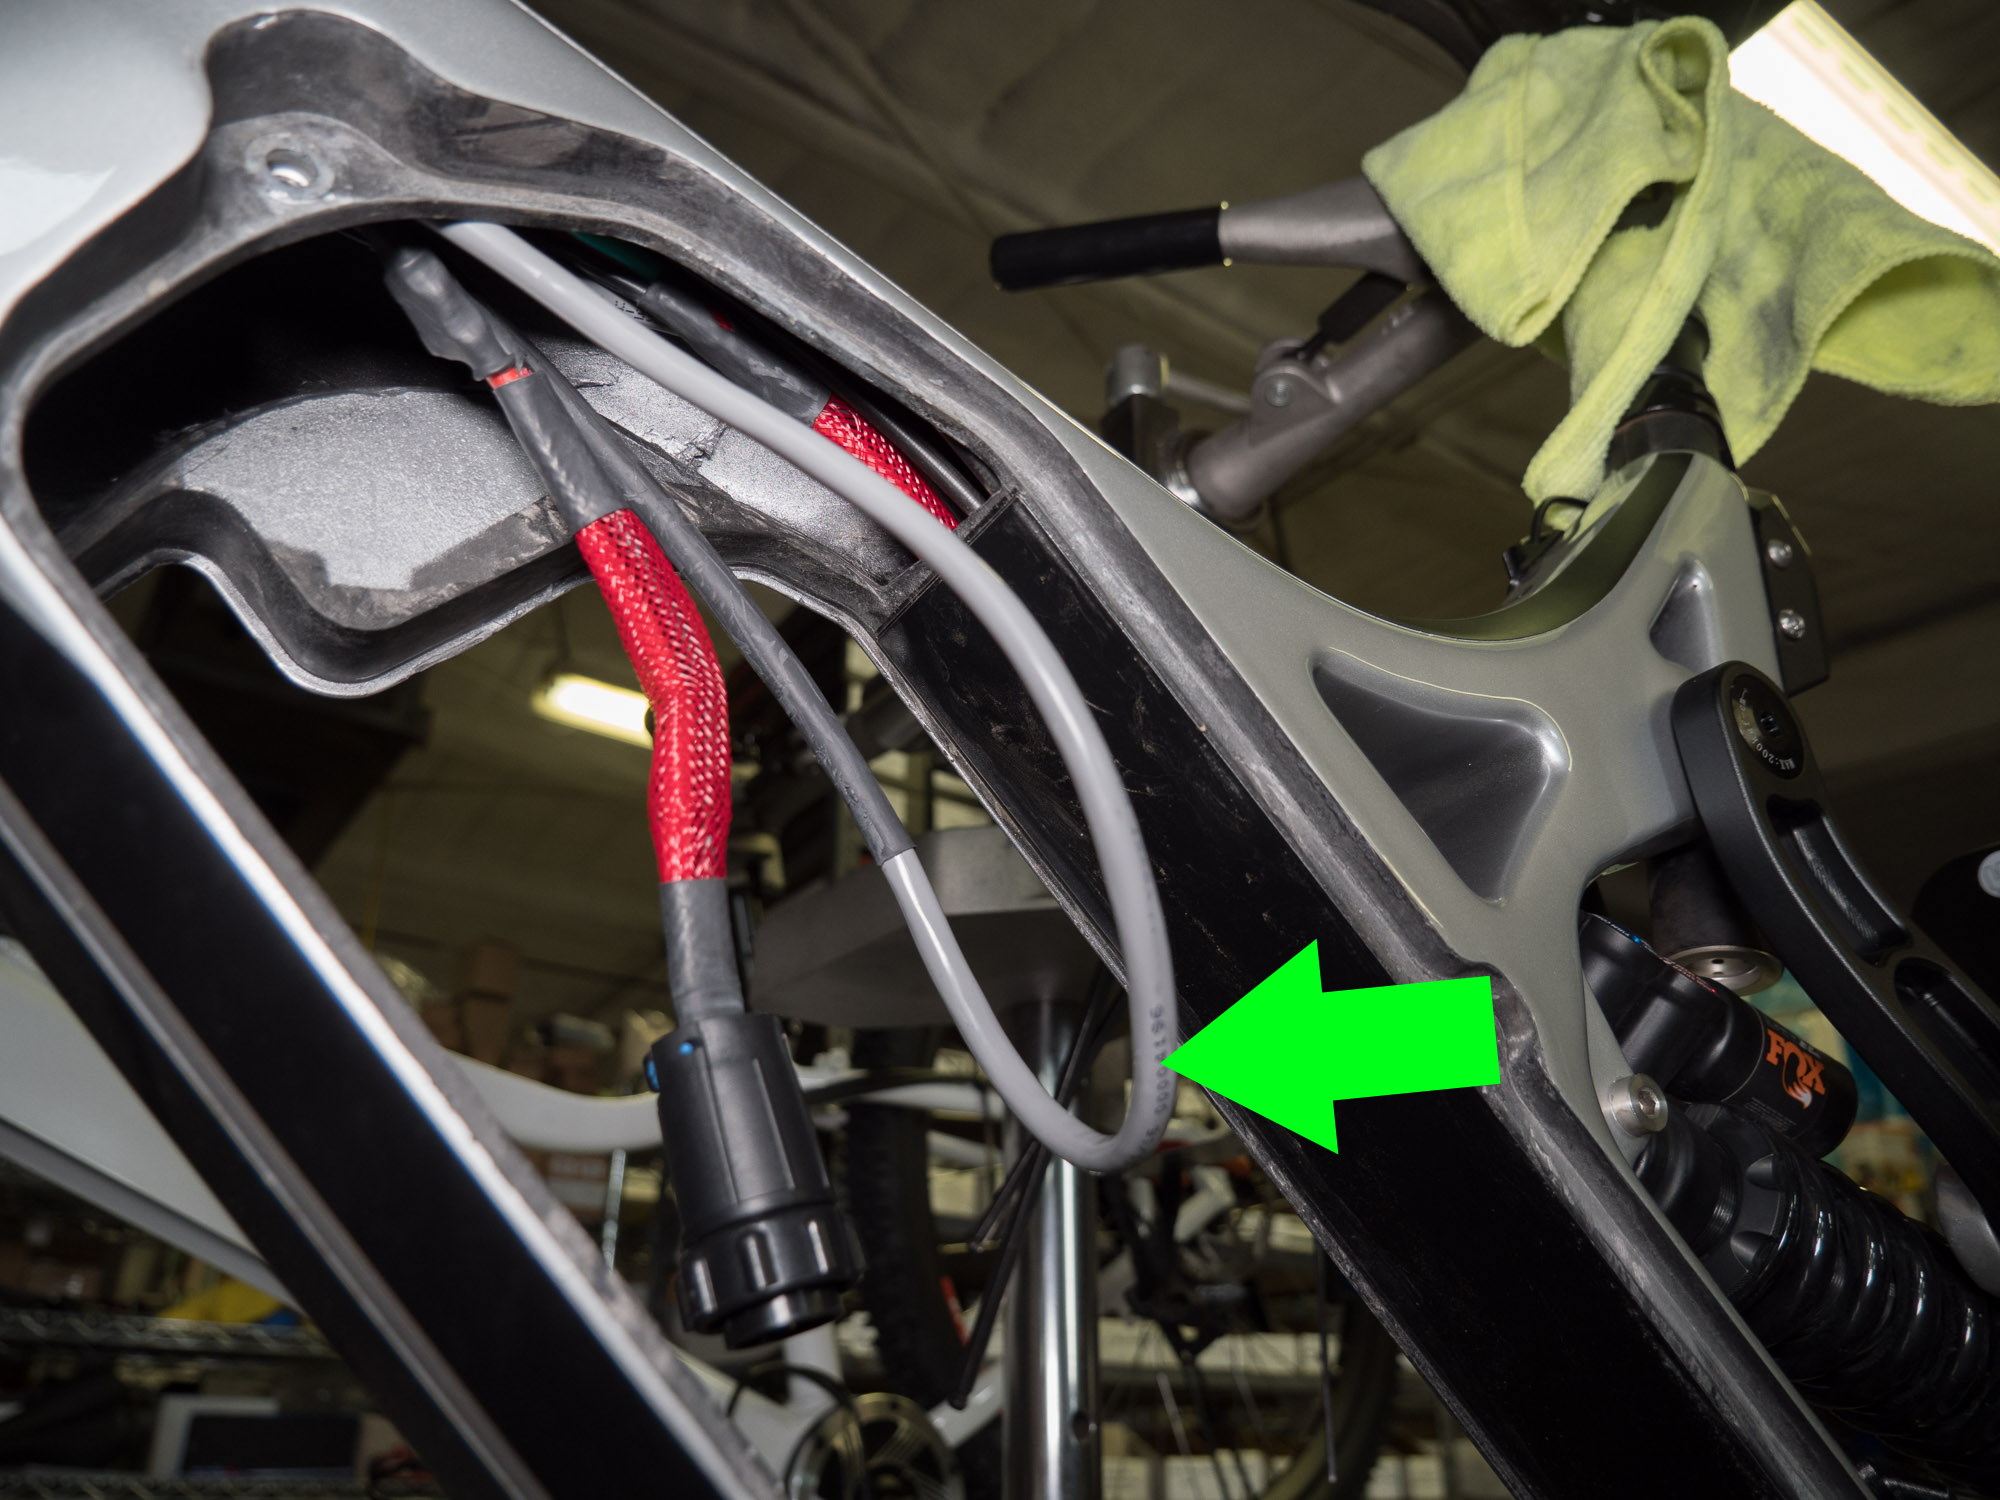
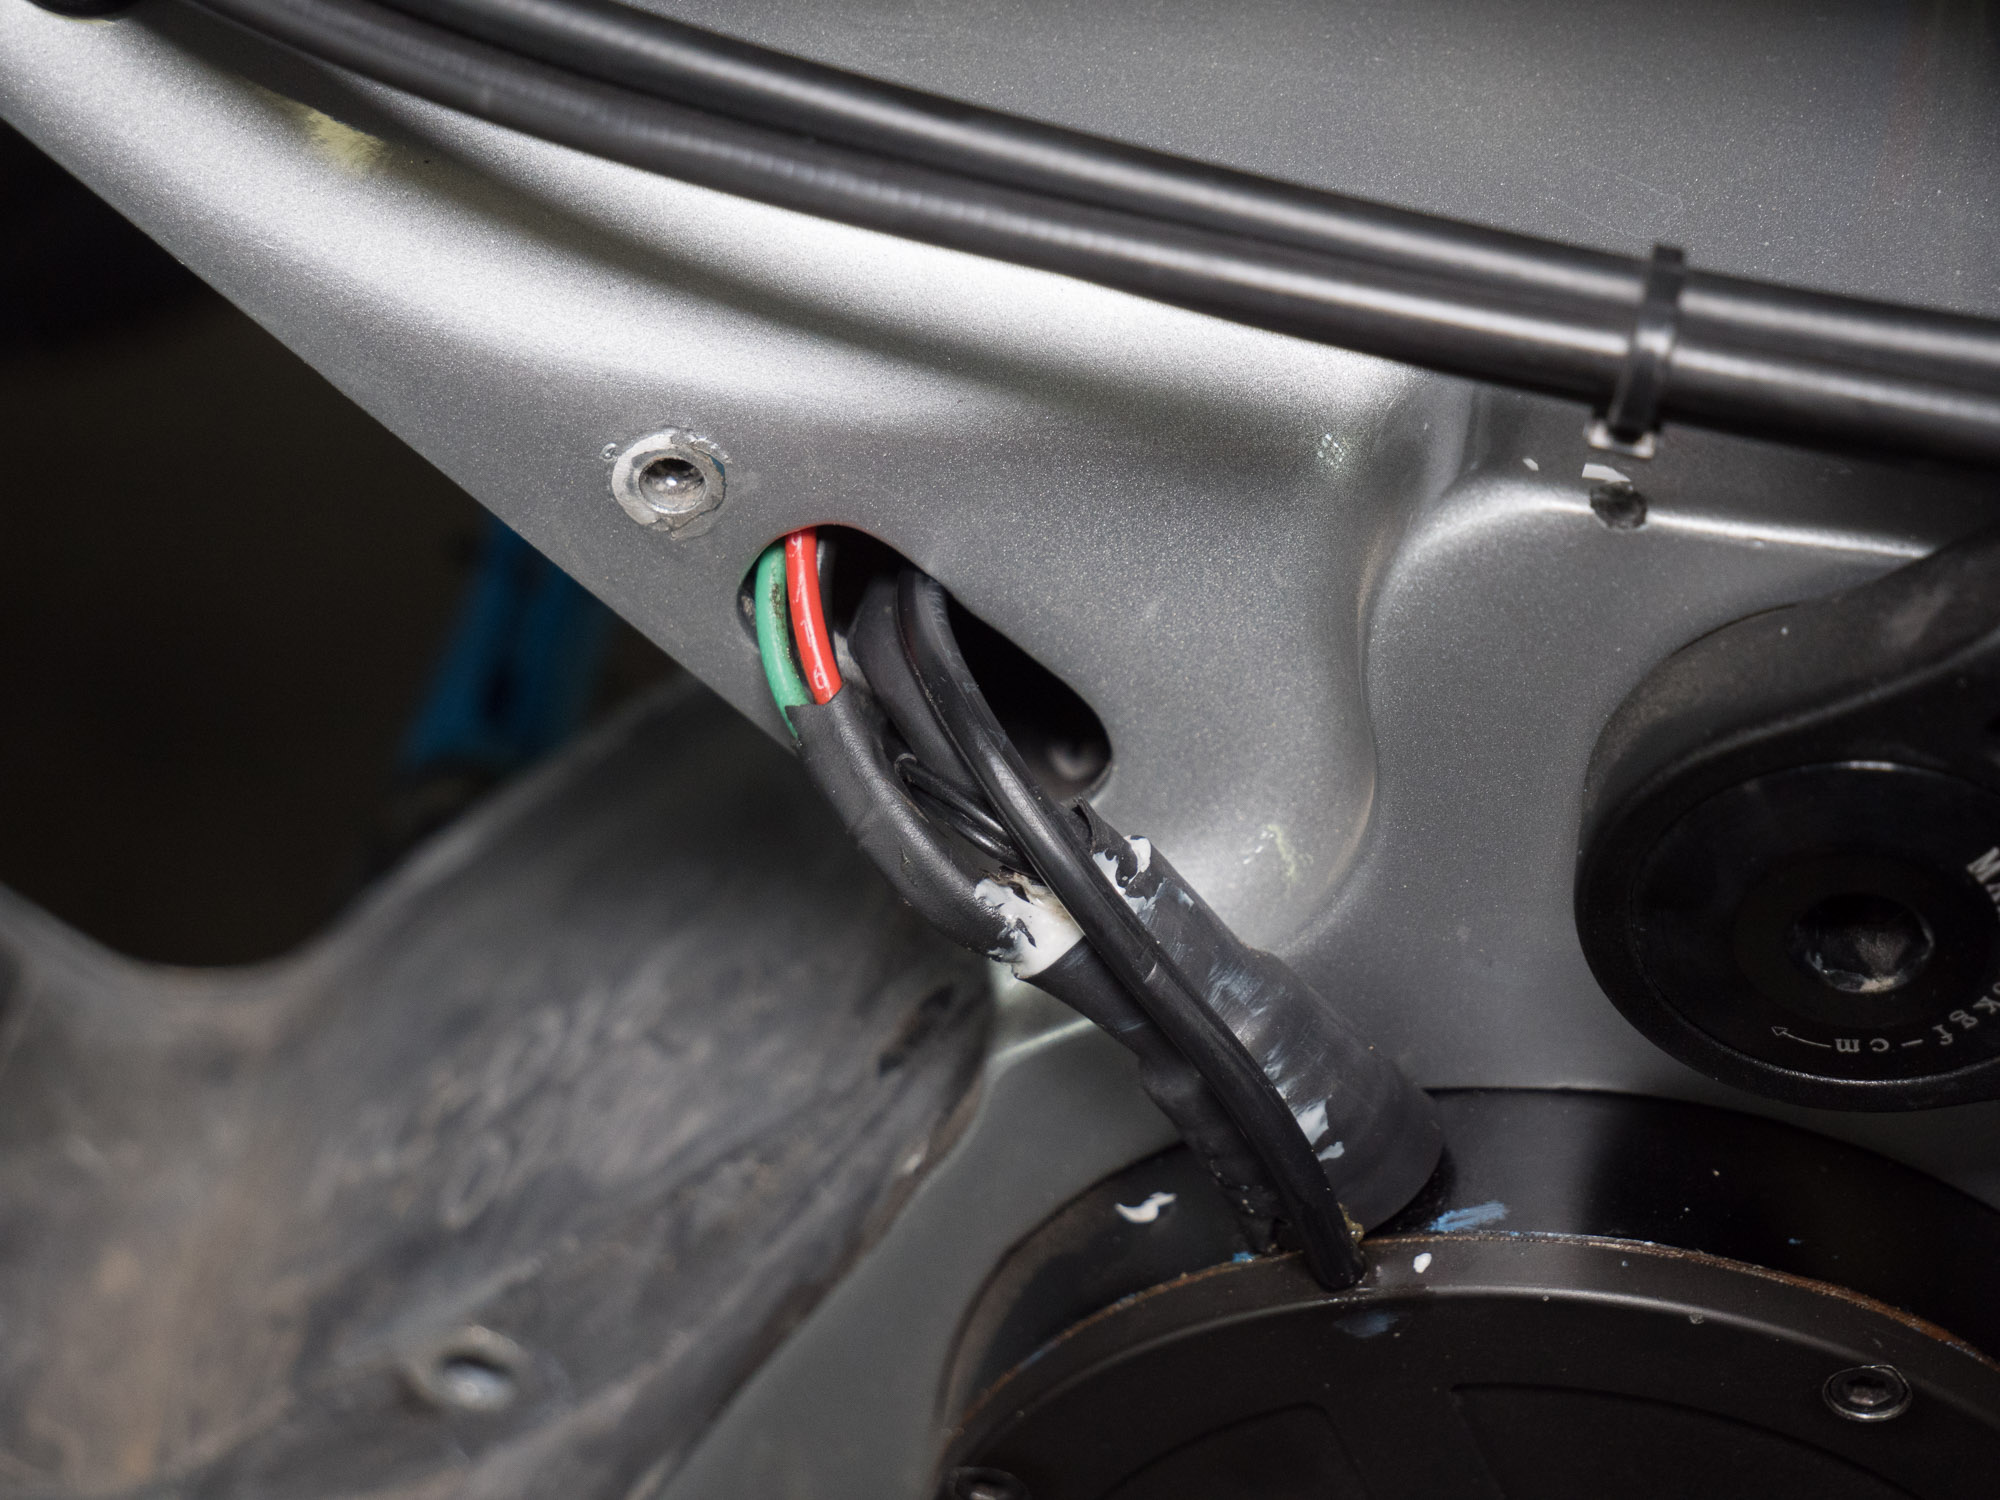
Next you’ll need to pull out the head cable which is the largest of 2 gray colored cables, as shown by the arrow it’s tucked into the back of the frame, grab the cable and start pulling it up out of the frame.
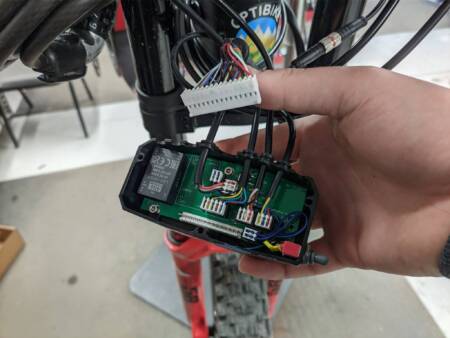
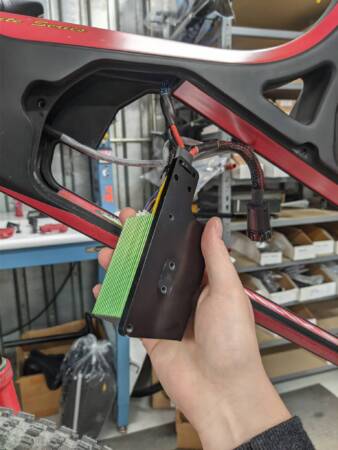
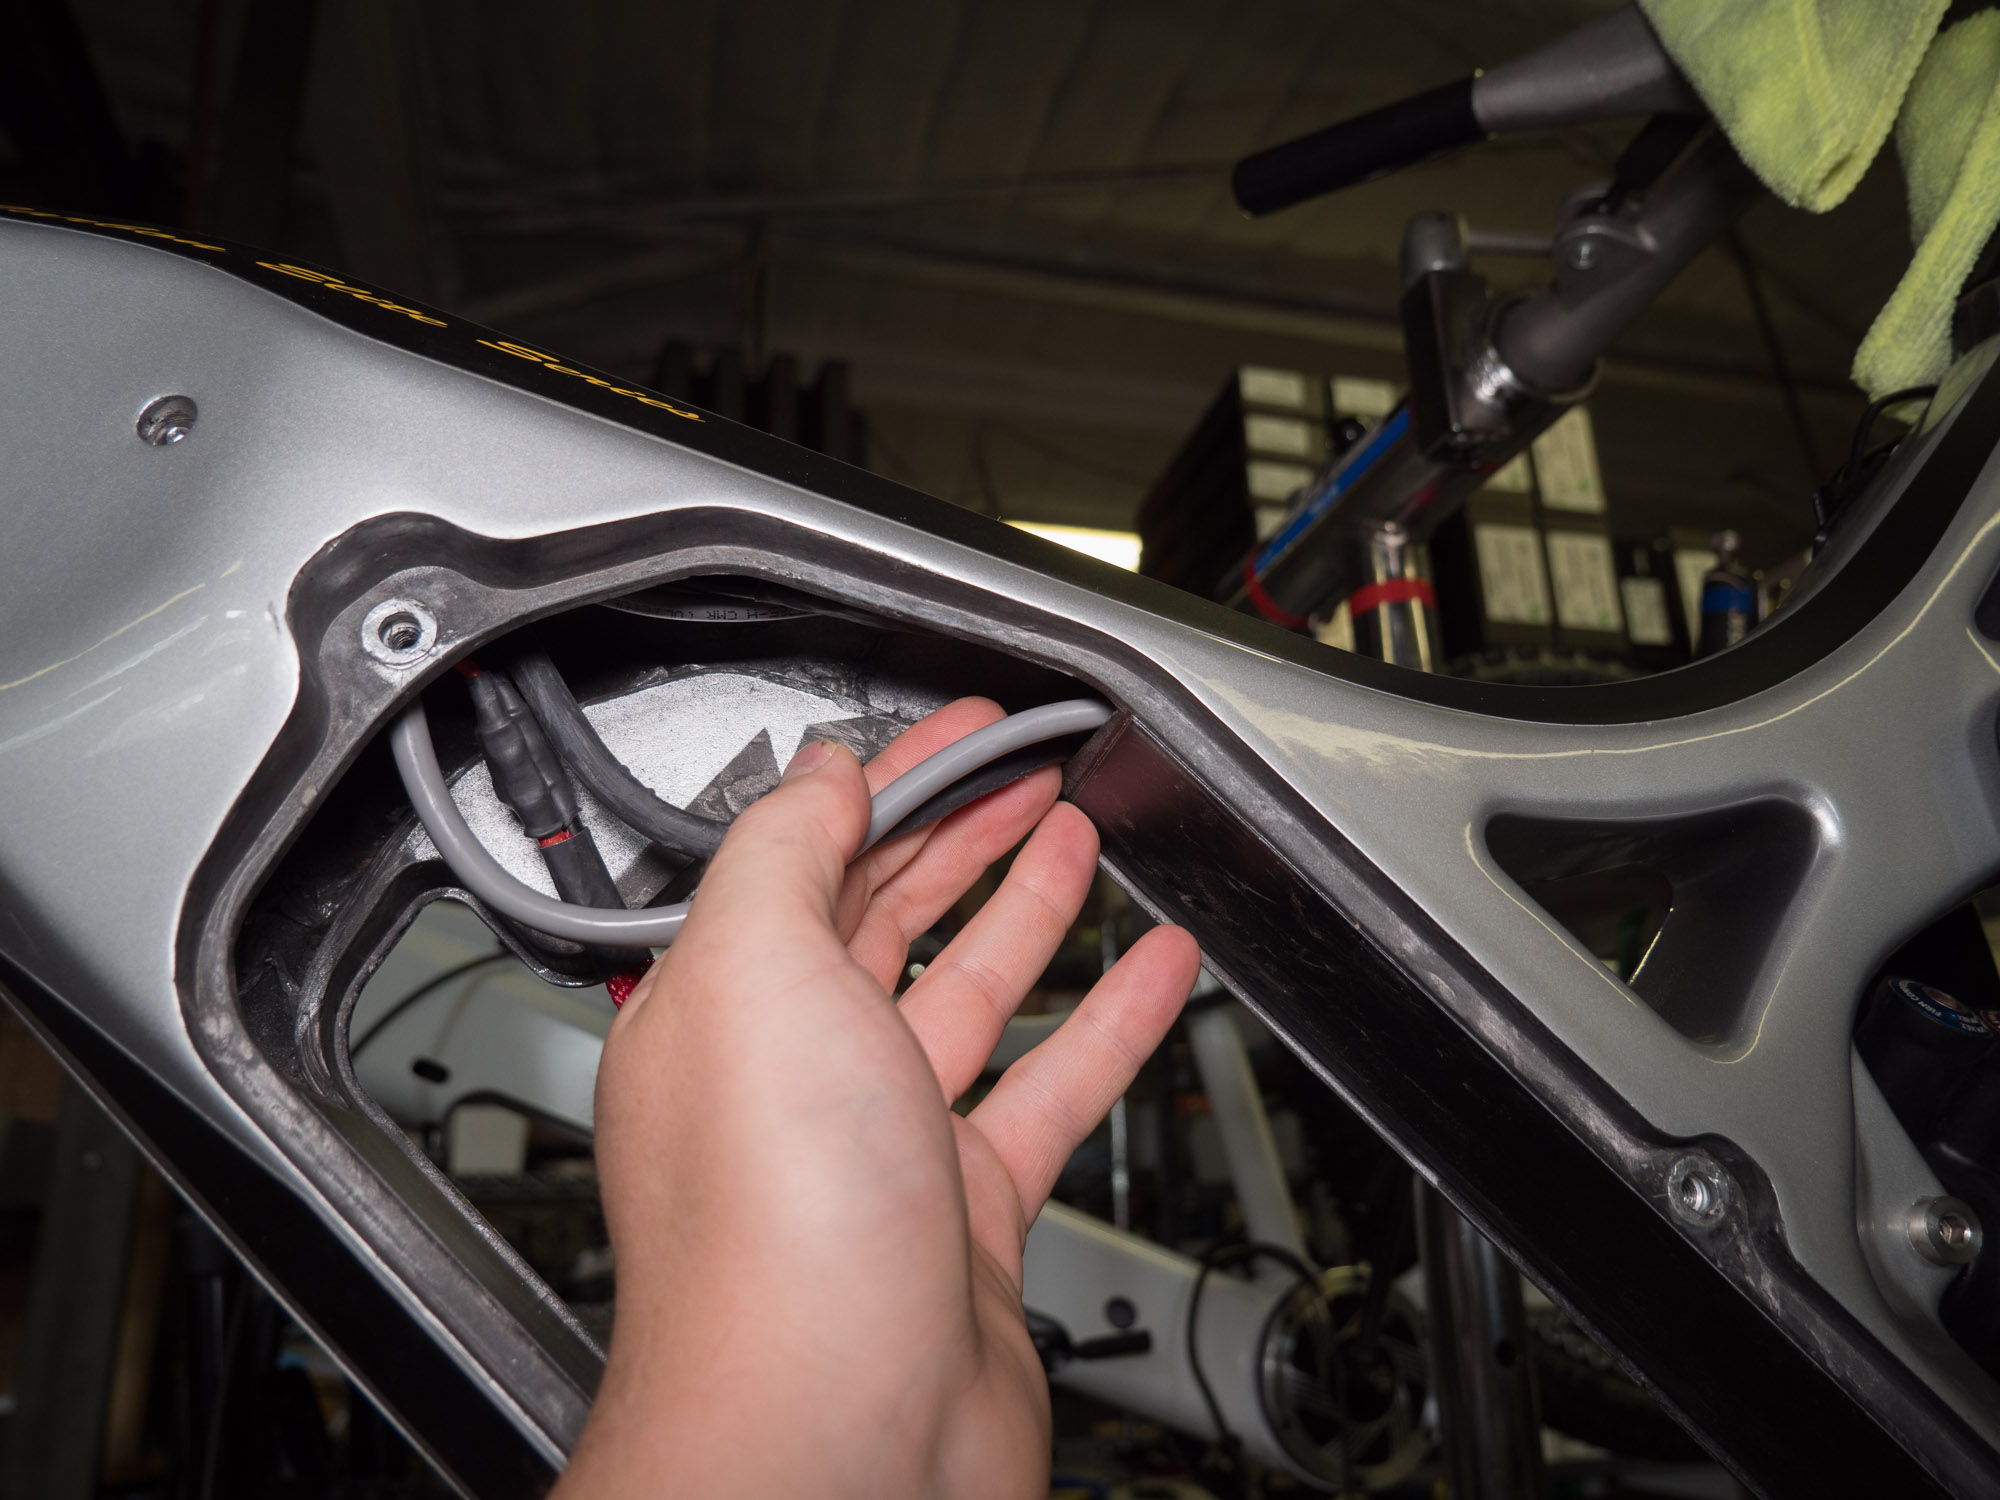
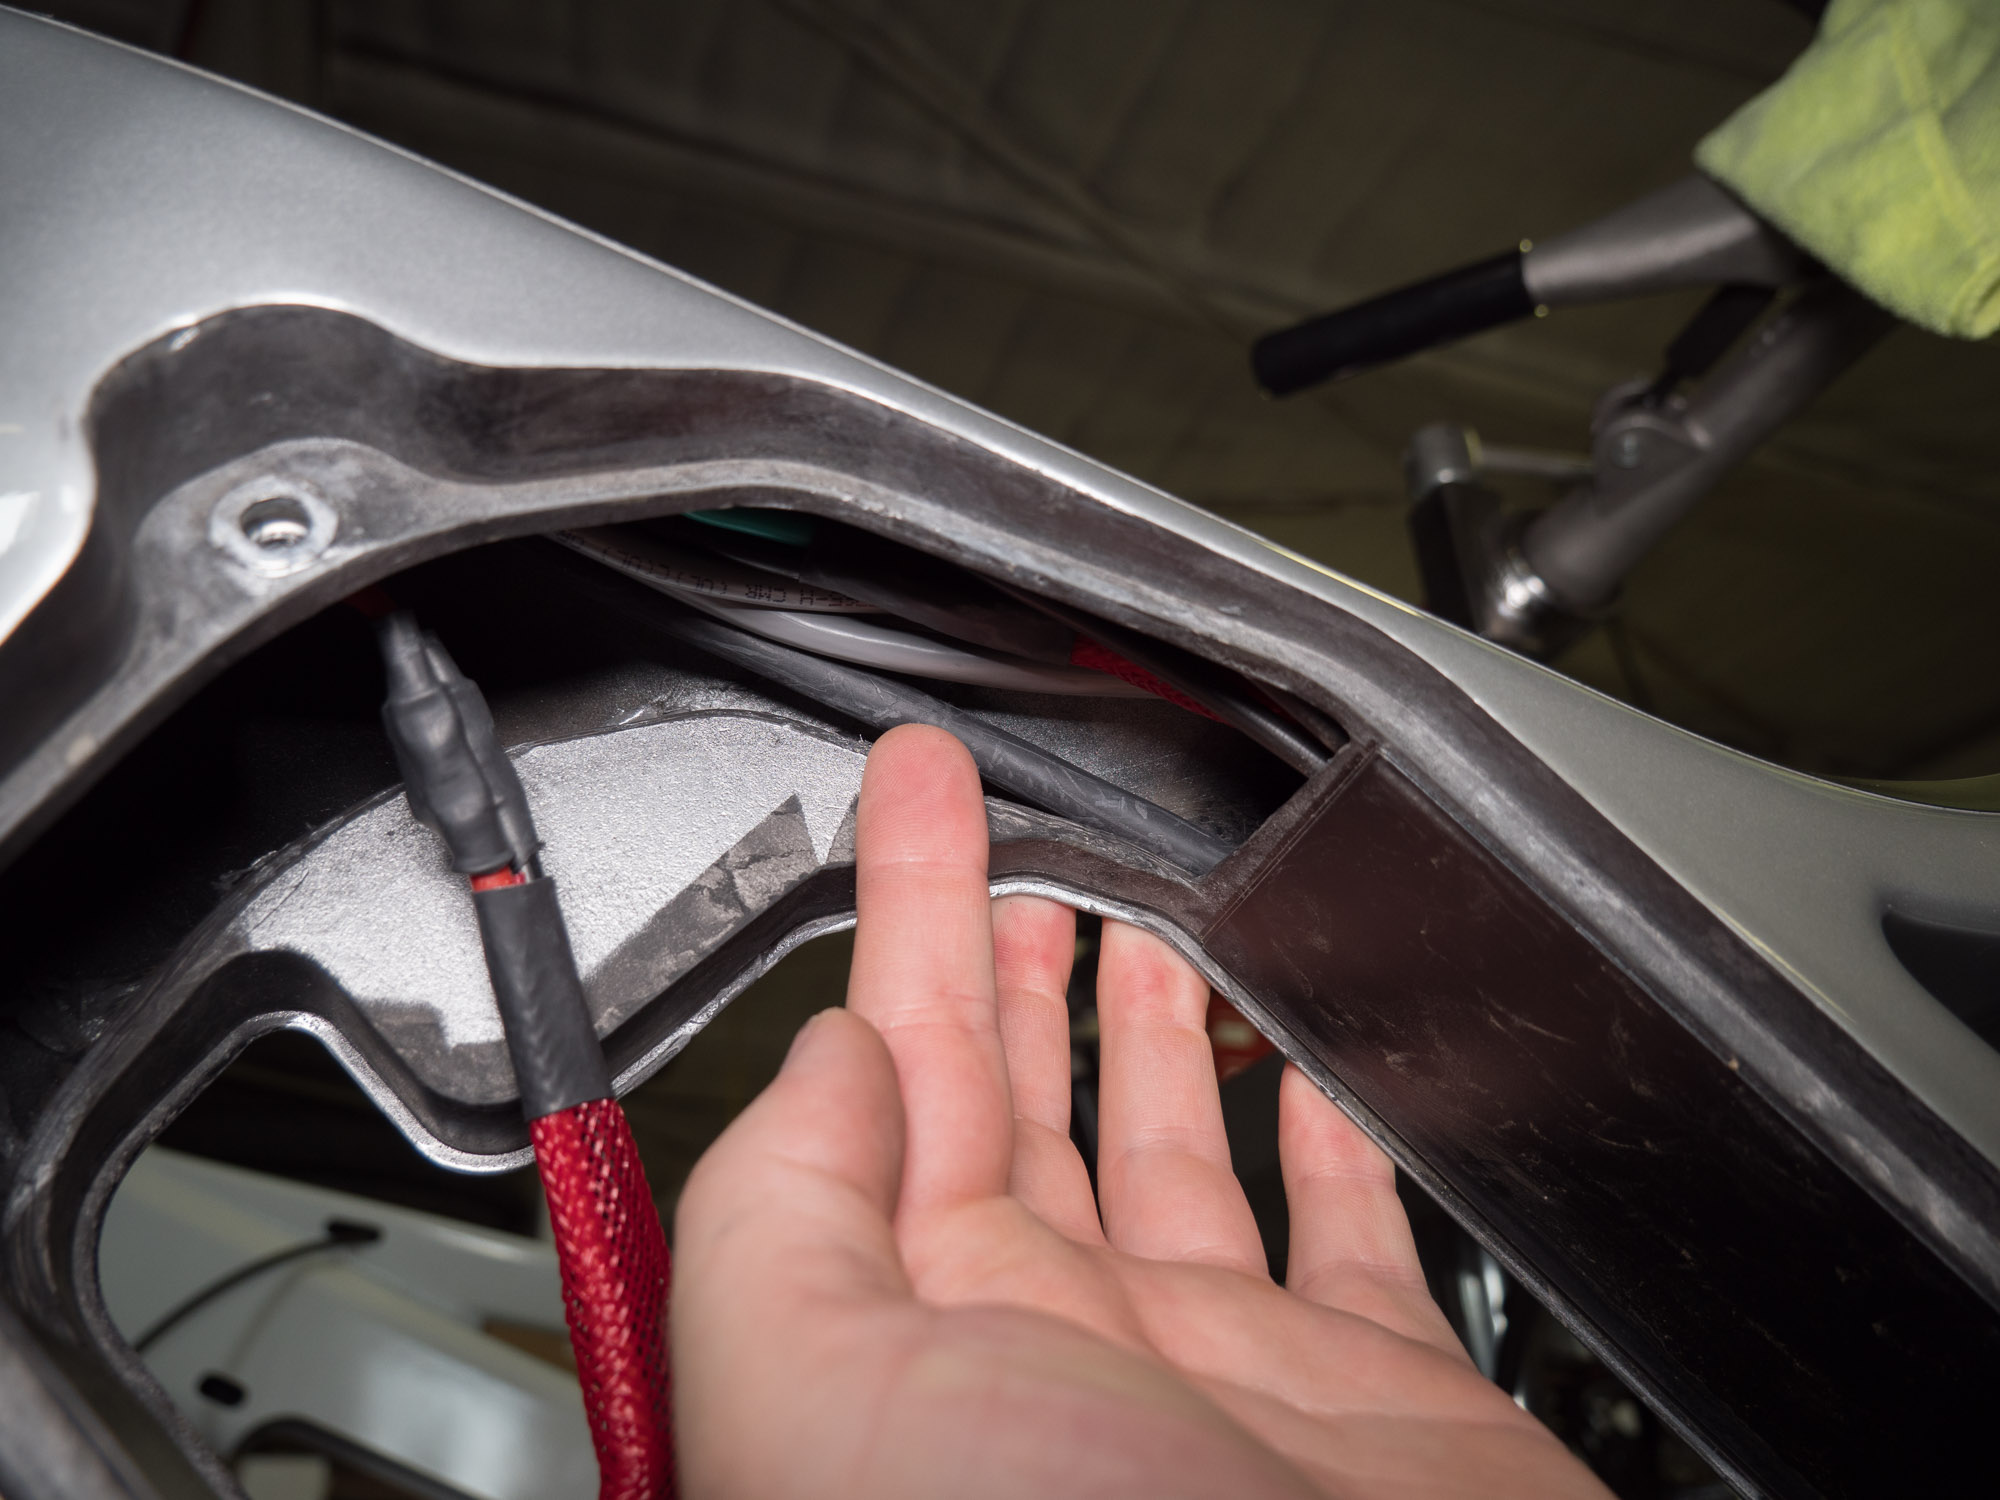
Next, remove the controller from inside the frame, it will slide out with a bit of careful positioningFeed the motor cables into the frame as you pull them out of the topController motor wires removed from frameNext, pull the head cable back through the frame, you’ll need to guide the connector through the hole by turning it sideways.
Now you should have a complete controller assembly out of the bike. Re-installing is essentially the reverse, and is outlined below.
Installing
Feed Wires In To Frame
You can often just feed the wires through from the top down, however if they are getting stuck, a piece of stiff wire and some tape will make it much easier.
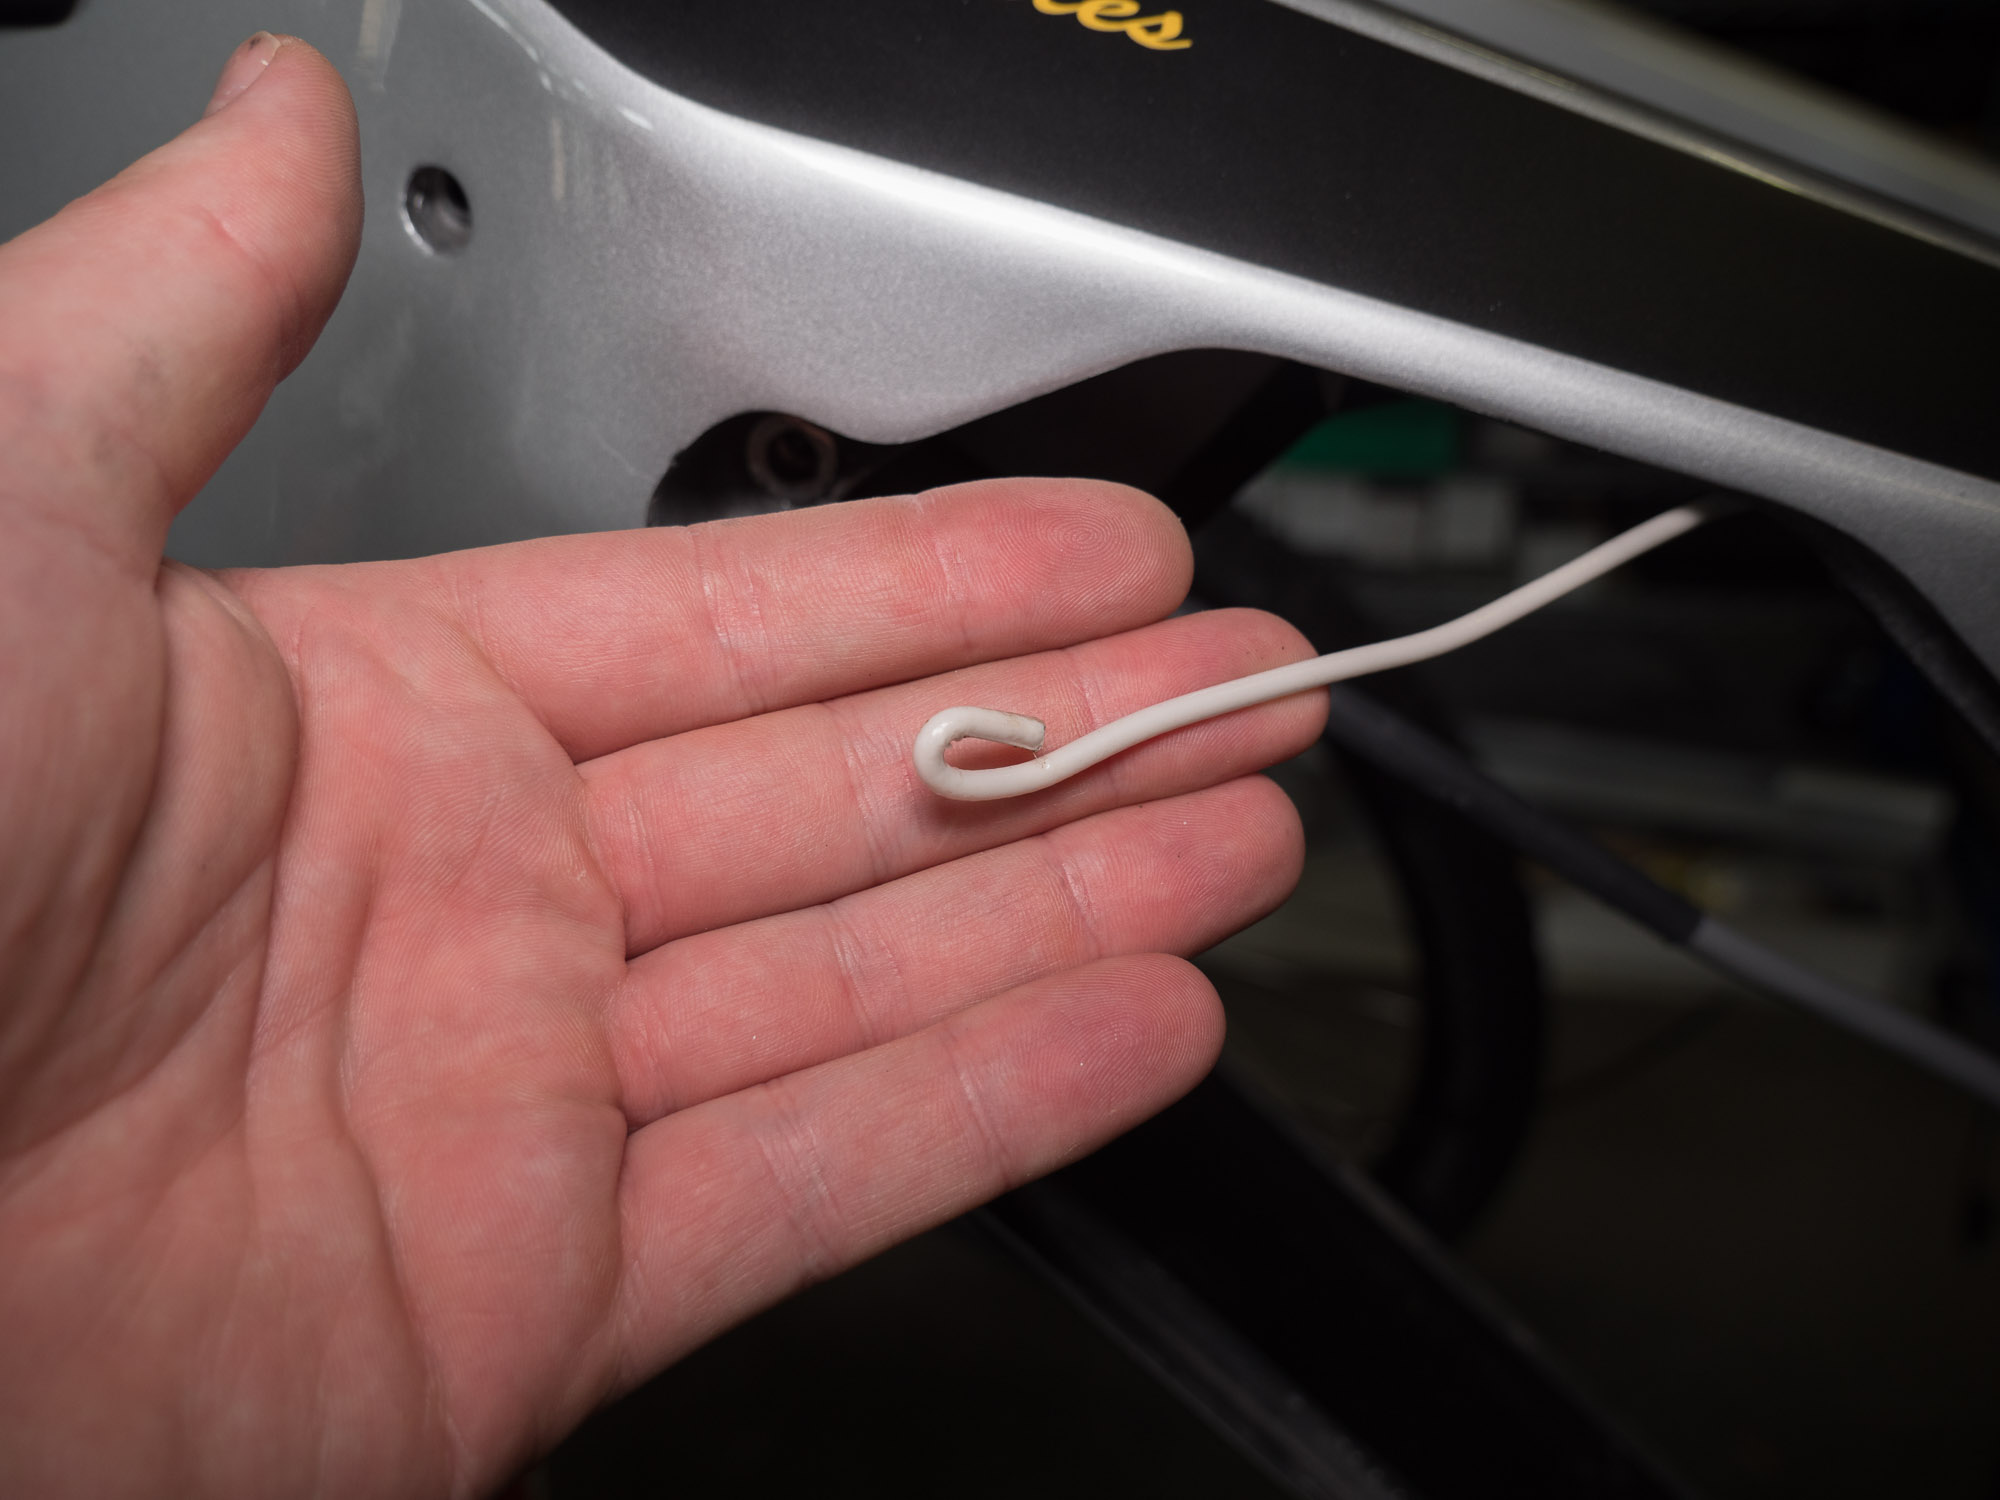
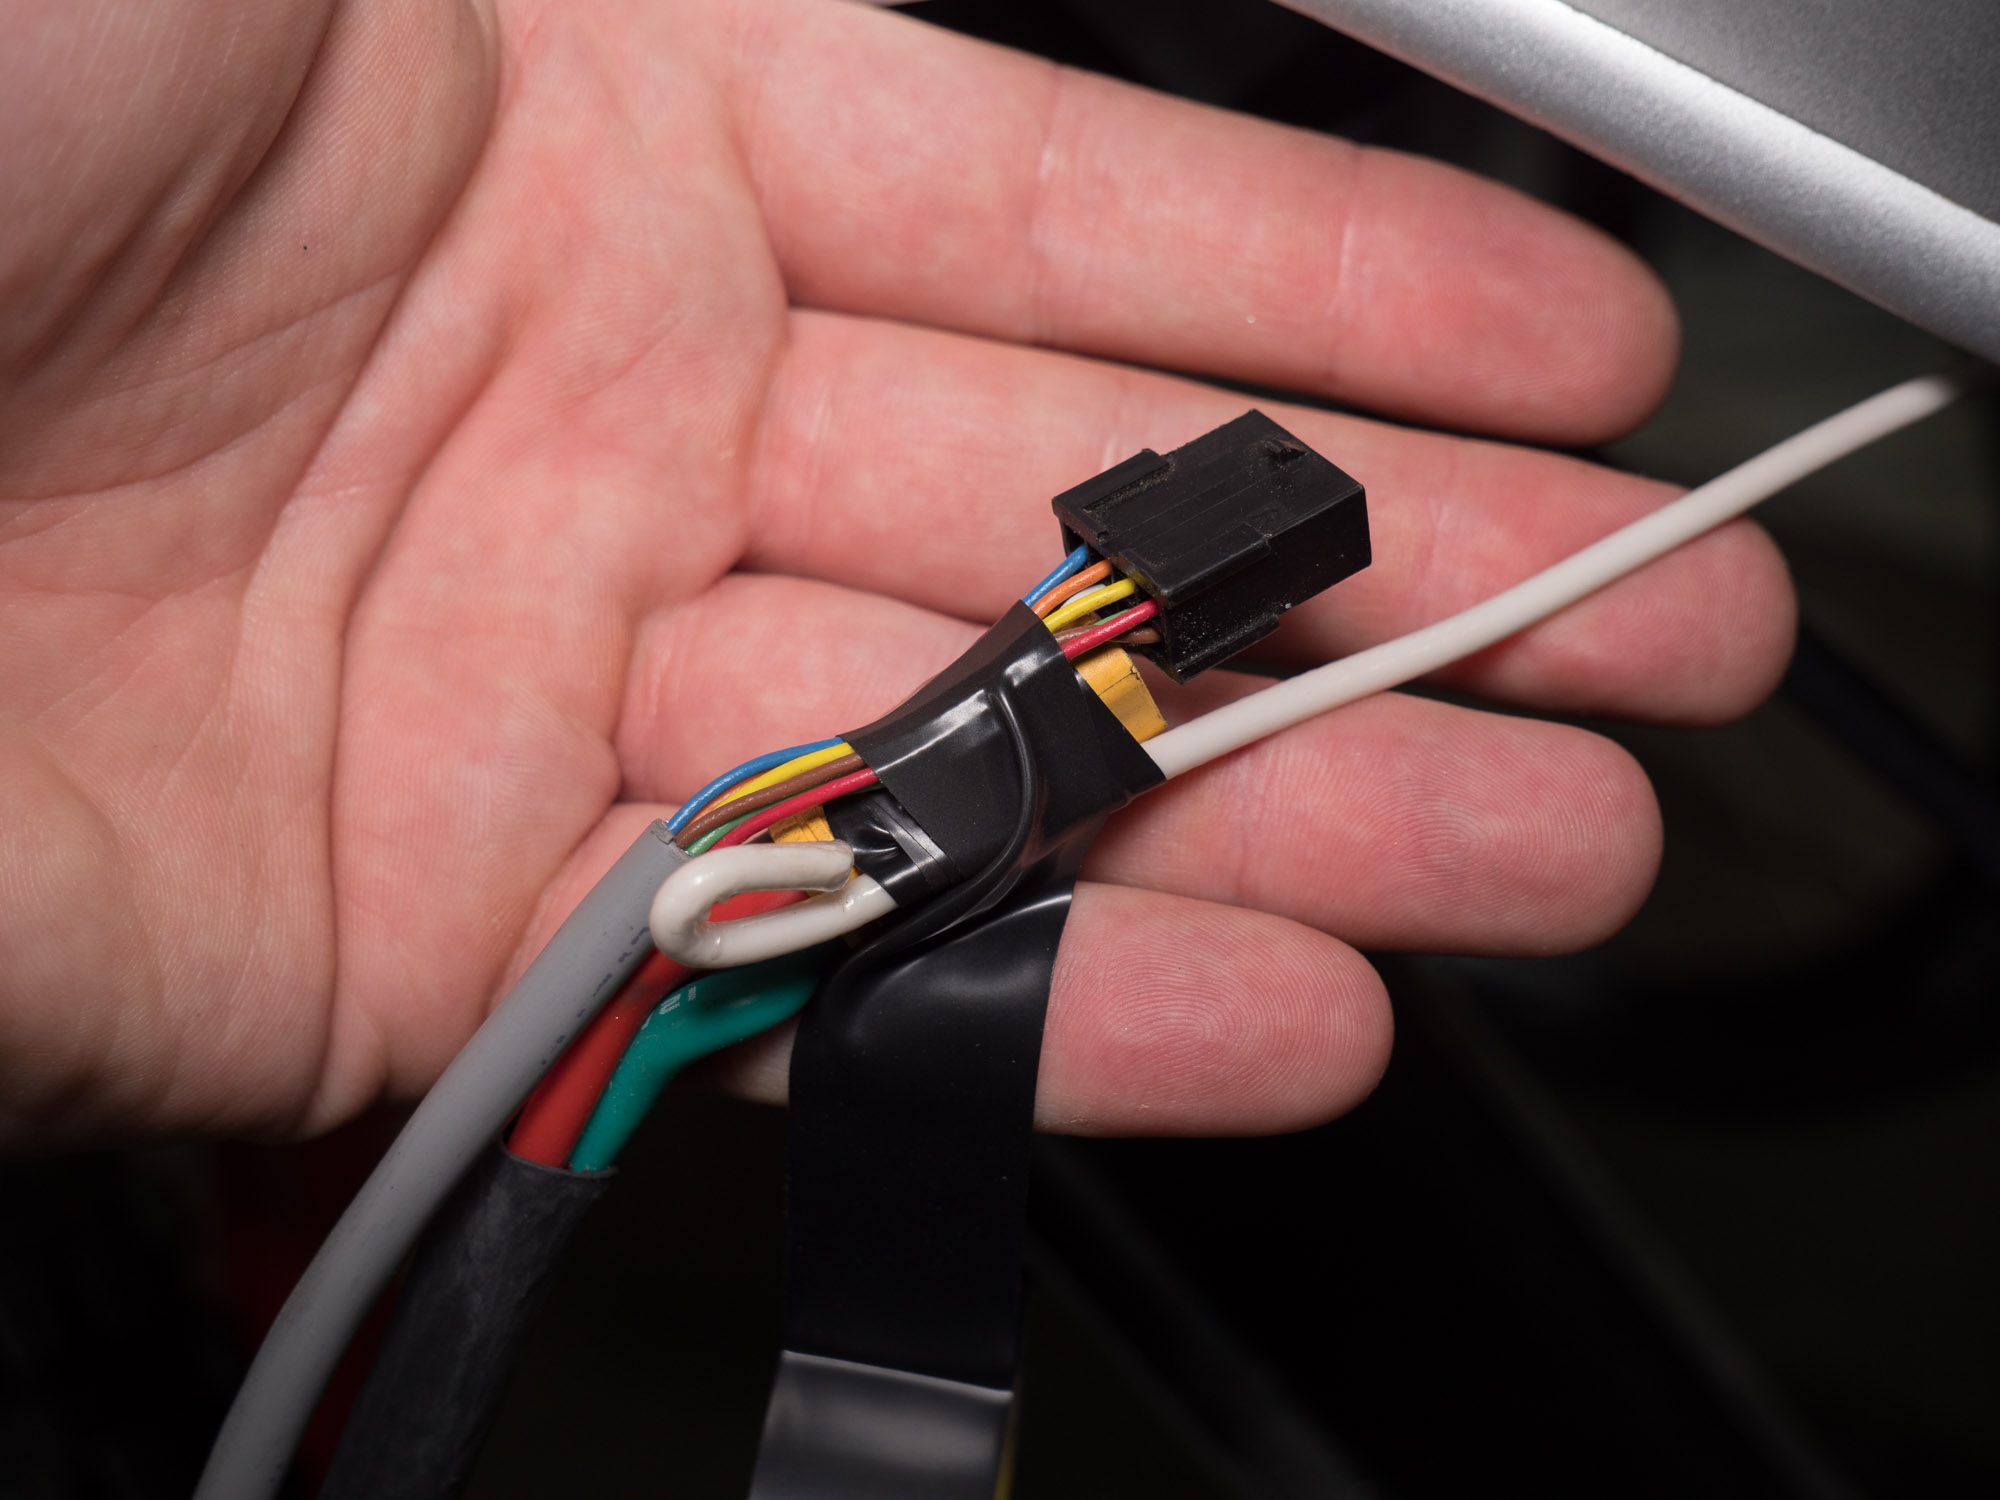
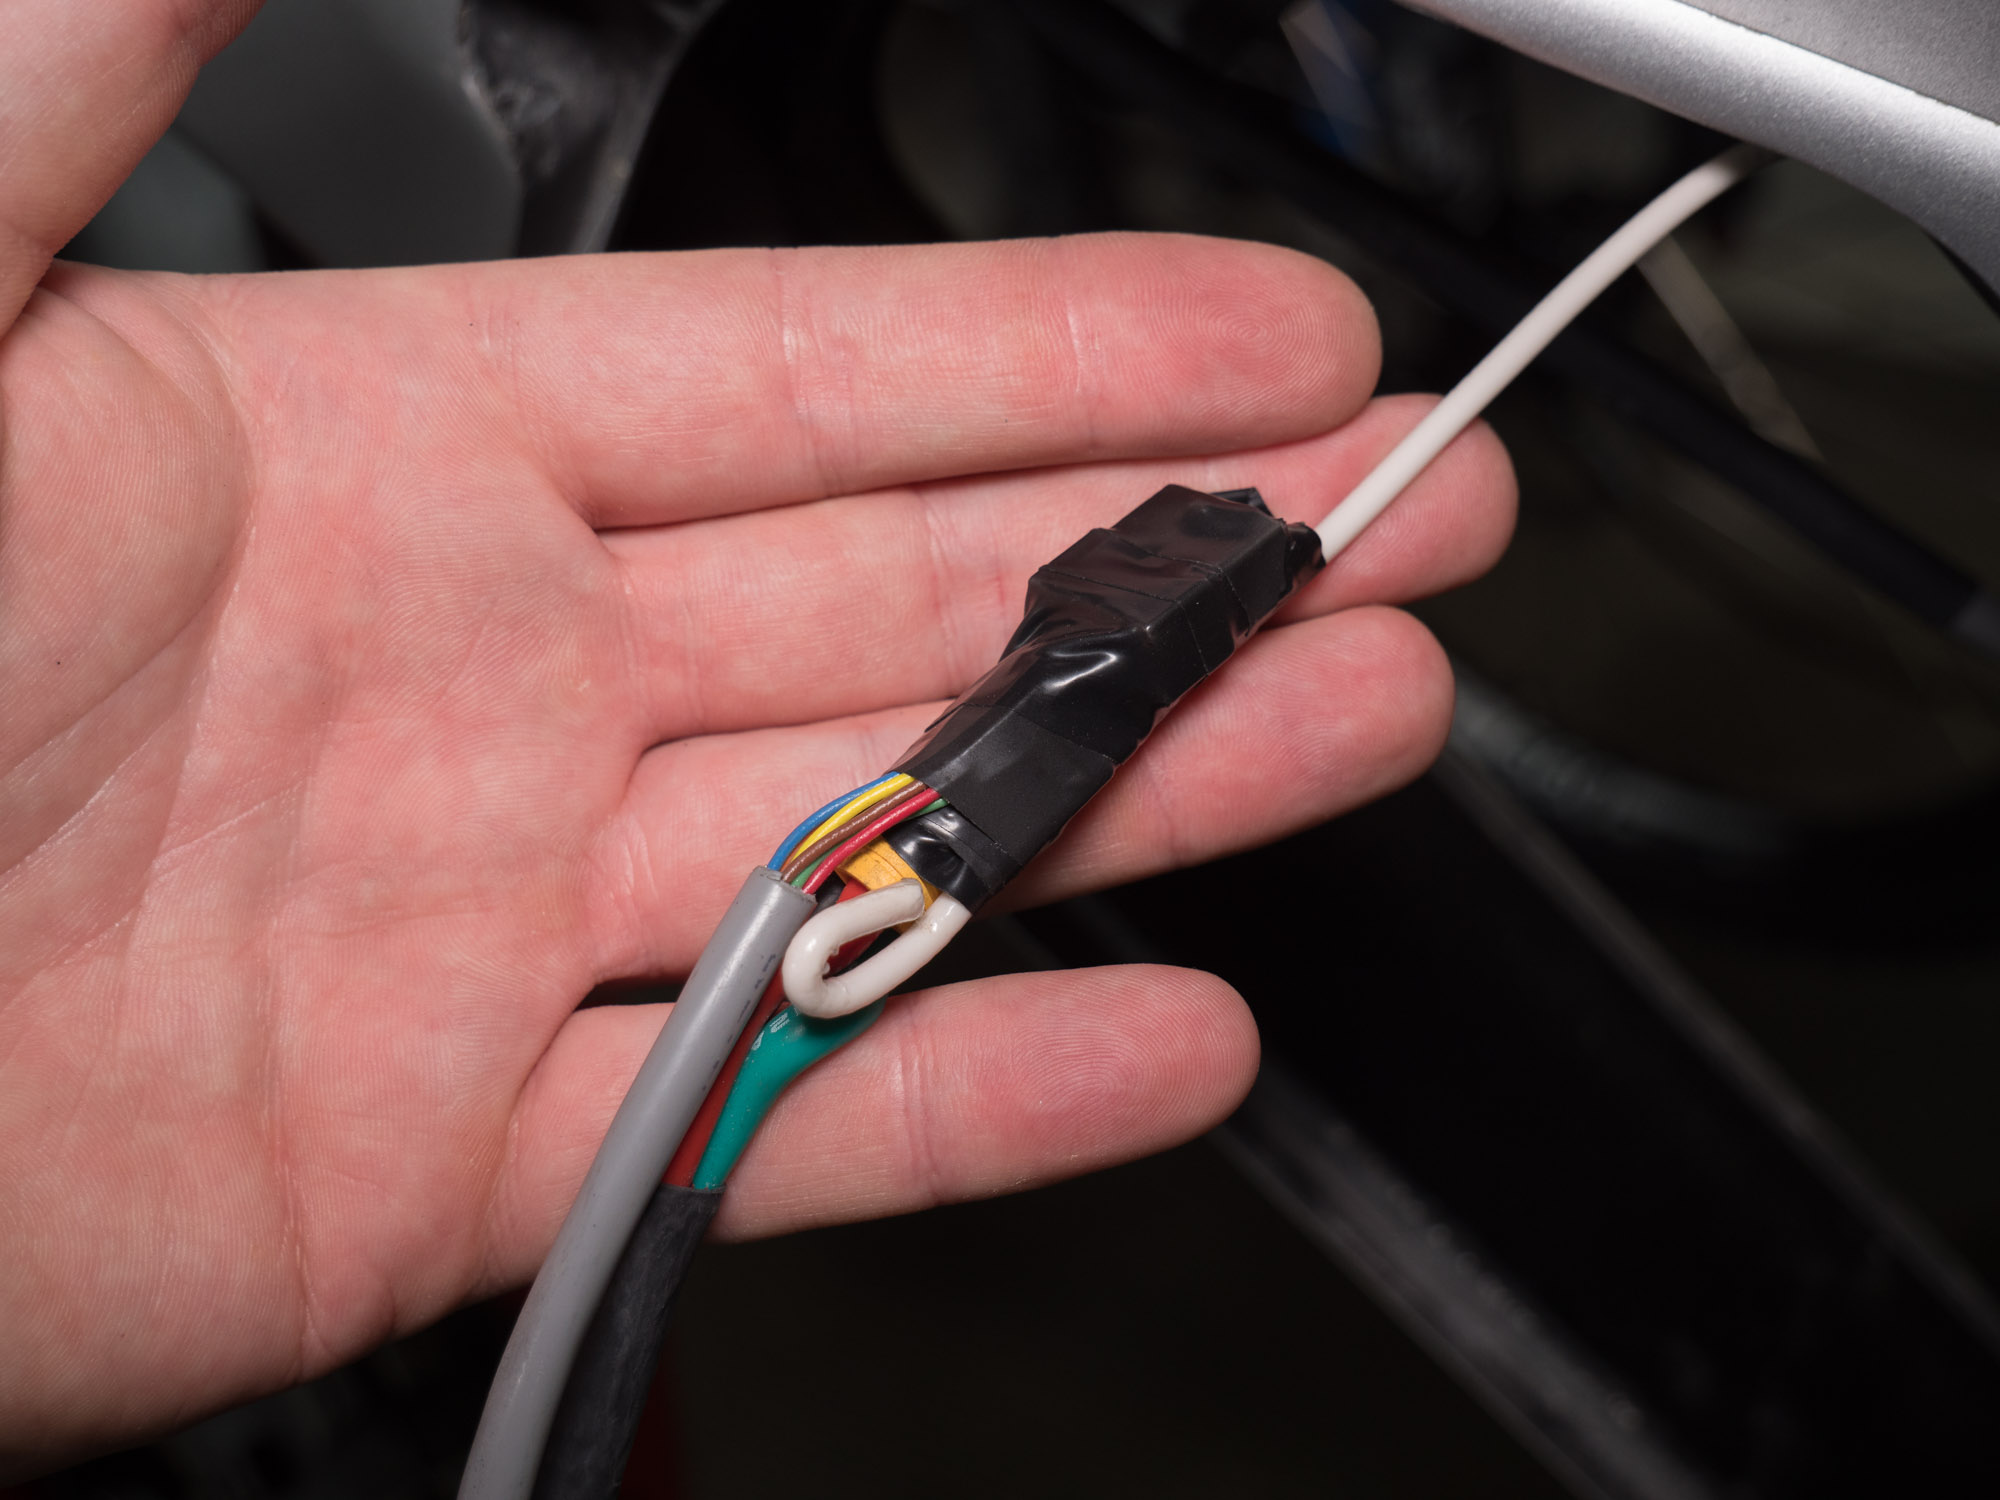
Feed a length of stiff wire from the bottom to the top of the frame. A coat hanger can work well for this.Bend the end of the wire at the top into a hook.Take the motor wires and tape them to the stiff wire you fed through the frame.
Pull the wires down through the frame until they come out the opening near the motor.
Install Controller
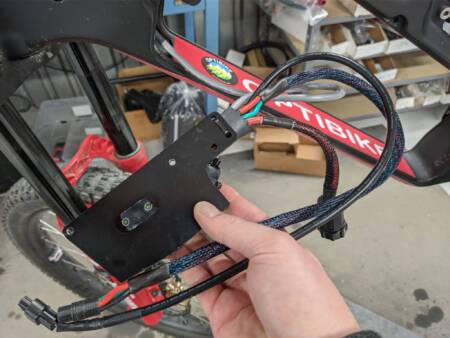
Place the controller back into the upper area of the frame for now.Take the head cable and feed the extra length into the back of the frame as shown in the next few images.
Connect Motor and Install Battery
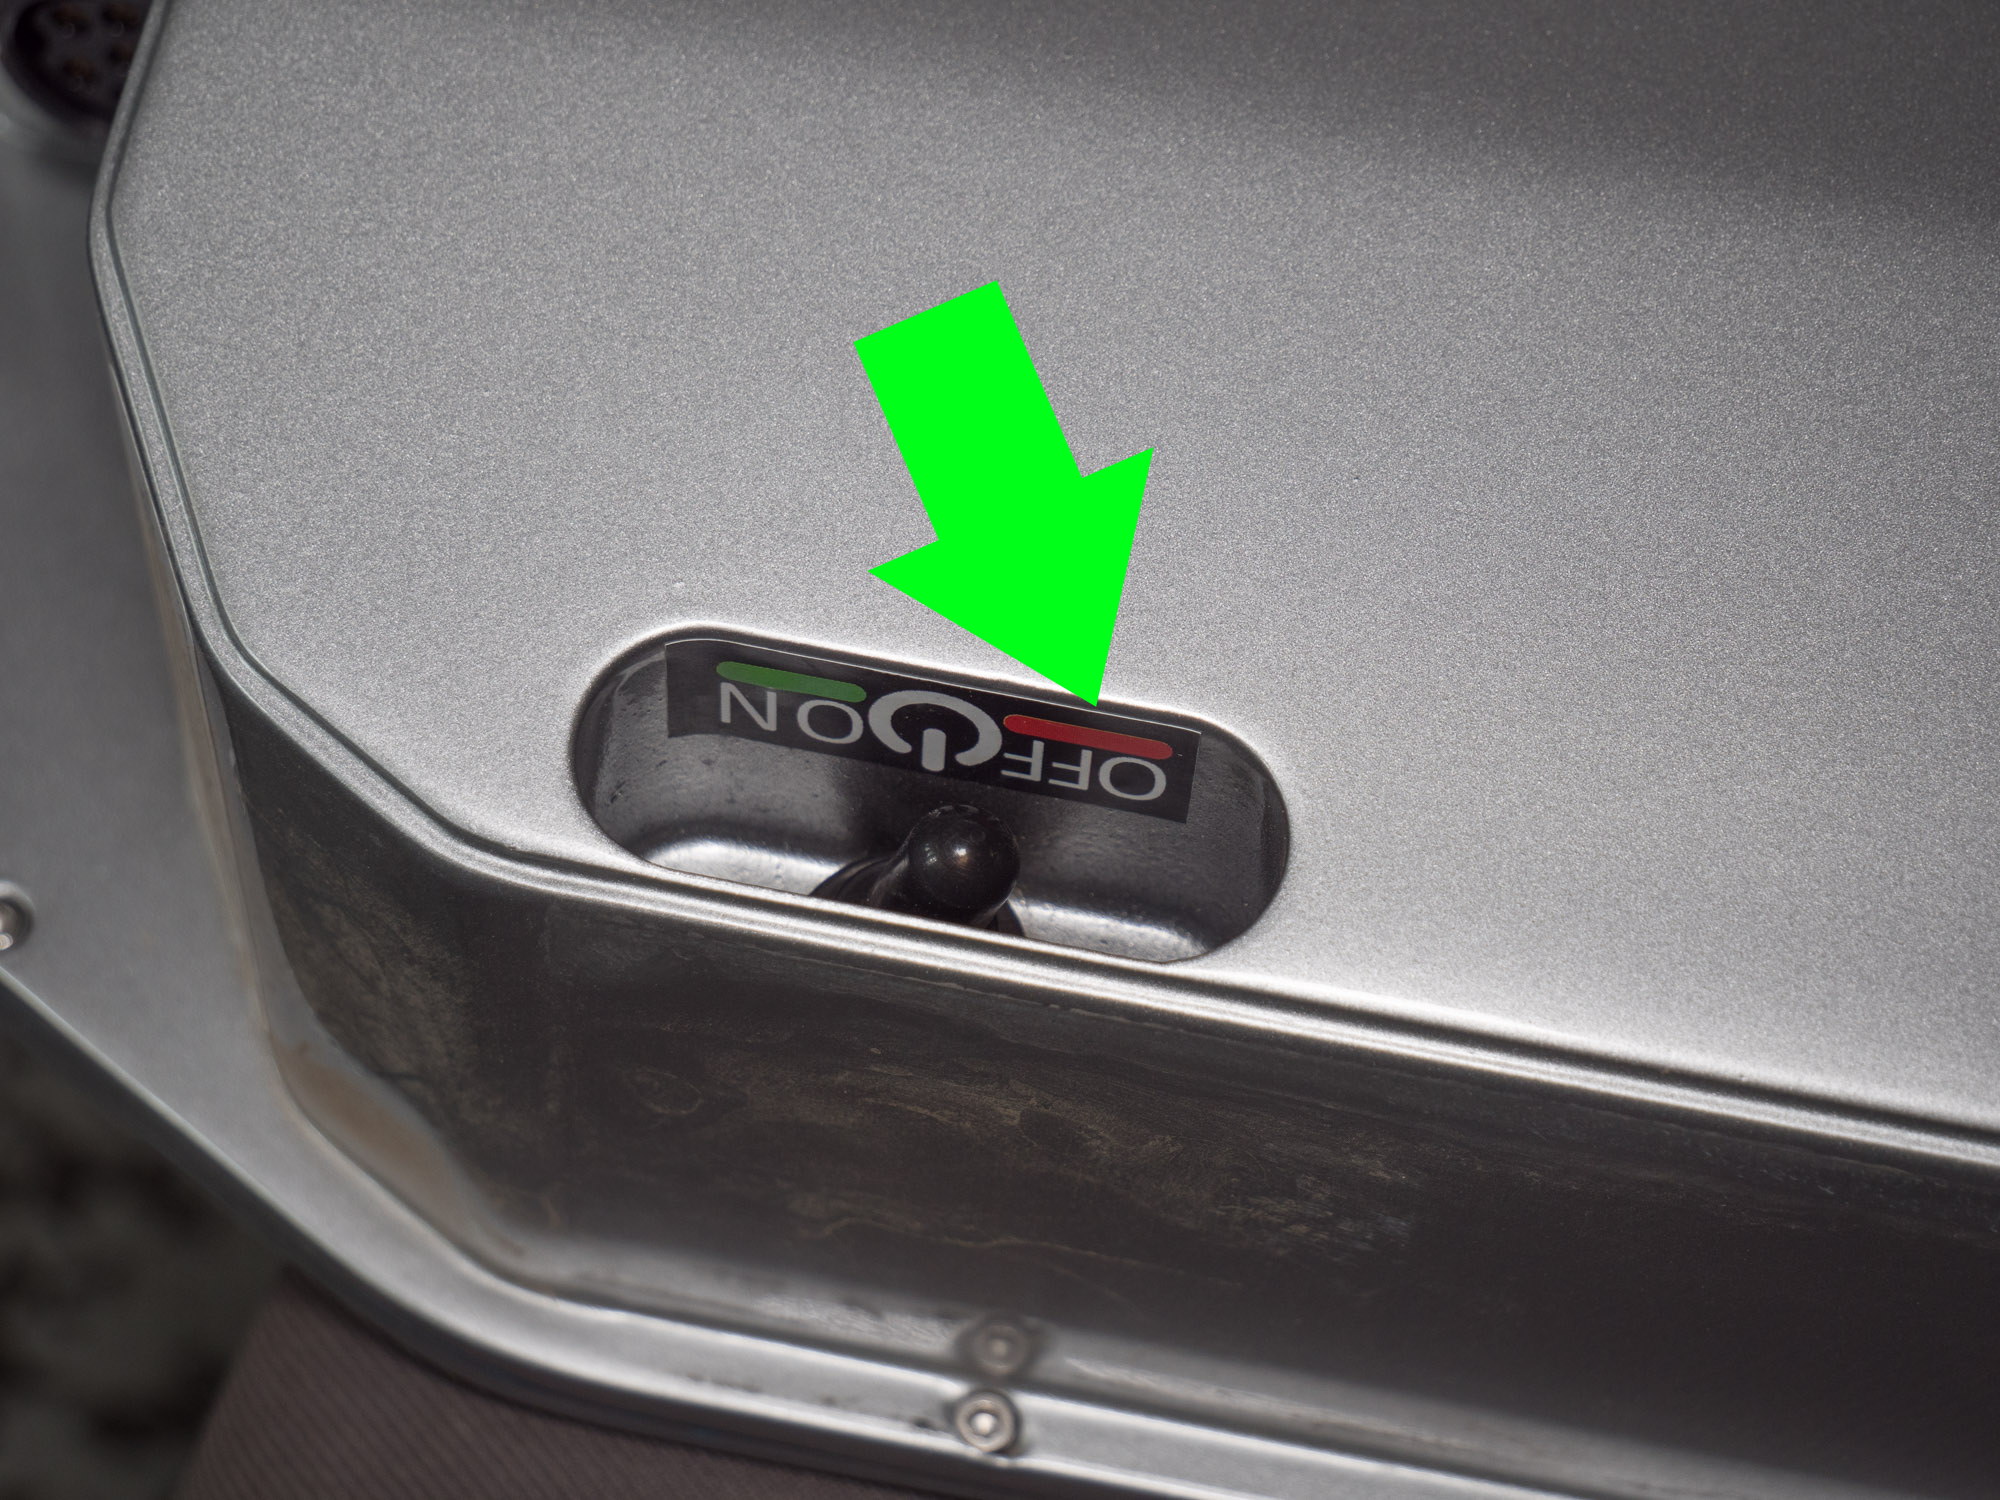
Reconnect the motor wires.Feed the extra wire and connectors back inside the frame.Make sure your battery switch is in the “OFF” position.Seat the battery in the frame, with the top leaning out so you can access the connector.Line up the connector and push it together, the arrows in the image point to the detents in the connector housing that align it. You may need to rotate the outer ring as you push the connector together.Push the battery all the way back into the frame, taking care that the power wires don’t get caught and pinched.Install the battery bolts, with the shorter of the 3 going in the middle position. And re-install the motor wire cover.Align the motor wire cover with the frame.
Turn the switch on the battery to the ON position, wait a few seconds, then press the power button on the handlebar and check that everything functions properly (Display turns on, throttle works, and no errors are shown on the display).