Installing LED Taillight – RxC Series
Table of Contents
Important
Before working on your Optibike always turn off the main power switch located on the battery.
Tools in this guide
- 1.5mm Allen/Hex Wrench
- 4mm Allen/Hex Wrench
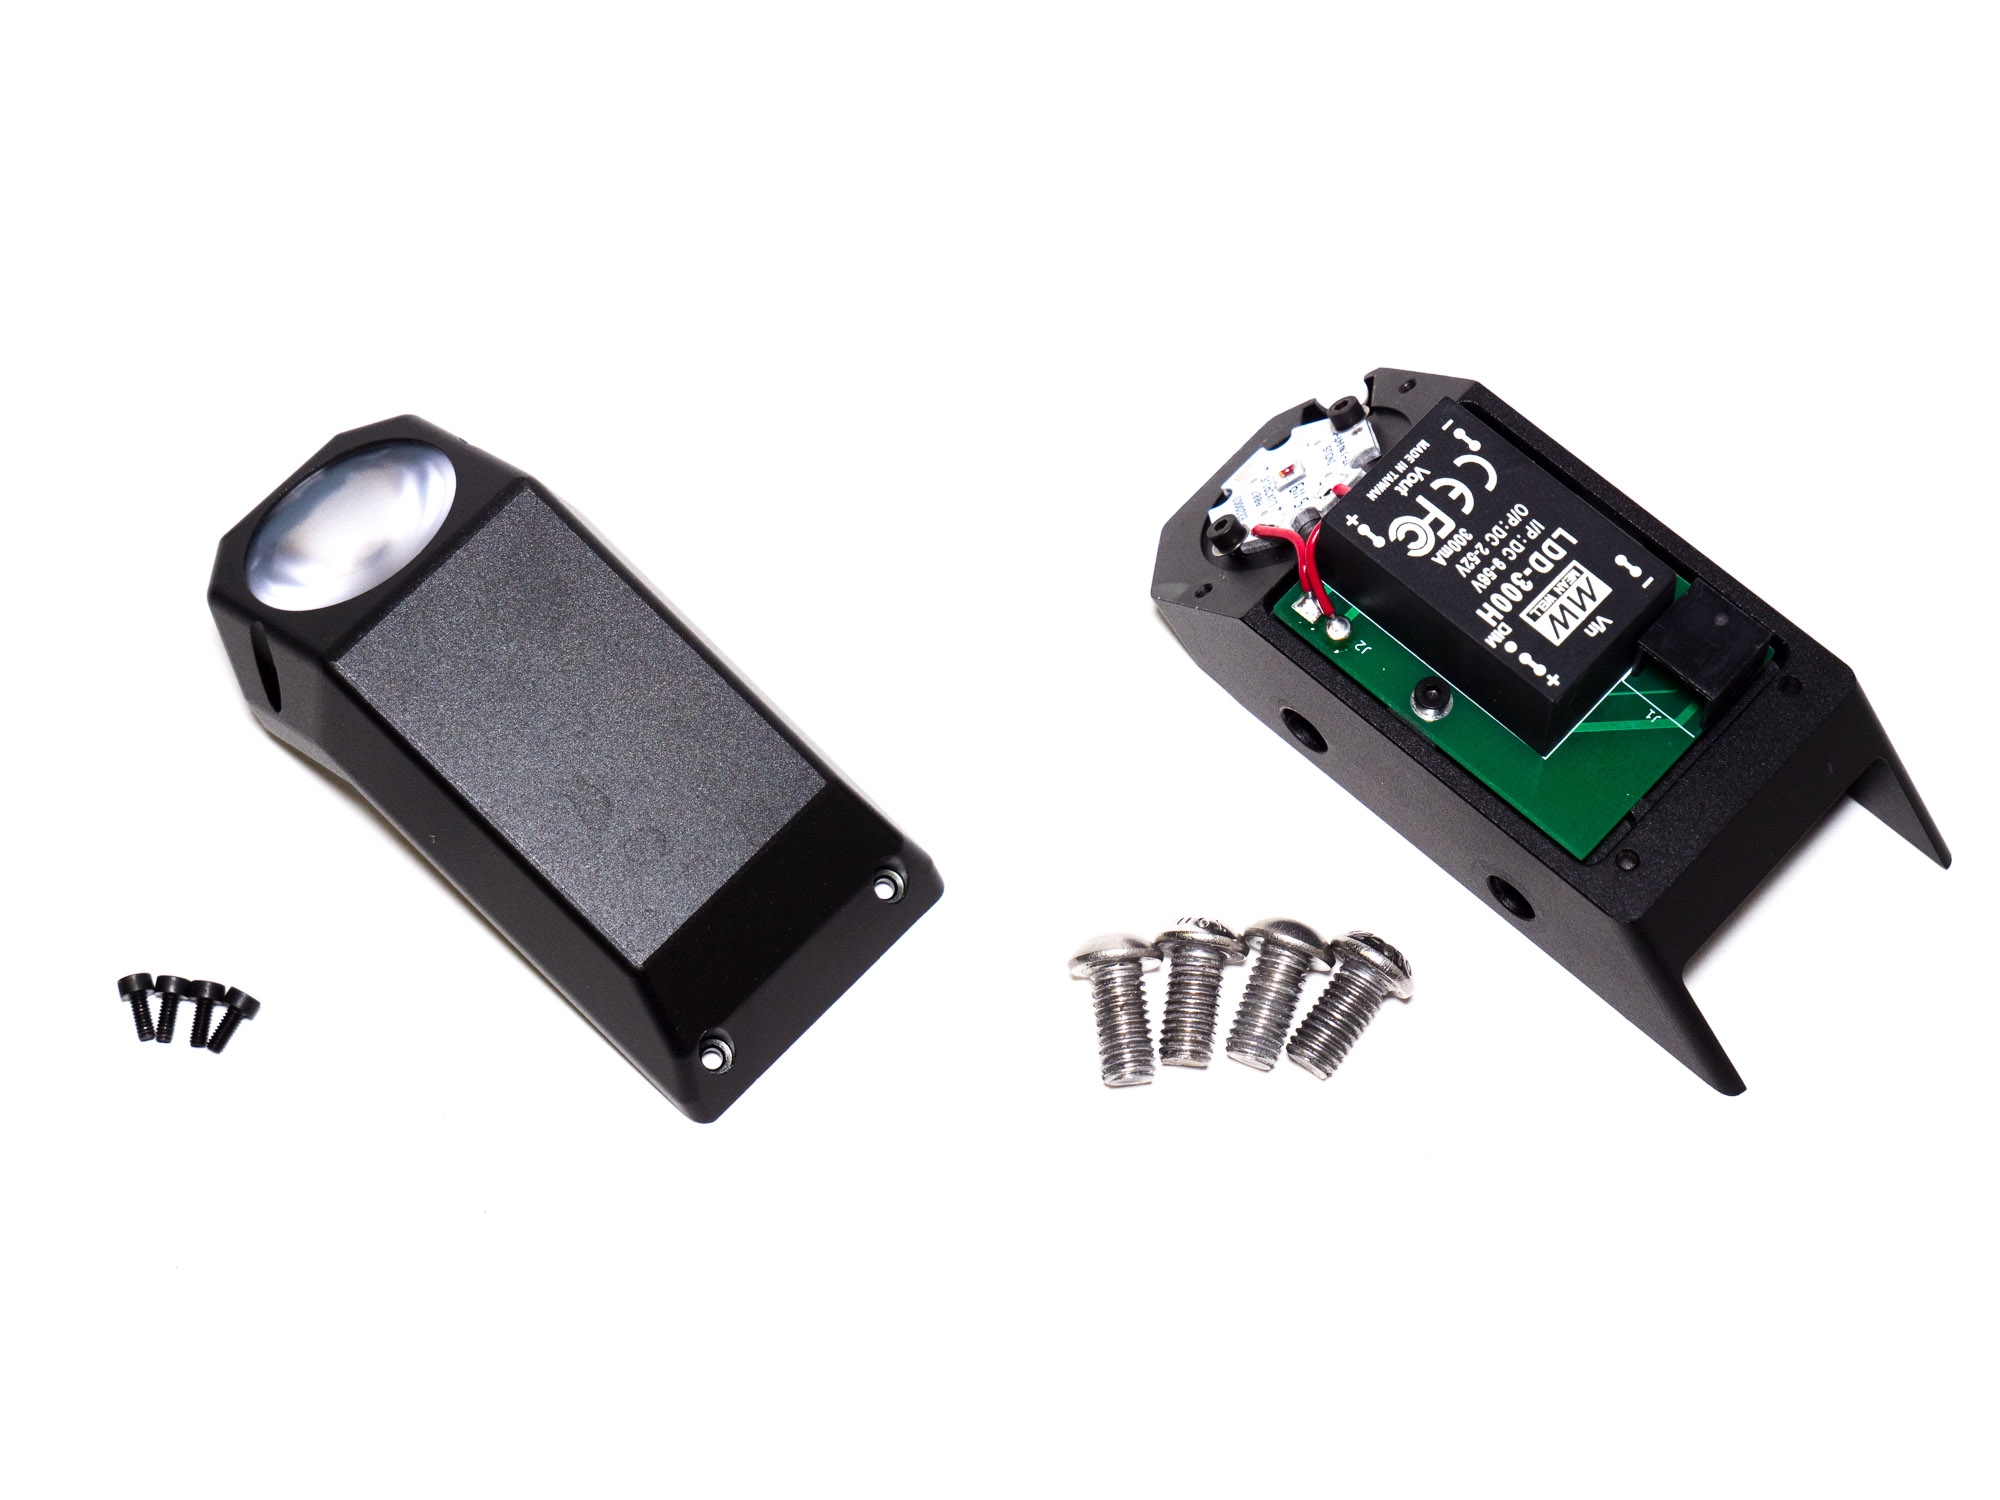
Components in this guide
- M2 x 5mm Bolt (4x)
- Taillight Shell
- M6 x 12mm Bolt (4x)
- Taillight Base
Steps
Note: If you are upgrading to this new Taillight
You may need to run a cable through the frame to connect the taillight to its connector in the headlight. This will be the case if you are upgrading to the new style of headlight on your bike.
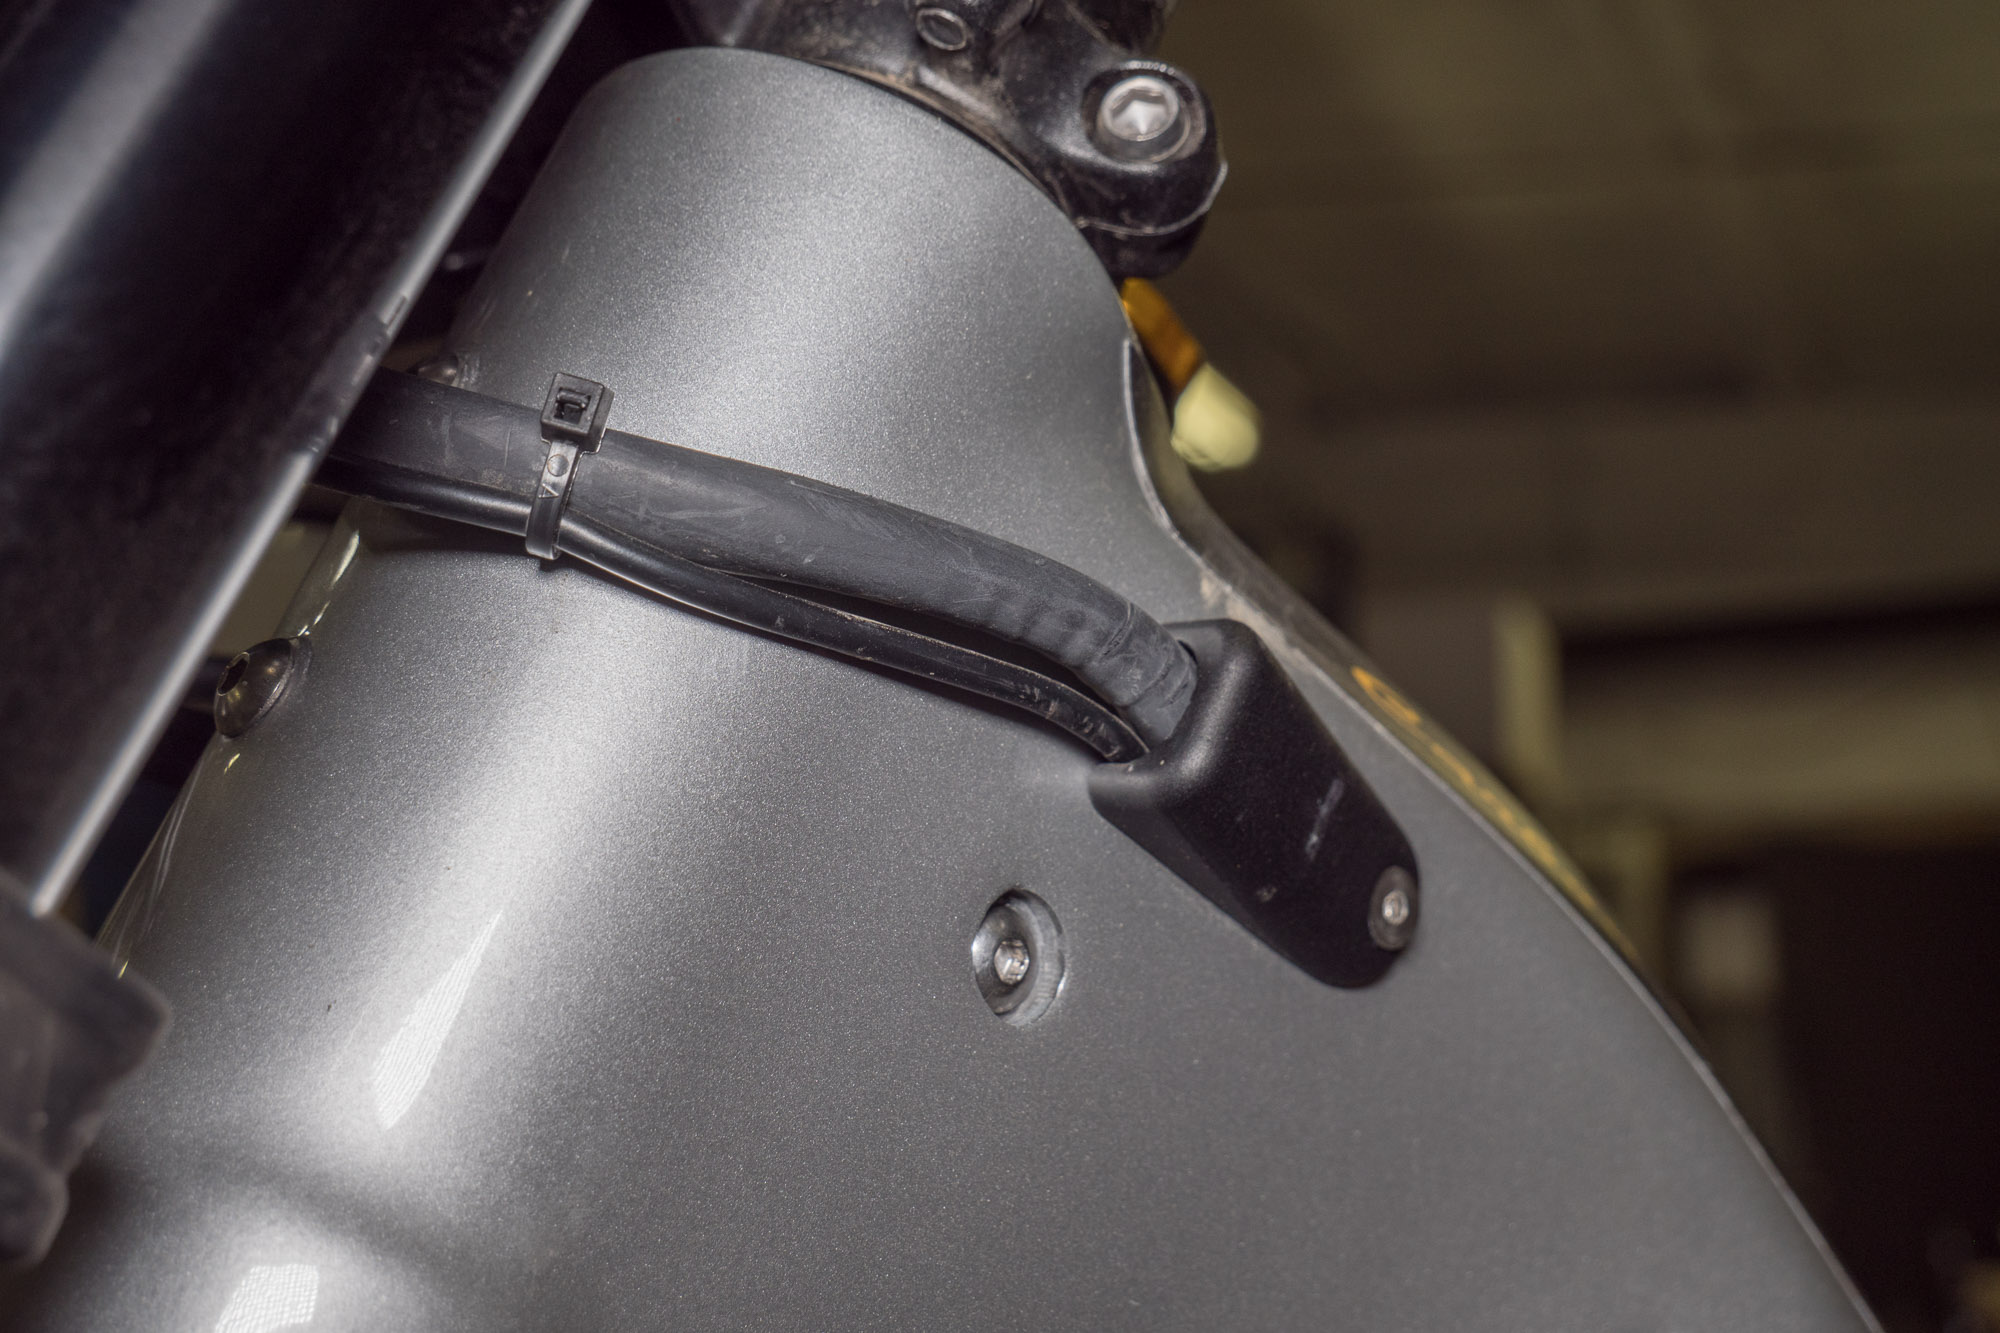
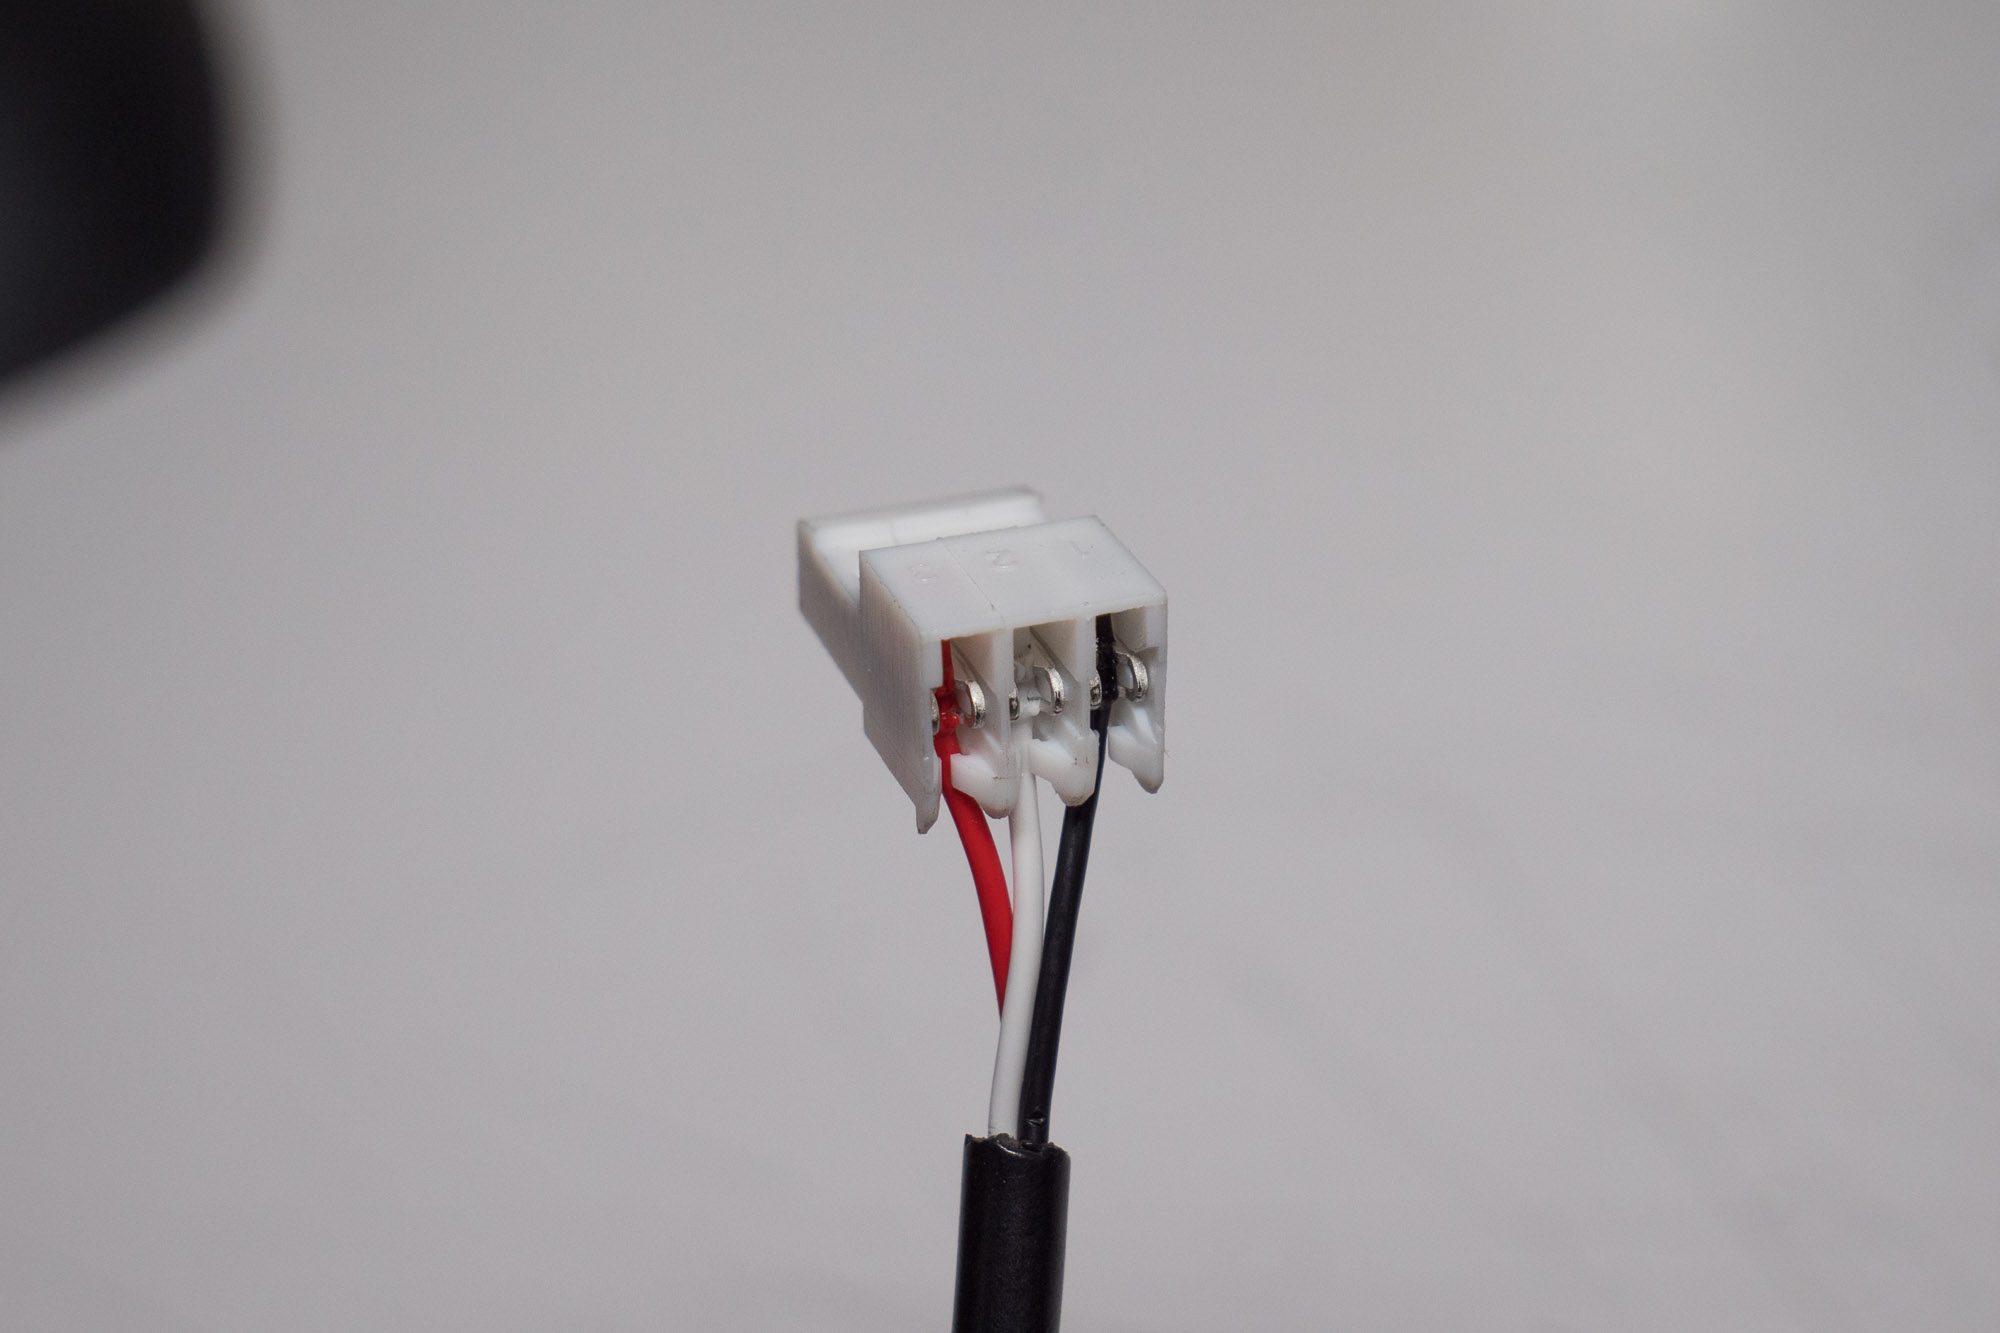
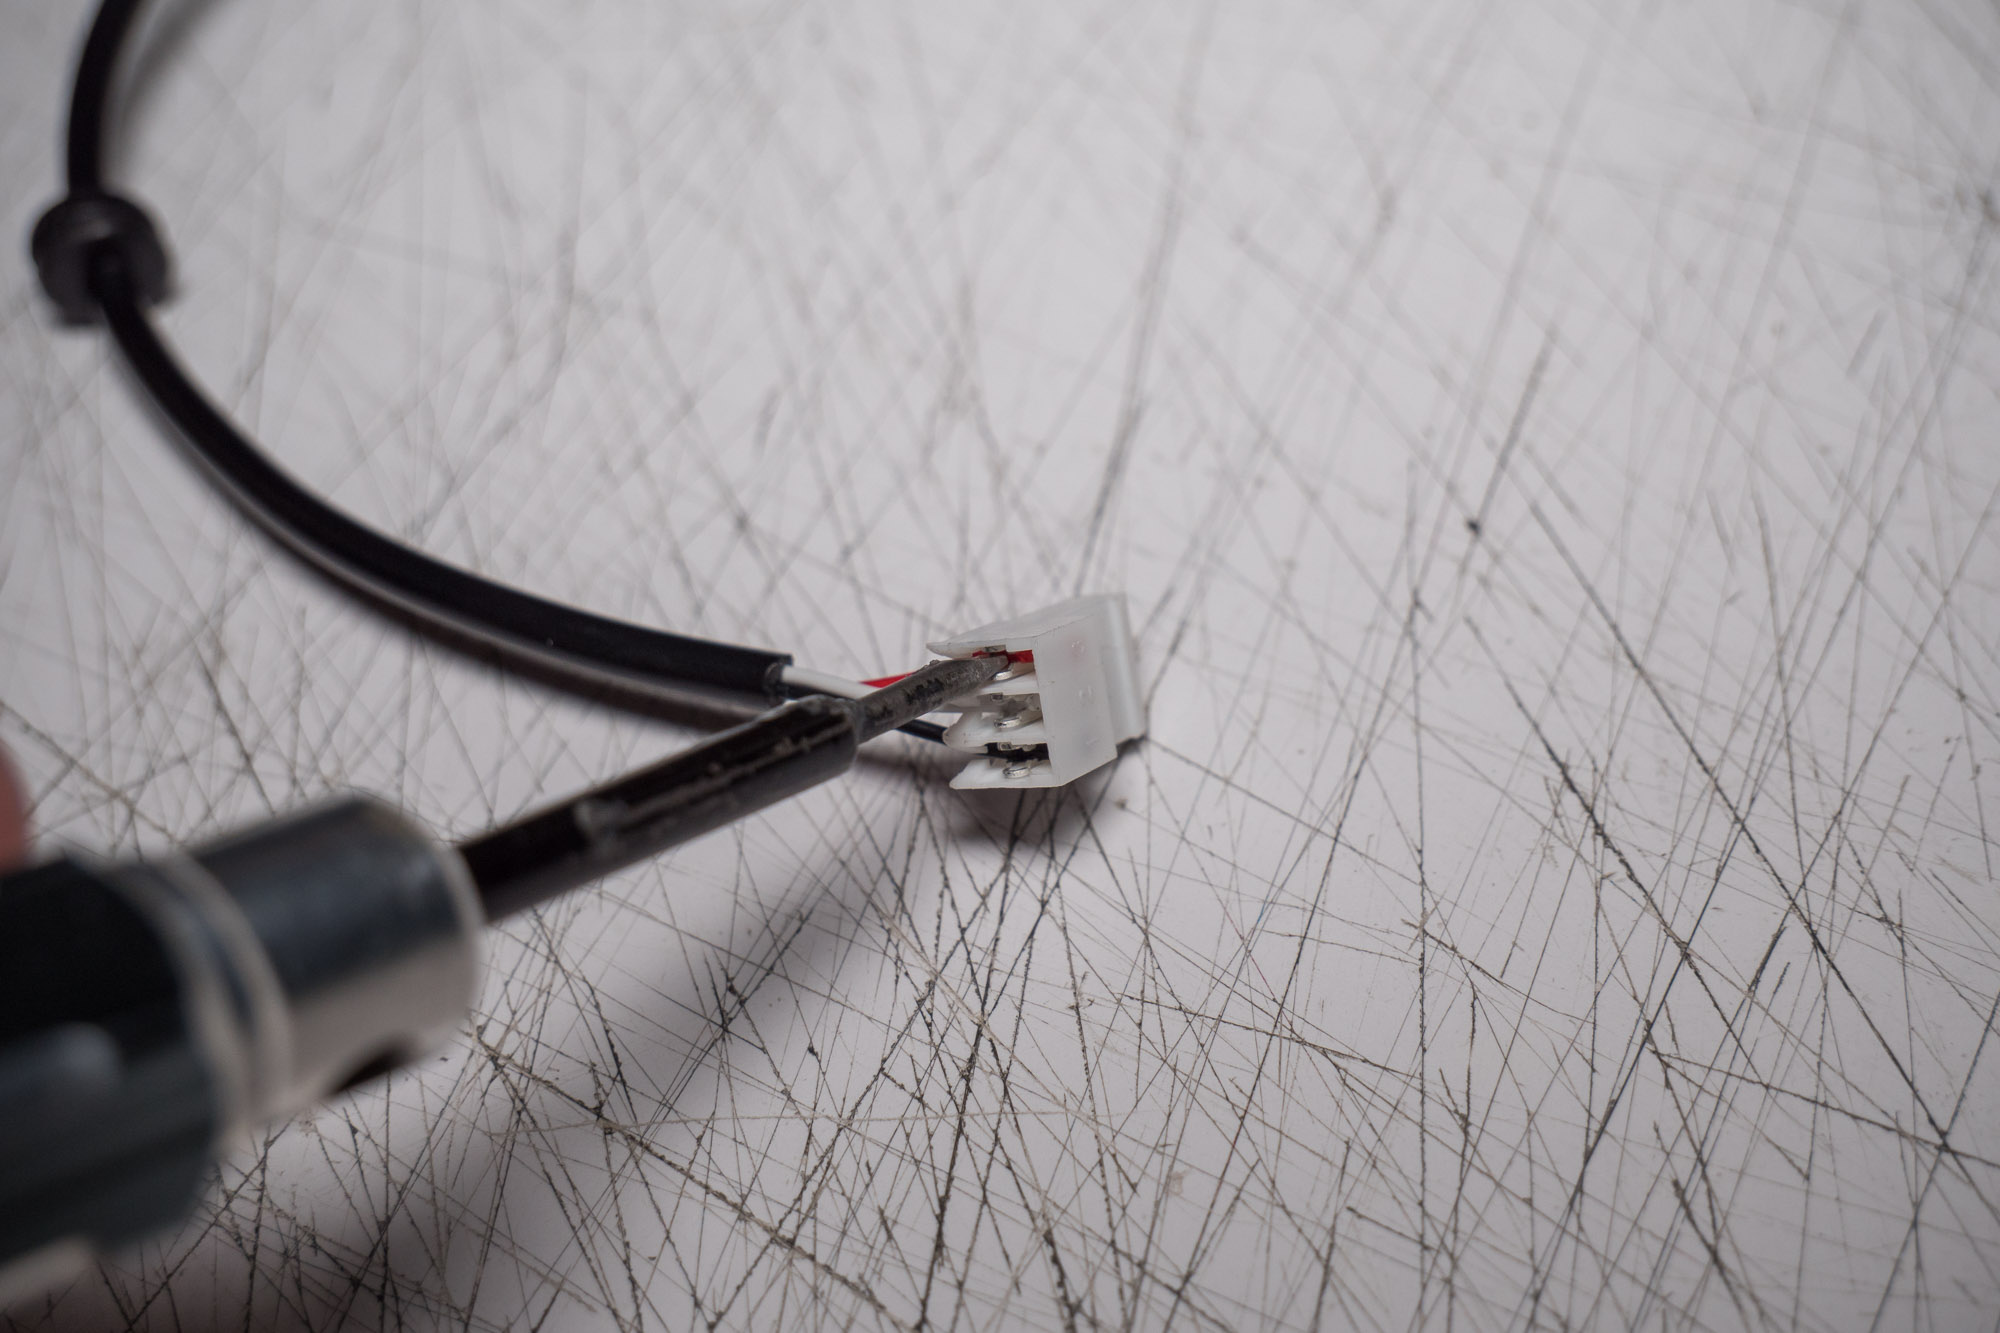
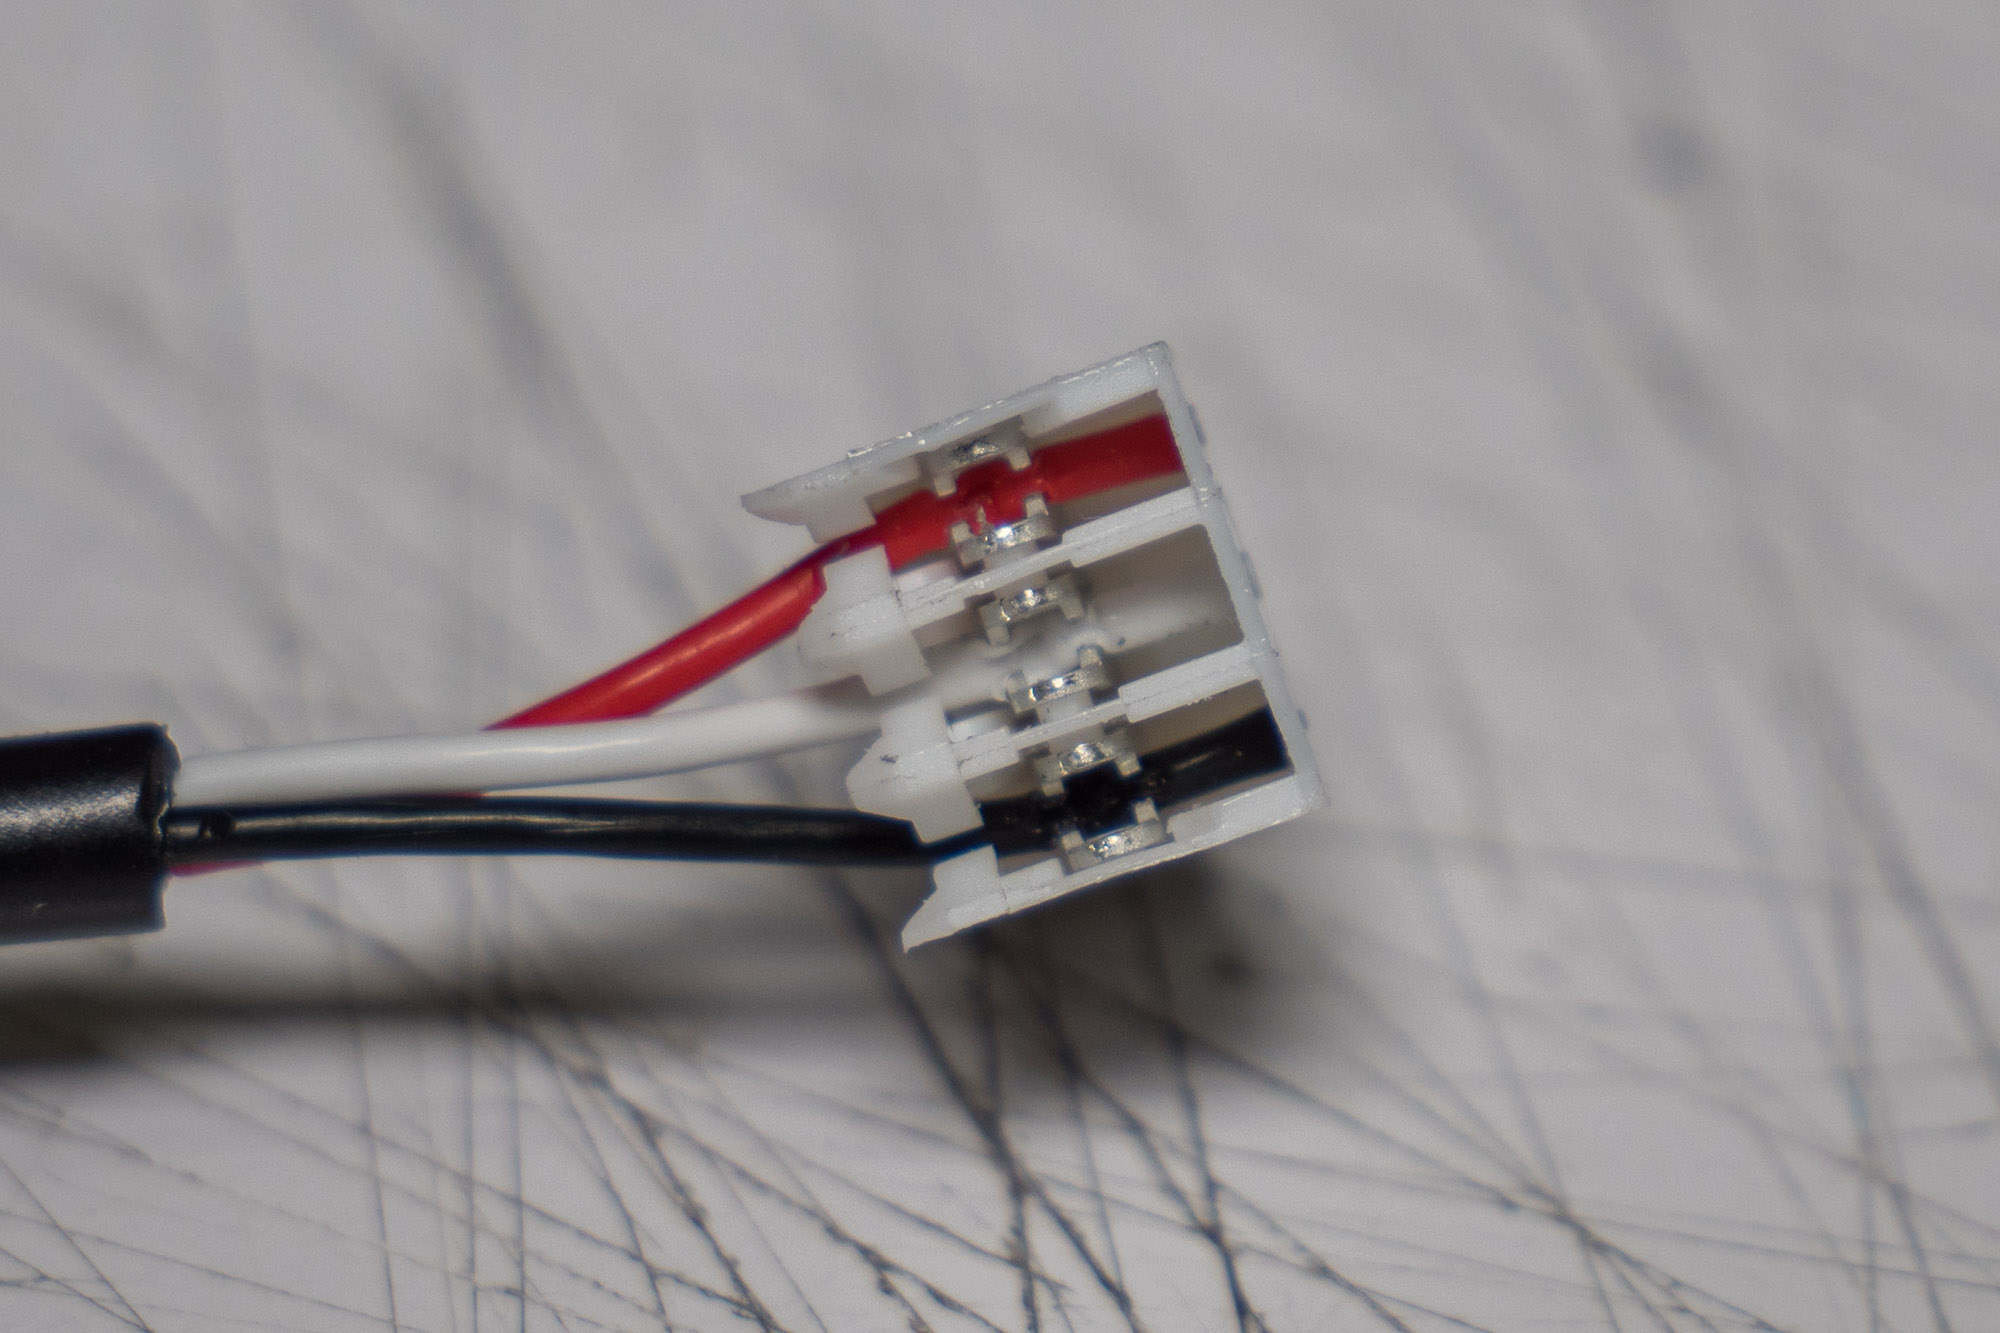
Make sure to slide the included grommet onto the wire before putting the connector on the end.
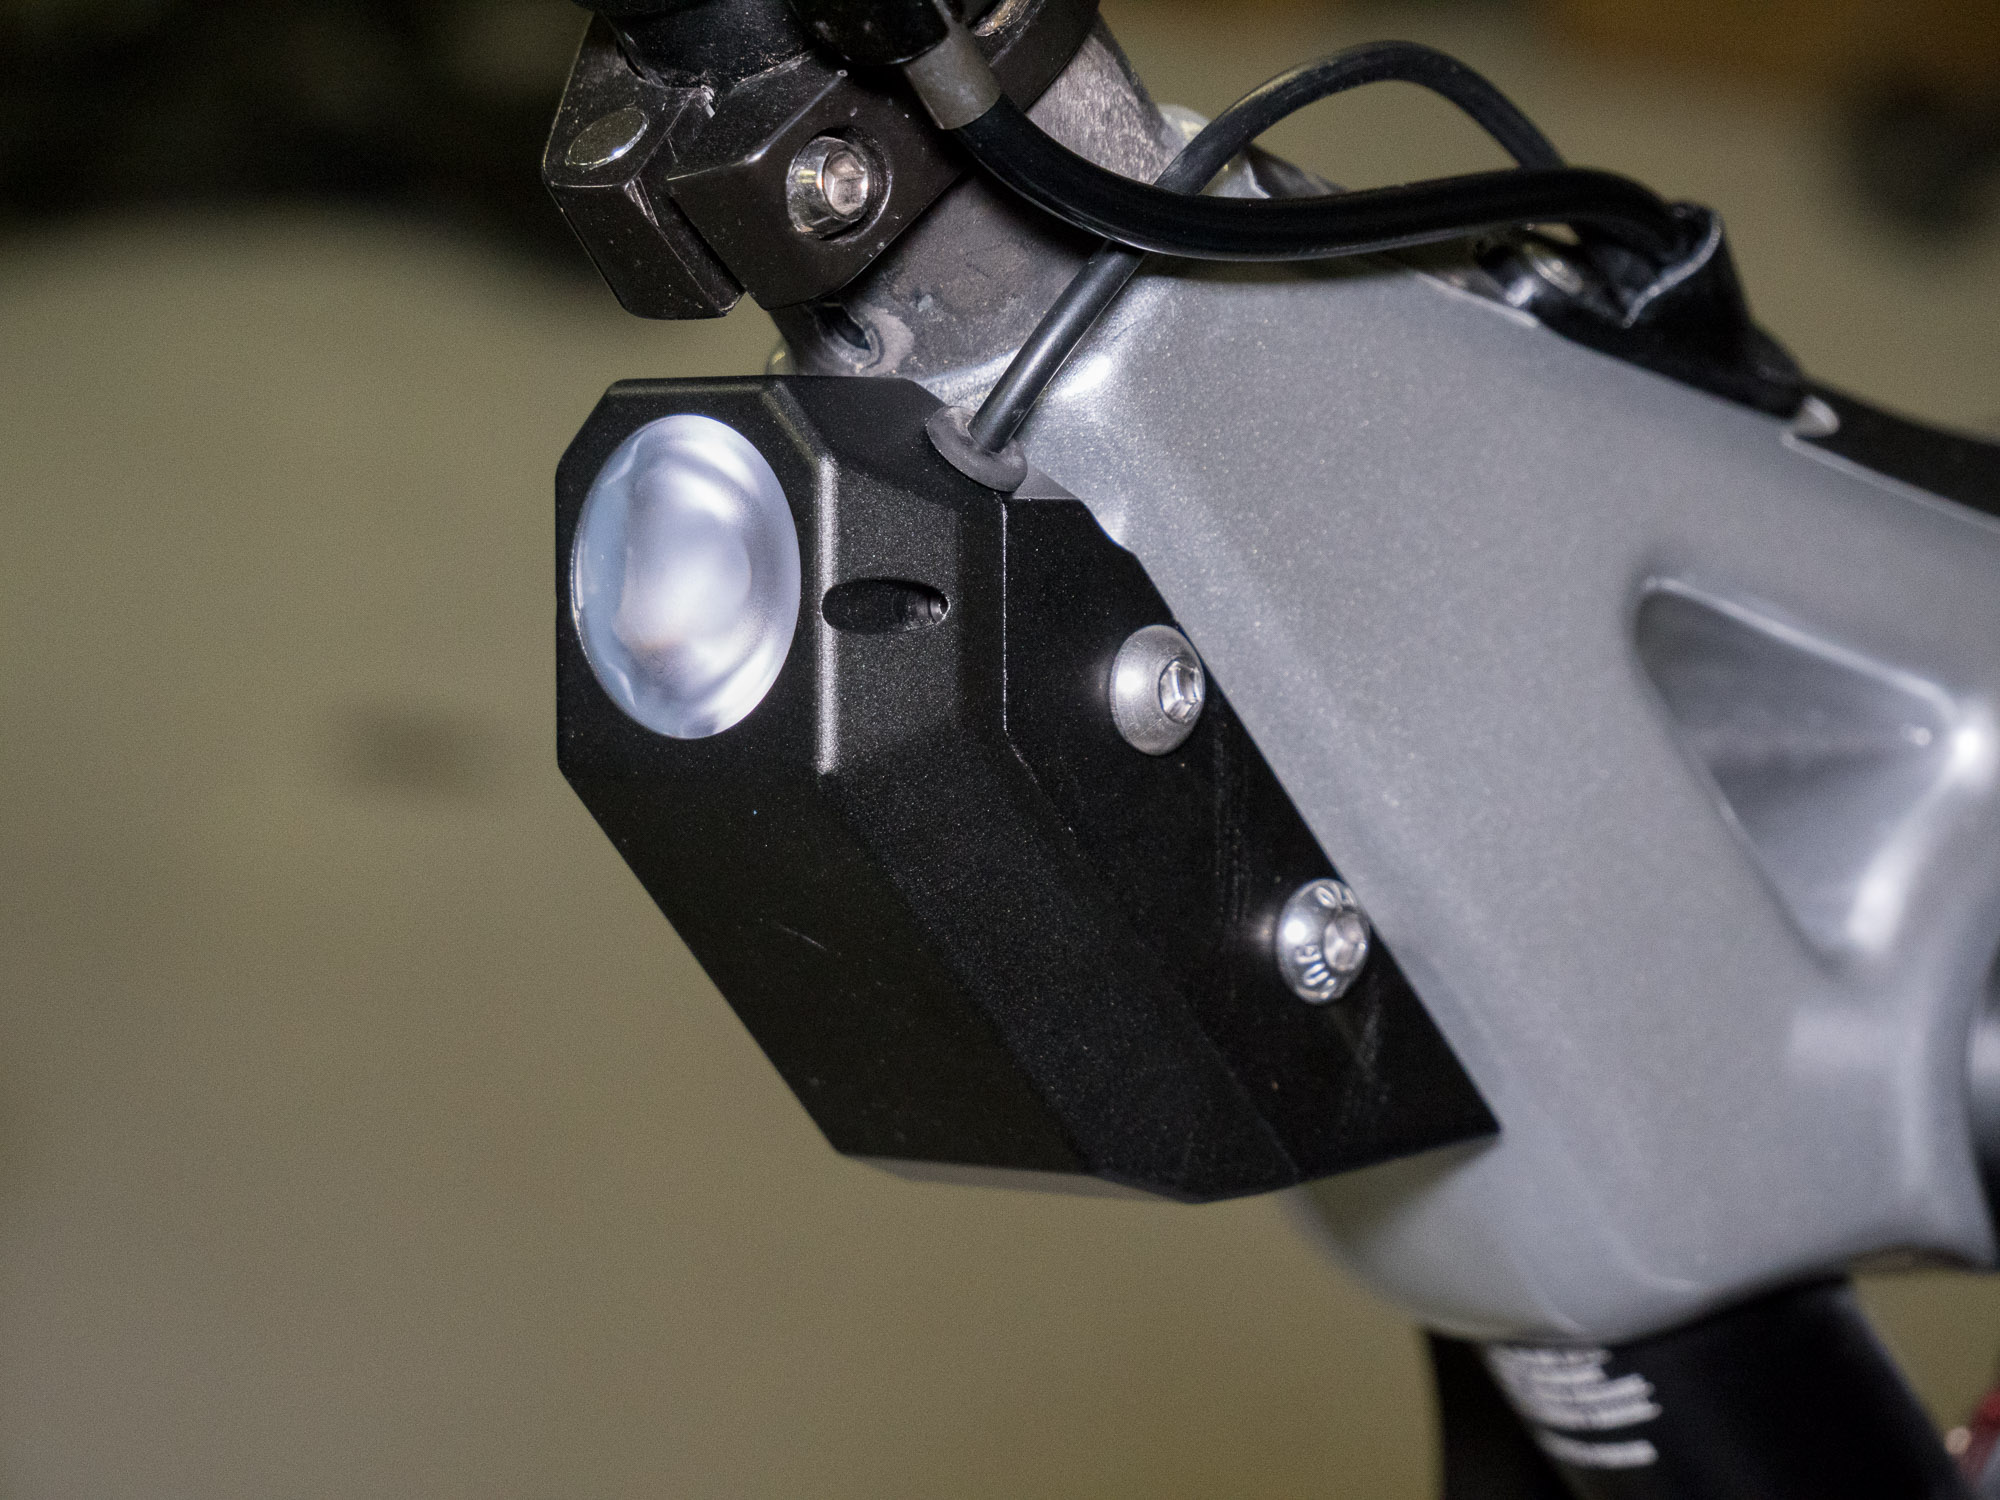
Install taillight base to frame
Using the larger bolts, attach the taillight base to the frame of the bike.

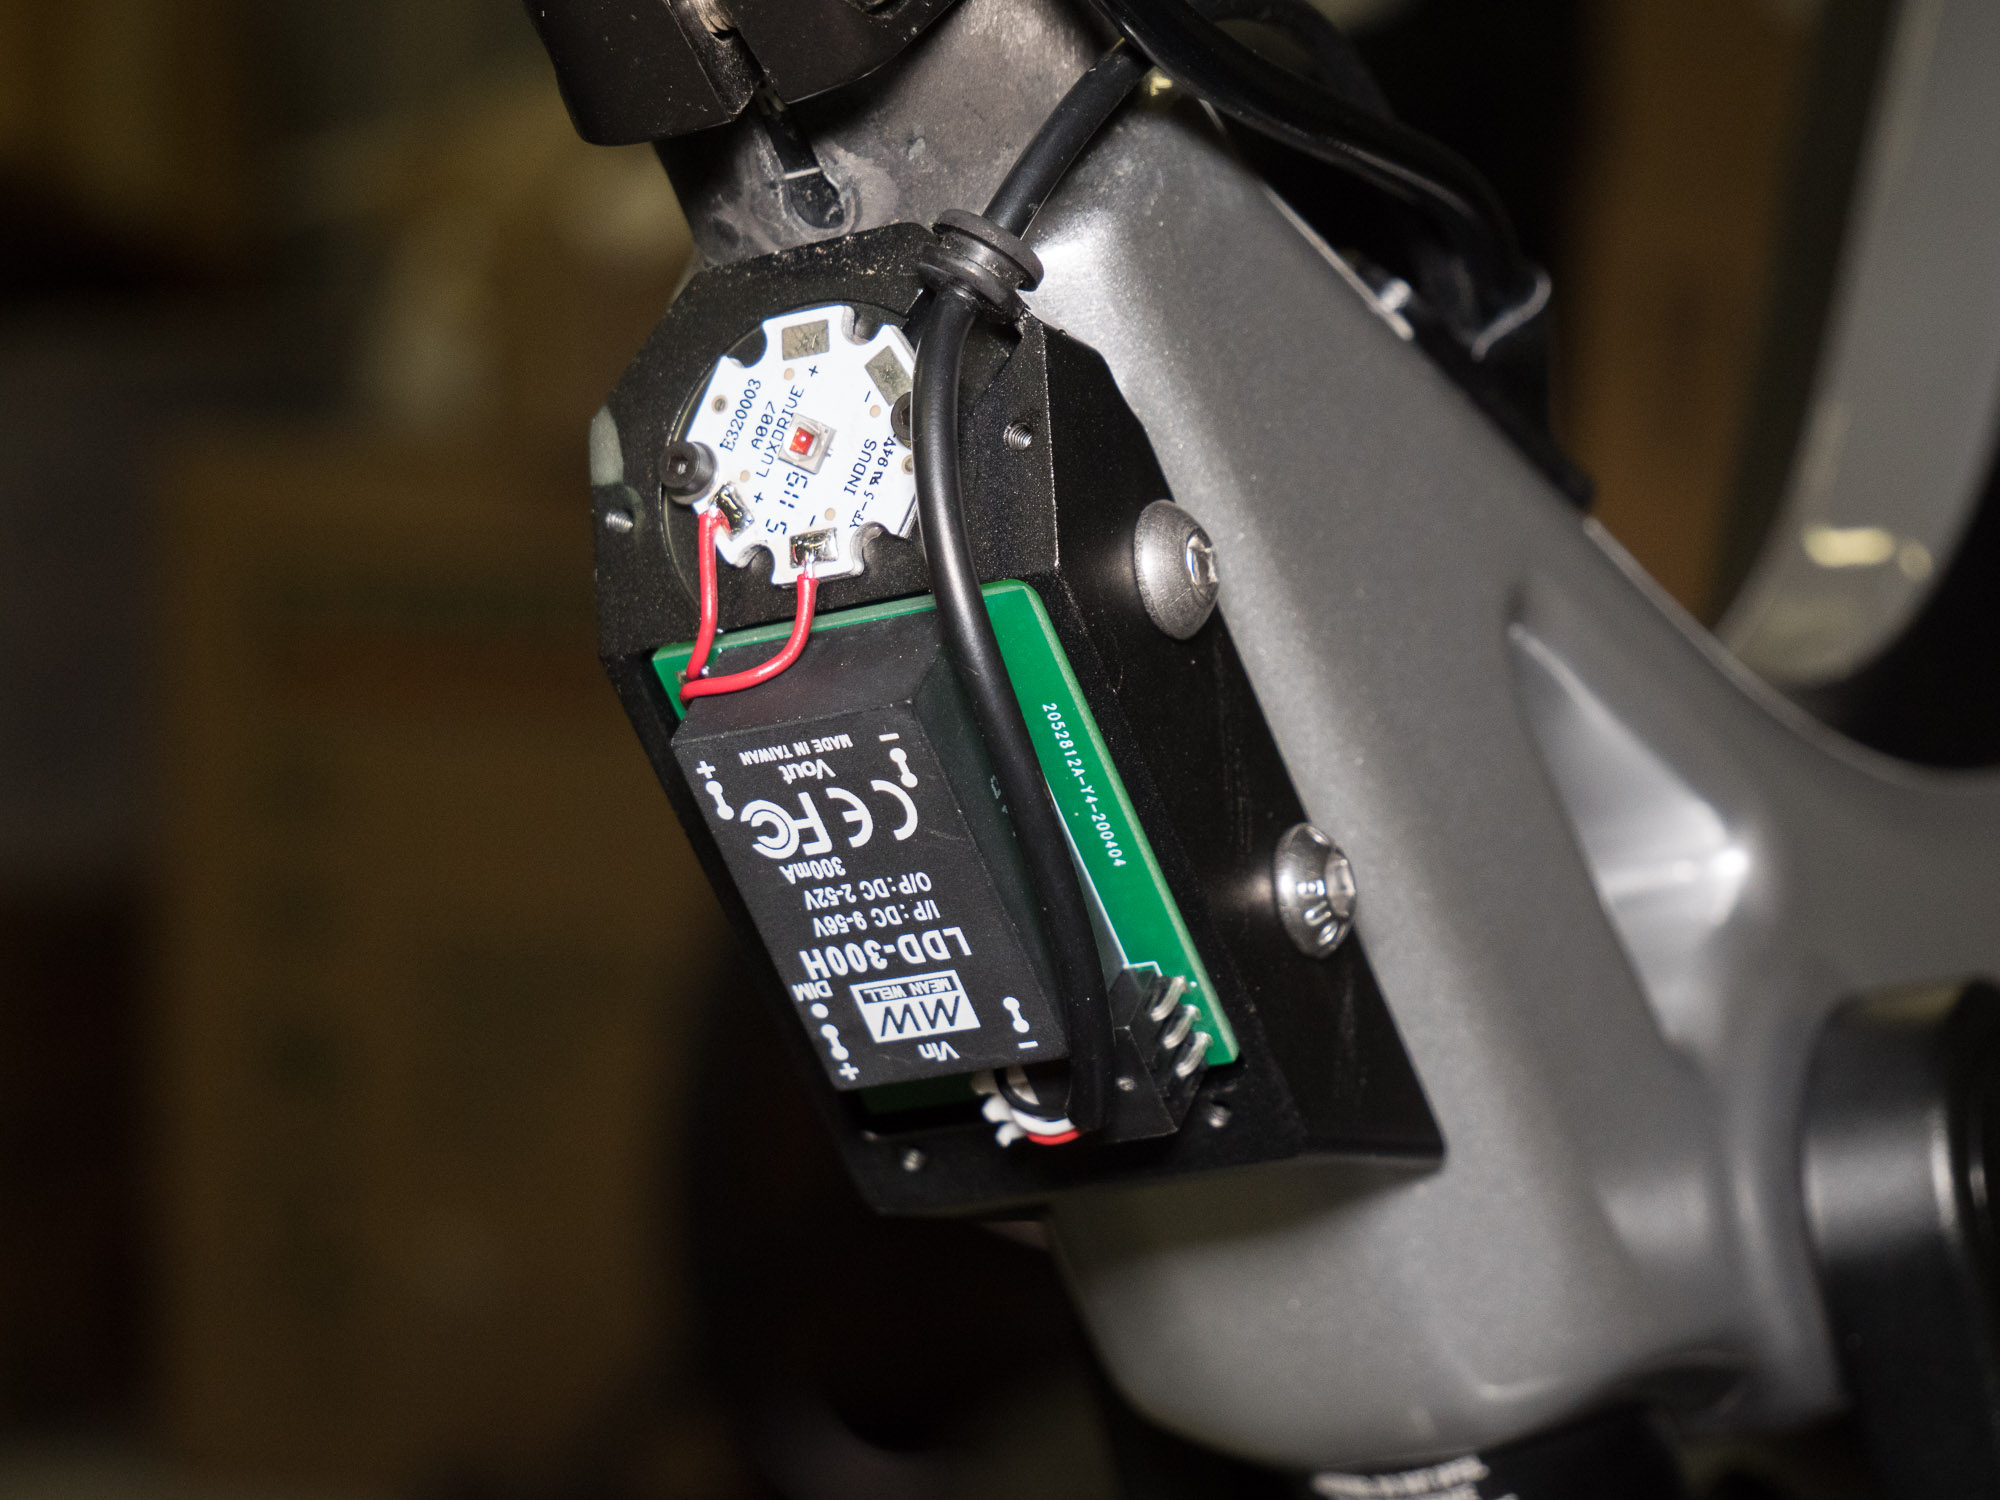
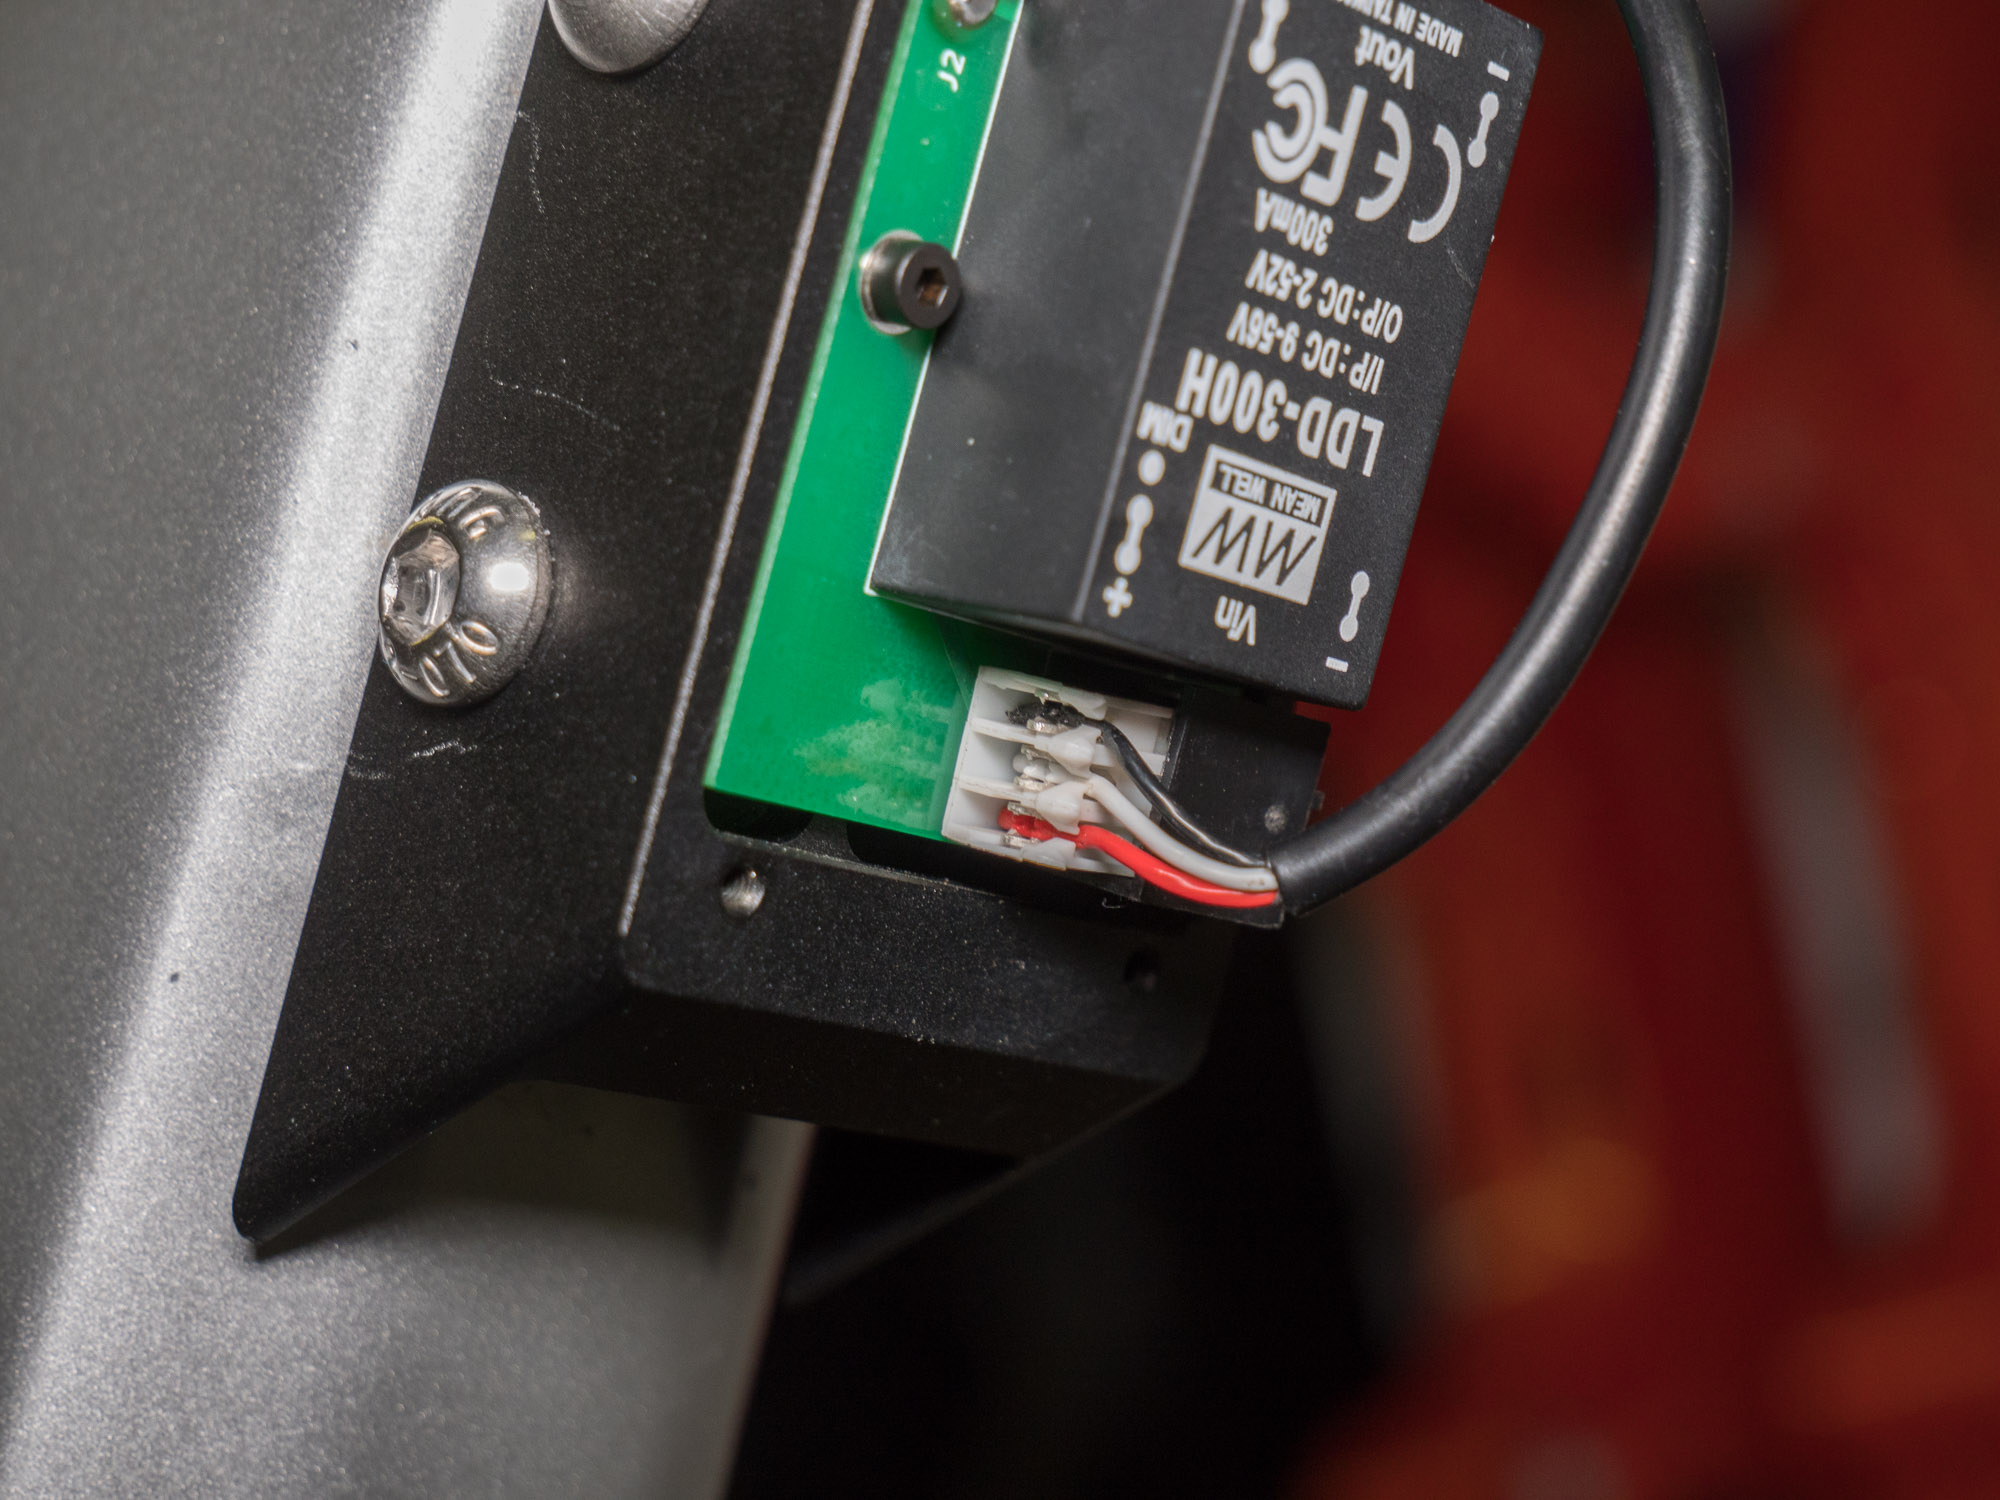
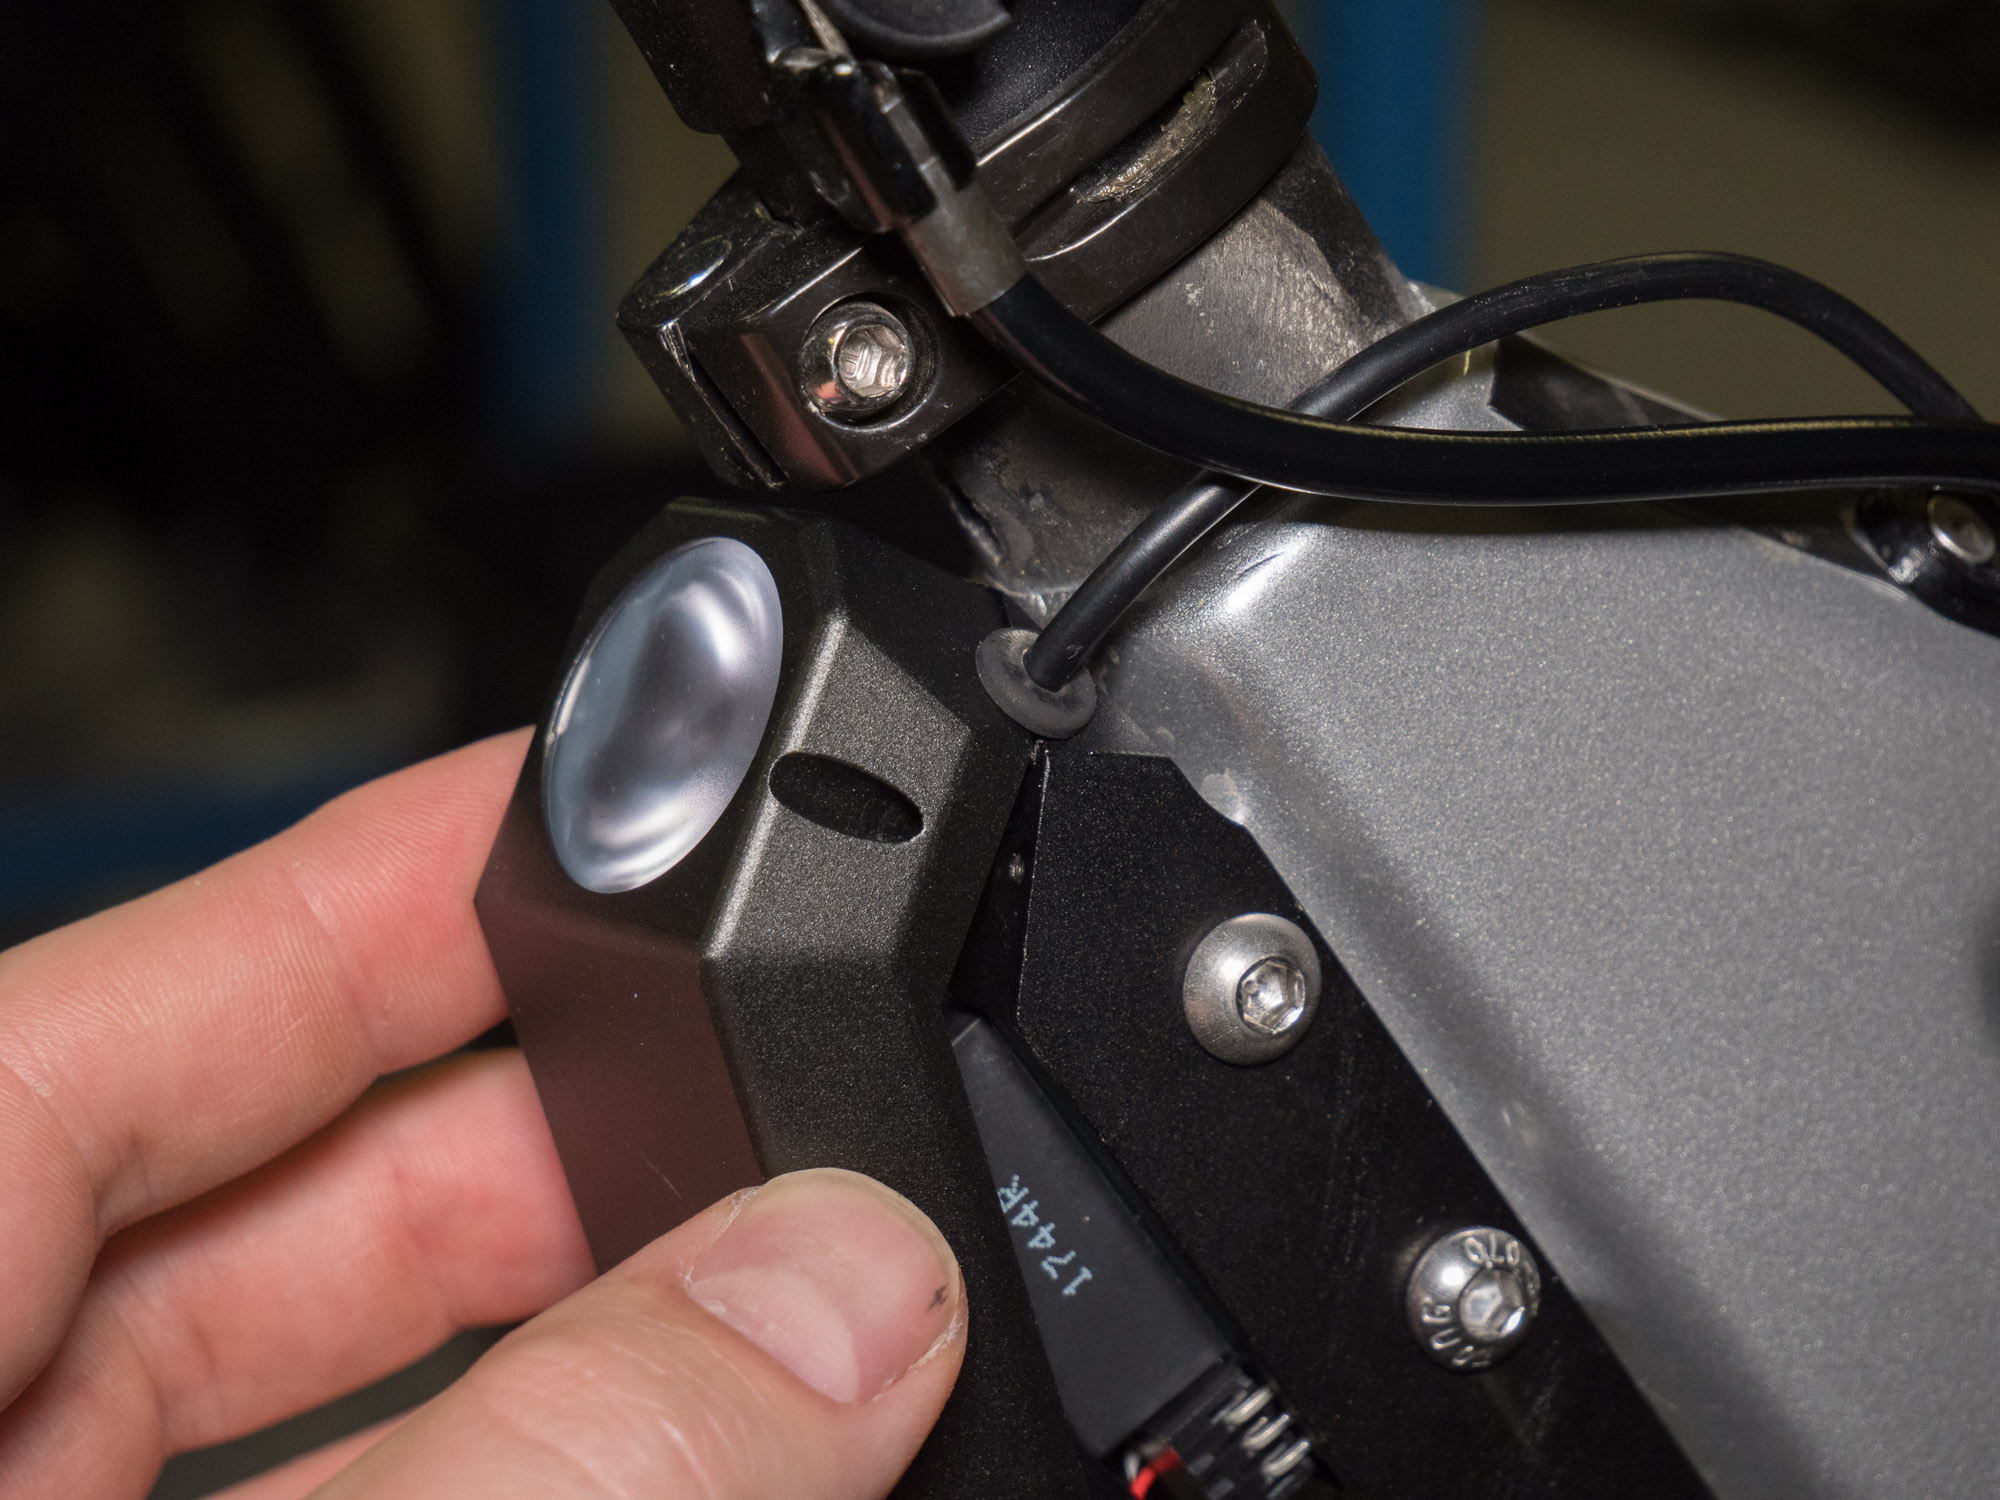
Plug in the connector, and route the wire up the side of the black box LED driver, placing the grommet in the cutout at the top as shown.
The wire should have as little slack as possible between the connector and grommet.
[If your wire is missing the grommet, you can cut a new grommet through the side and place it over the wire, the shell clamp will hold the grommet together once installed. If you received a taillight kit from us there should be an extra grommet in the bag.]
Install cover
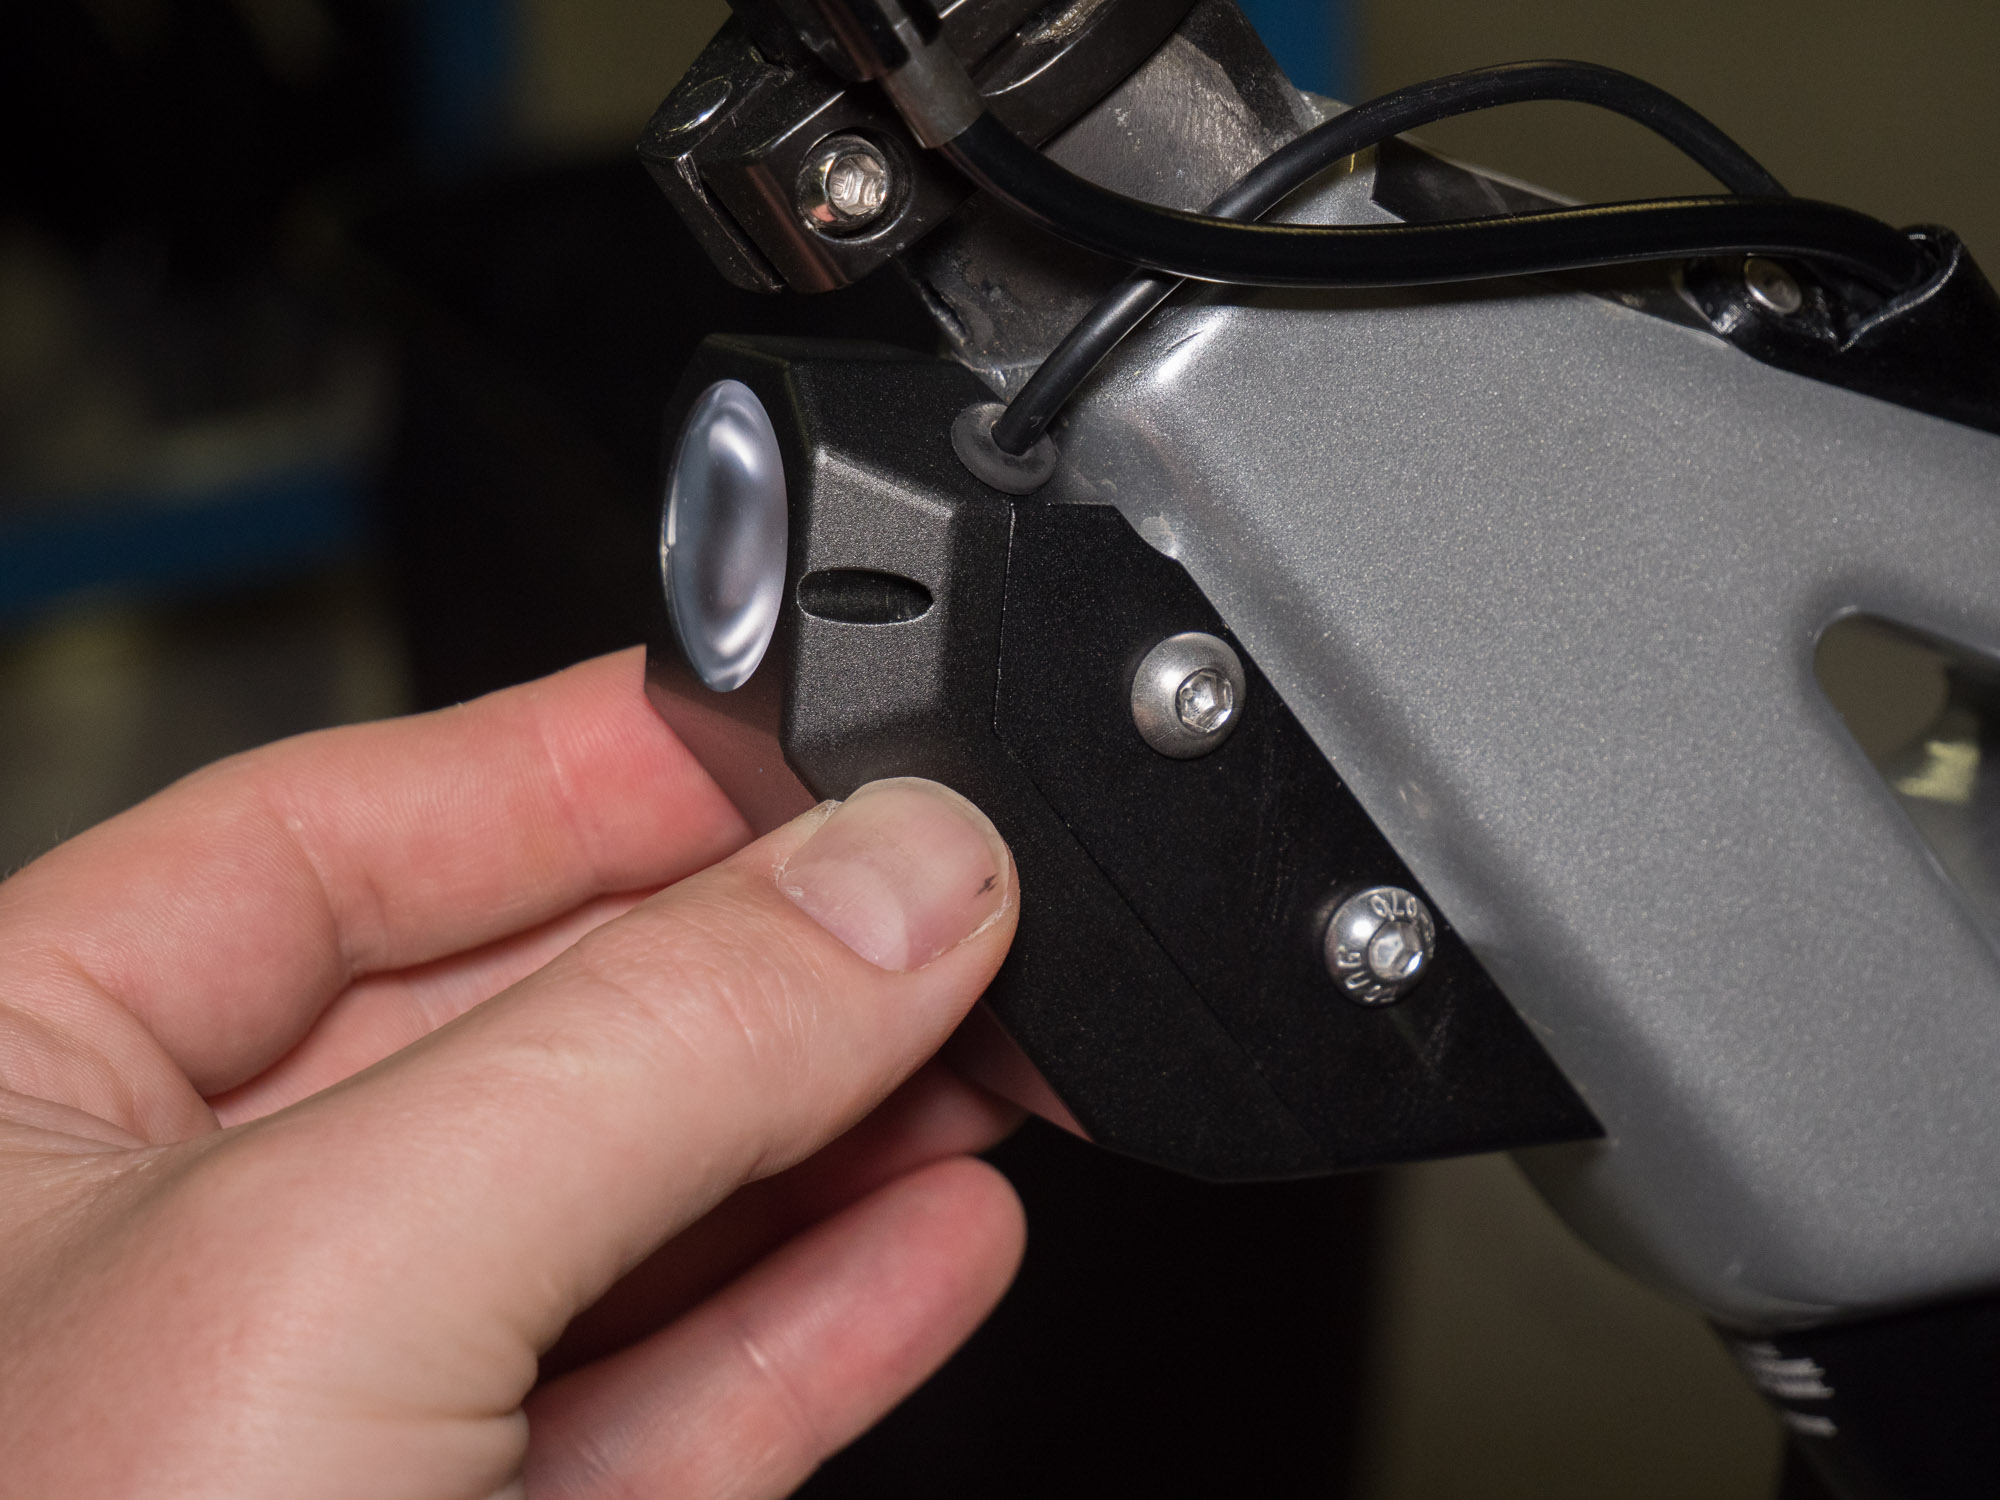
Starting with the grommet, place the cover on top of the base.
Move the cover the rest of the way so it sits flush, pull downwards slightly to help it clear the LED driver inside.
You should be able to hold the cover flush with minimal effort, if it will not sit flush the wire may be caught in between.
Using the 4 smaller bolts, attach the cover to the base. Use a light force when tightening these bolts as they are quite small.
All done!