Installing 3 LED Headlight and Routing Wires – RxC Series
Table of Contents
Important
Before working on your Optibike always turn off the main power switch located on the battery.
Tools in this guide
- 2.5mm Allen/Hex Wrench
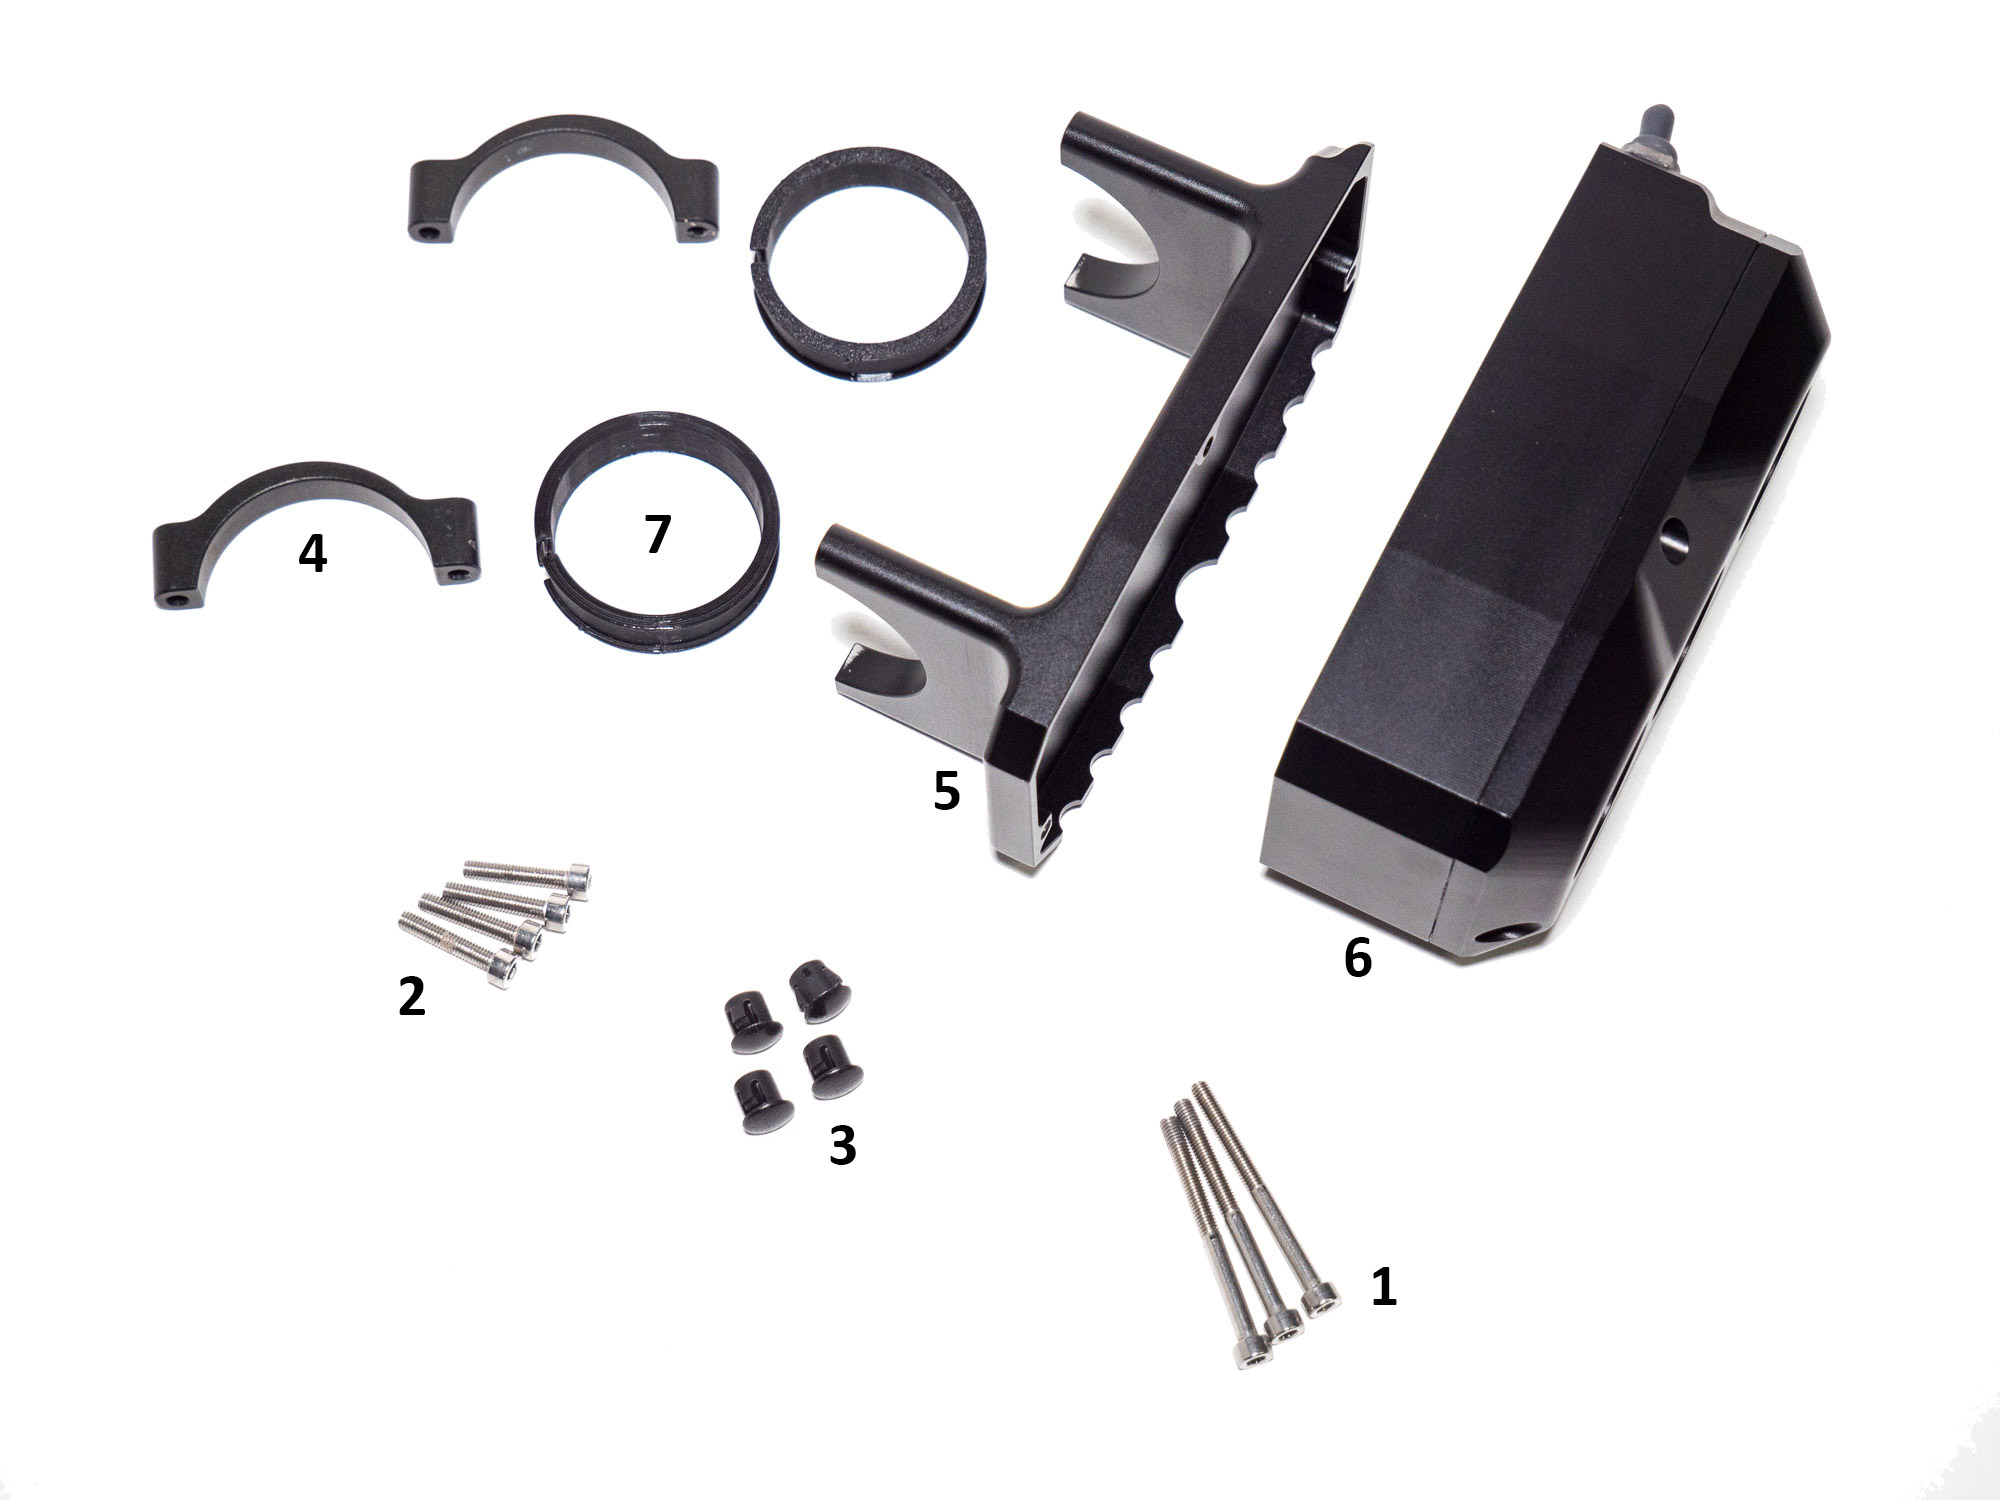
Components in this guide
- M3 x 35mm Bolt (3x)
- M3 x 16mm Bolt (4x)
- M3 x 6mm Bolt (3x)
- Blank Cover, 1/4″ ID (4x)
- Mounting clamps (2x)
- Headlight back shell
- Headlight main body
- Adapters for smaller bars [needed on some handlebars only] (2x)
Steps
Install back shell and clamps
Depending on which handlebars you have, you may need the adapters to fit the smaller bar diameter.
If the back shell isn’t a snug fit on the bar you’ll need to fit the adapters to the handlebar first. You can do this by pulling the adapter apart and fit it over the handlebar.
Place the back shell on your handlebars with the half-circle holes on the bottom, and use the clamps and bolts to lightly secure it for now.

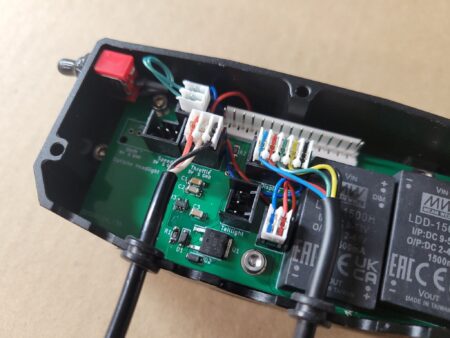
Install Circuit Board in Headlight
This step is only needed if you are replacing the circuit board in an existing headlight.
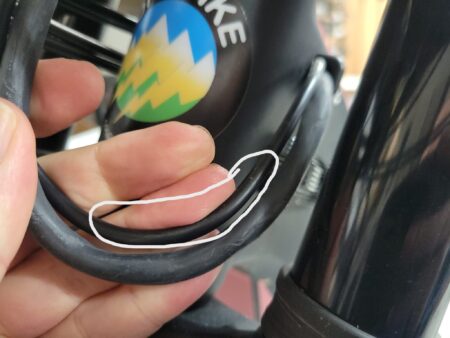
Determine if you need an extension for the LED connector
On older models of the headlight you will need an extension for the LED connector, you can check this by placing the circuit board in the headlight and checking if your connector can reach the LED header on the board. (Note: Make sure you’re looking at the LED connector, not the one for the switch on the left side)
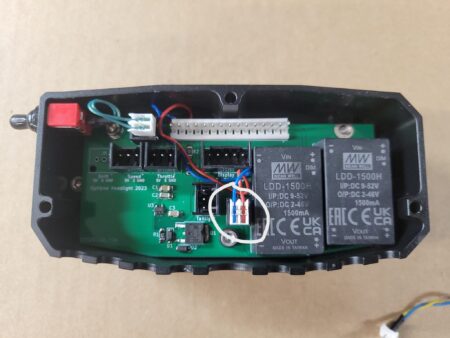
If you do need an extension, add it on to the LED connector and then plug into the board. You can tuck the extra connector in near the top right side as shown below.
Install Bolts
Secure the board into the headlight with 3x M3x6 bolts, these just need to be very lightly tightened.
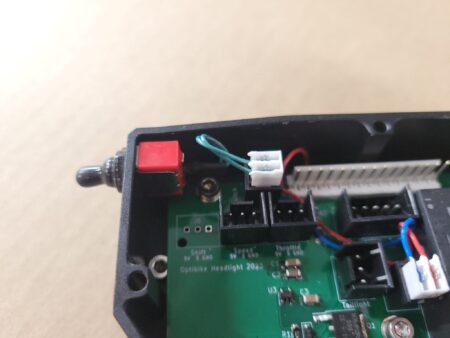
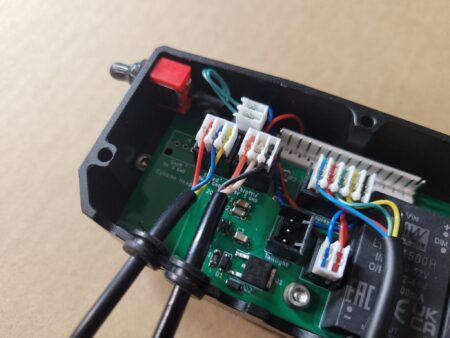
Connect Switch
Connect the switch connector to the switch header on the board.
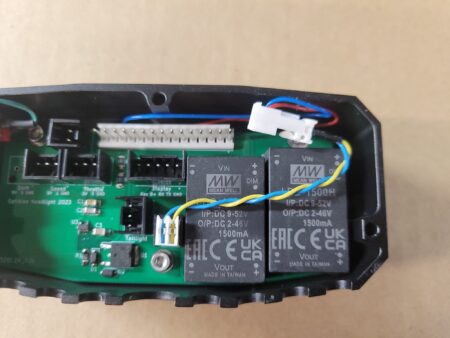
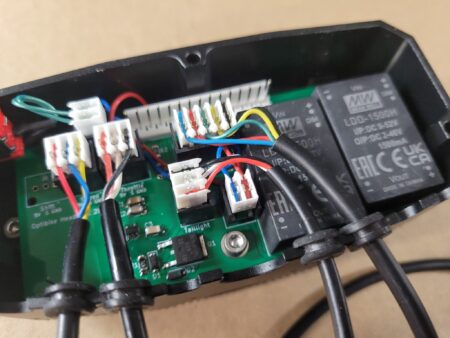
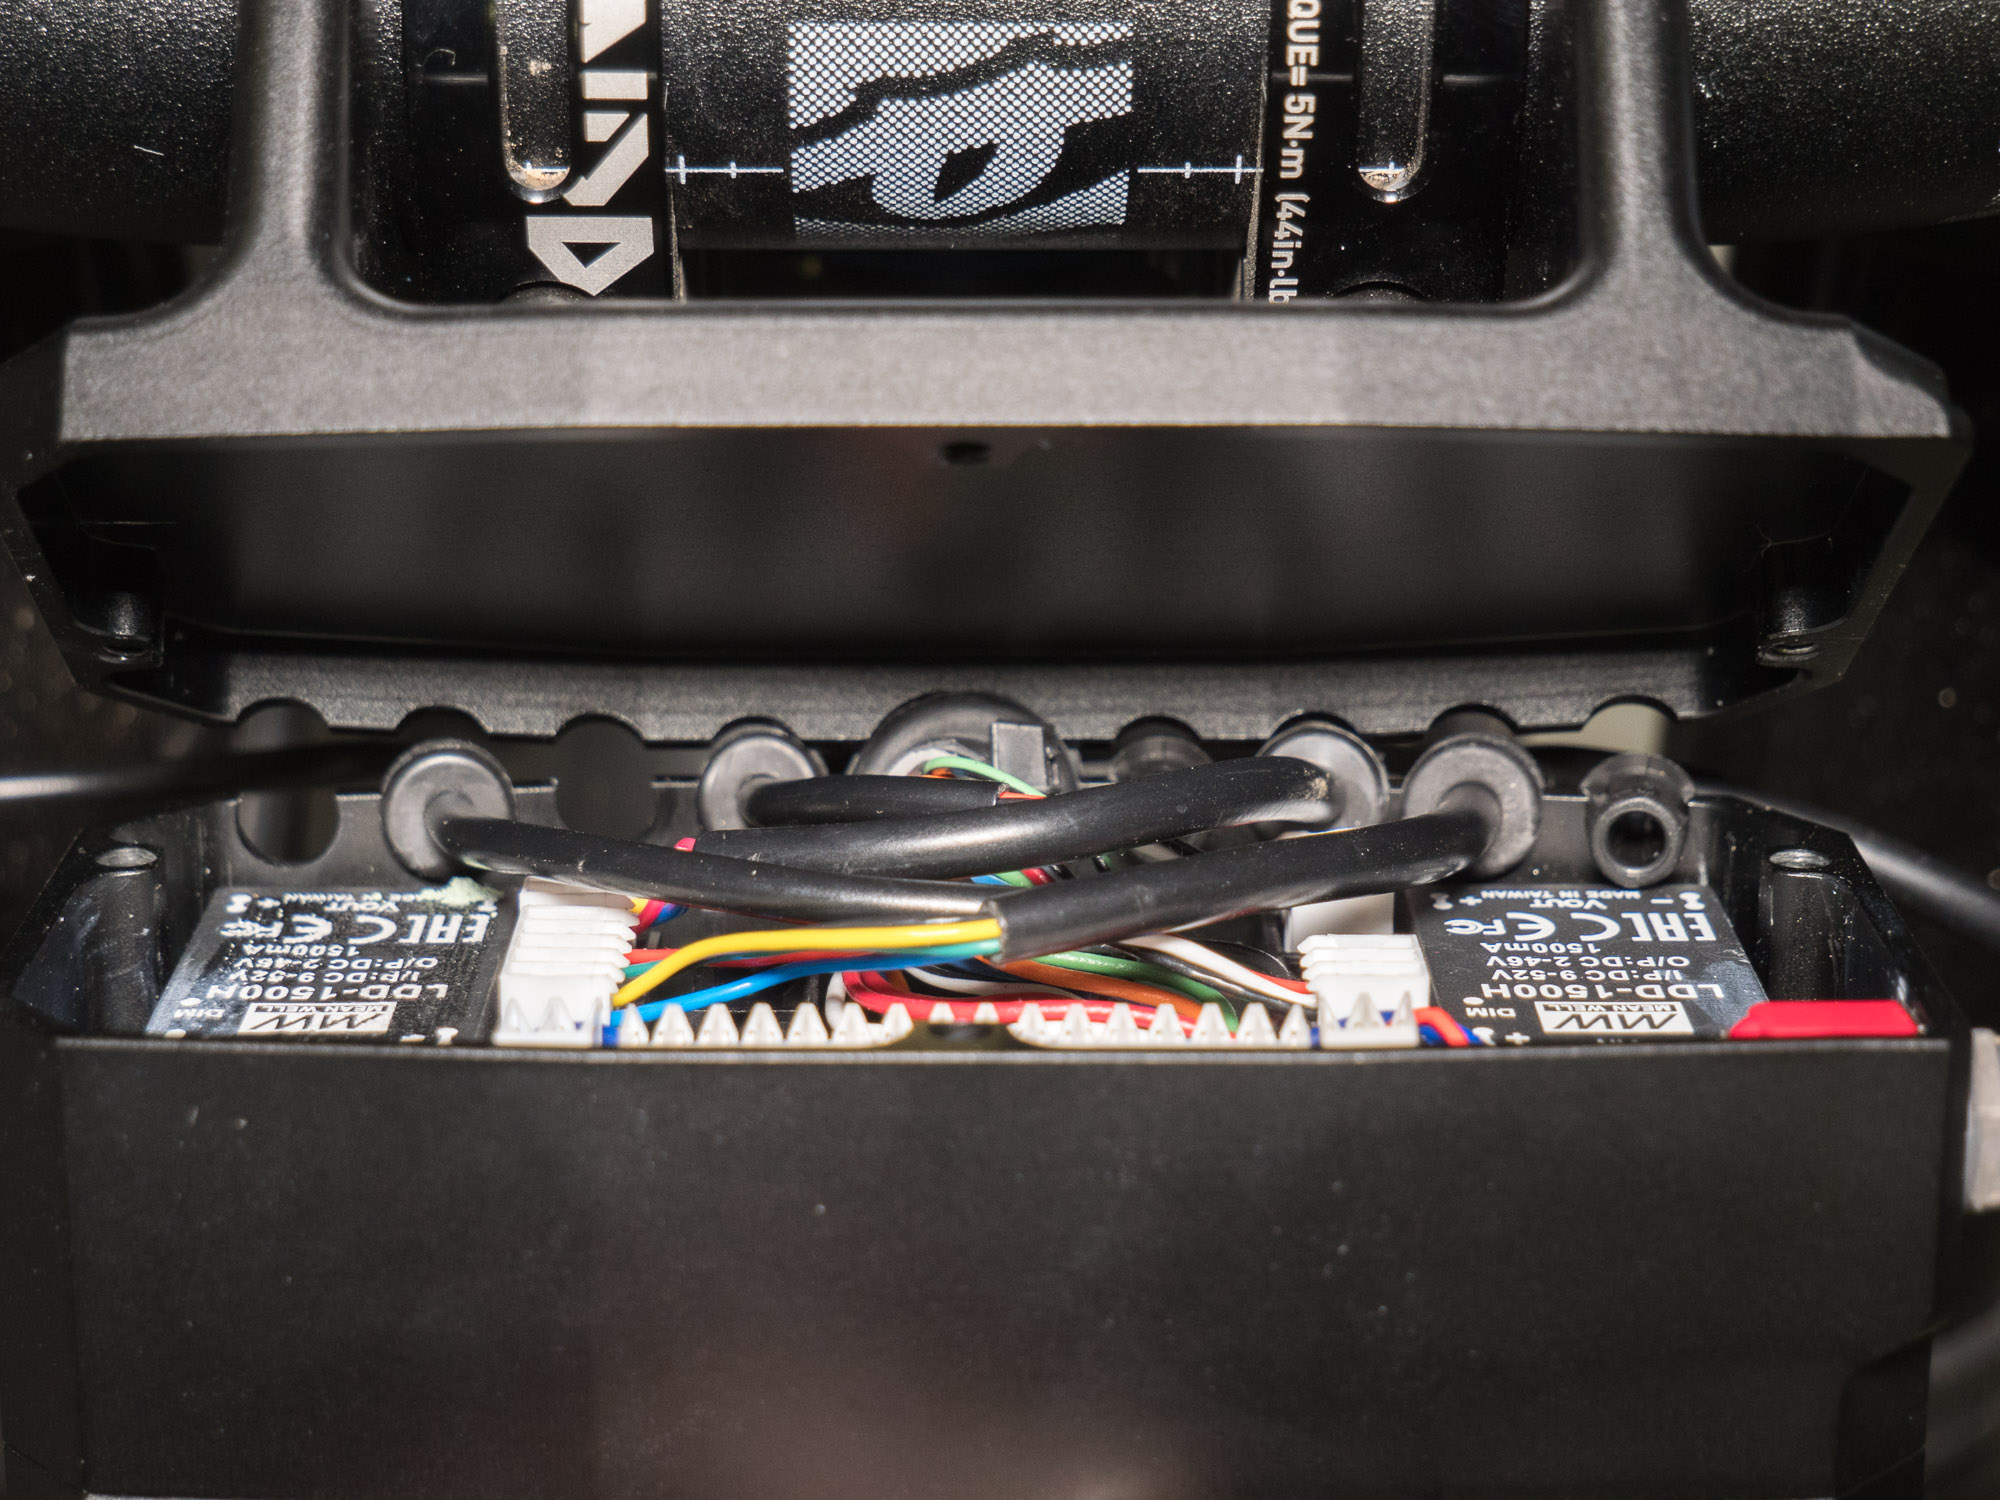
Connect External Components
The connectors are push-fit into the housings with a small amount of force. There is text on the circuit board indicating what each connector is used for.
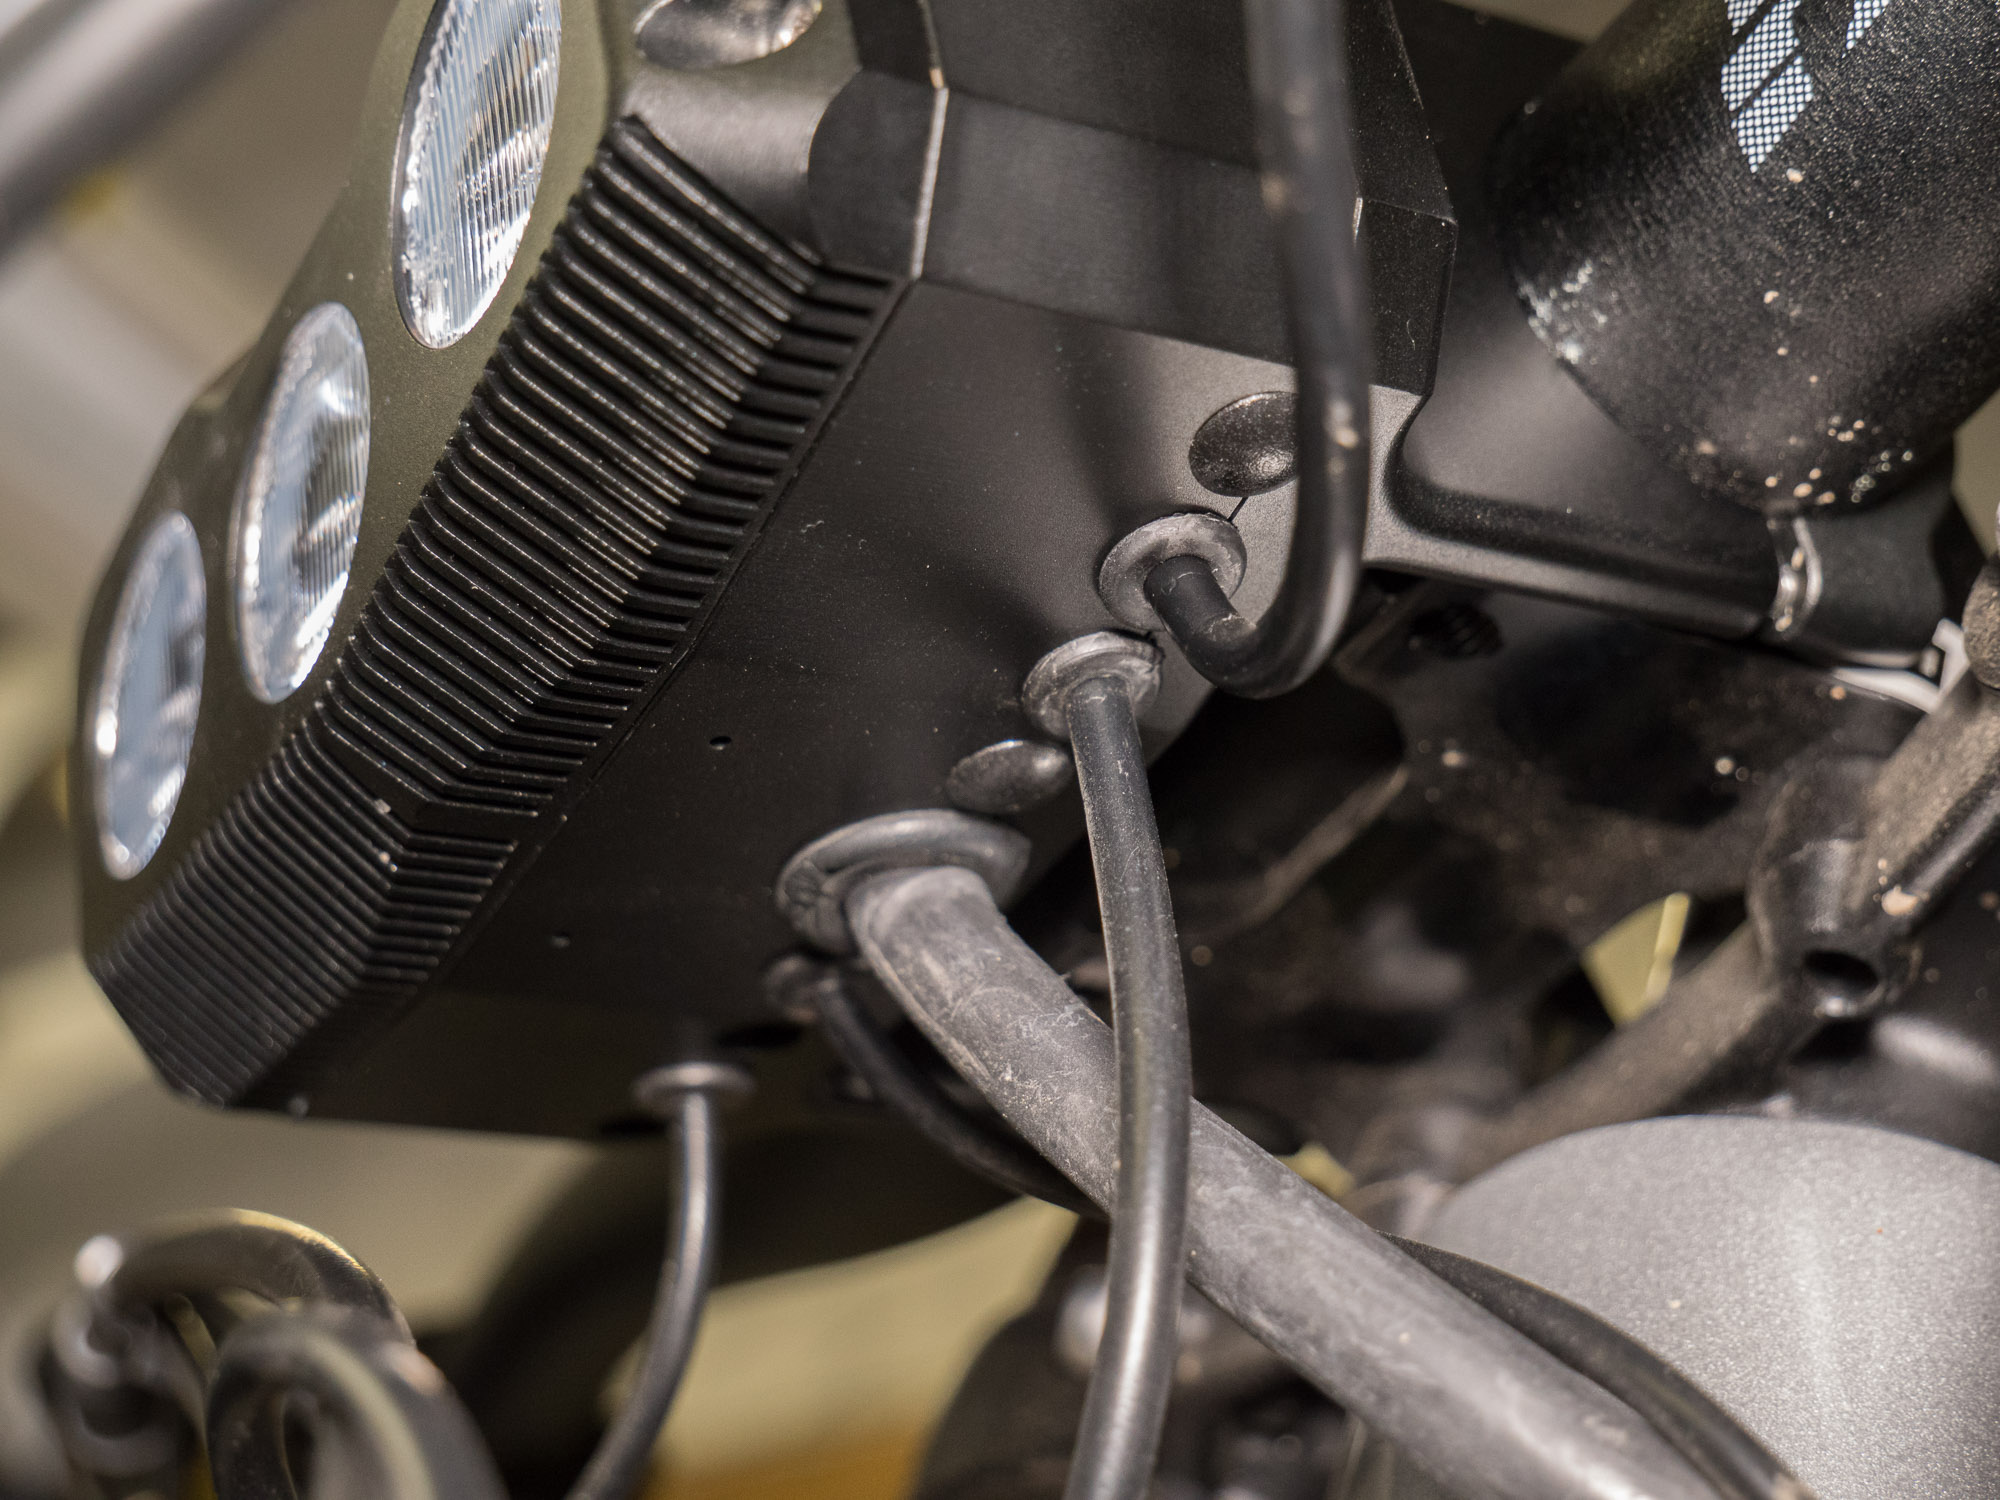
Each cable has a grommet on it that fits into the slots on the headlight, these help keep water and dirt out.
Display
Located in the center of the handlebar

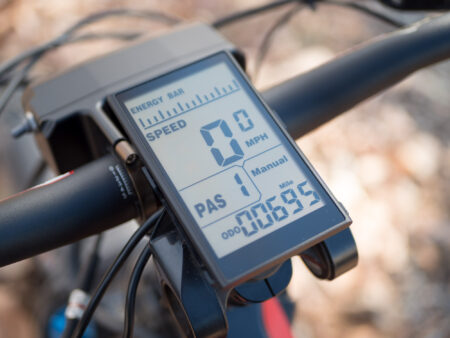
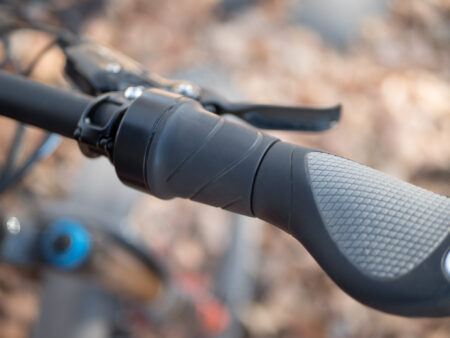
Throttle
Located on the right side of handlebar
Speed
Speed Sensor, located on the front fork
Taillight
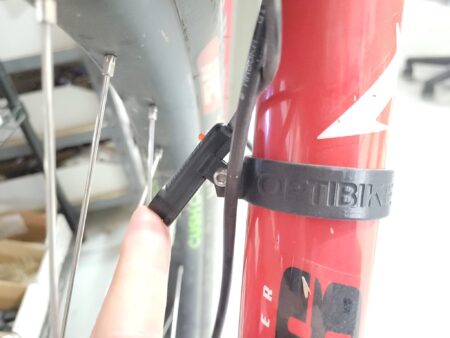
If your bike is equipped with a taillight, it follows the large main cable into the frame. Make sure you don’t get the taillight connector mixed up with the other connectors.
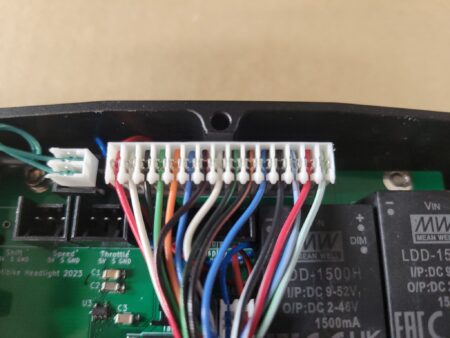
Main Cable
Finally, connect the large 15 pin main connector
Assemble main body to back shell
Apply a thin bead of sealant to the mating surfaces to keep out water/rain, either Permatex or Silicone are recommended.
Take the main body, and starting with seating the grommets at the bottom, mate to the back shell of the headlight.
Bolt the main body to the back shell using the longer bolts. These do not require much force to tighten.

Check on the bottom that none of the grommets have shifted and fallen out.
If you waited to install the blank covers, you can do that now, they snap in easily.
Clean off any sealant that was squished out of the gap.
Check alignment and tighten
When sitting on your bike the headlight should be aimed slightly down towards the ground. This will give you a decent starting point that you can tweak after a test ride.
Once adjusted tighten the clamps on the handlebars, these don’t need much force to tighten down. If you notice the headlight shifting while riding you can tighten the clamps more.
When tightening the clamps check the gap on the bottom and top of the clamps, it should be a similar gap size.
