Charging Your Bike
Table of Contents
Notes for Certain Bike Models
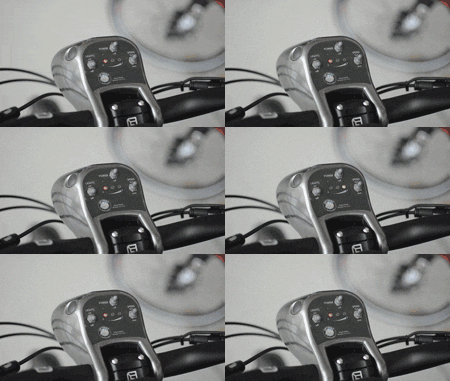
If your bike has a headlight with 3 switches and 3 LEDs as shown in the below image: Make sure that the bike is turned on when charging. Do not turn it off; the bike will shut itself off when finished charging.
If the bike is not left on while charging, the battery gauge will no longer be accurate.
You can fix a battery gauge that is wrong by riding the bike for a few minutes, then letting it charge fully with the bike turned on the entire time.
If you have a bike with an LCD display, this does not matter and the bike can be powered off while charging.
Using the Chargers
Over the years we have shipped a few different kinds of chargers with our bikes, this is a quick overview. Some of them function slightly differently from the others.
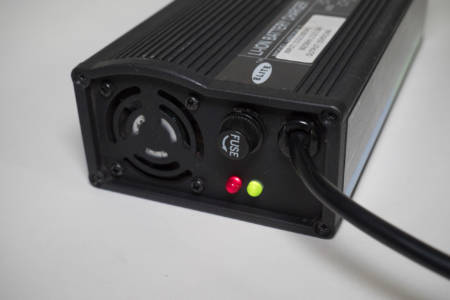
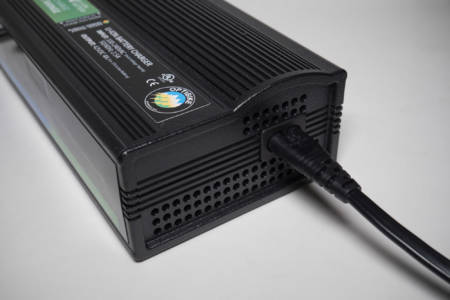
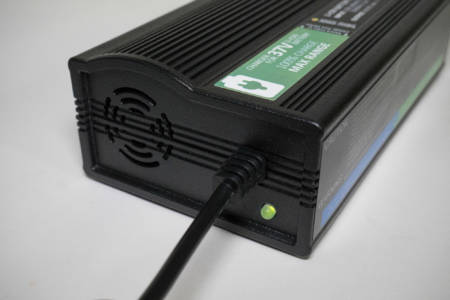
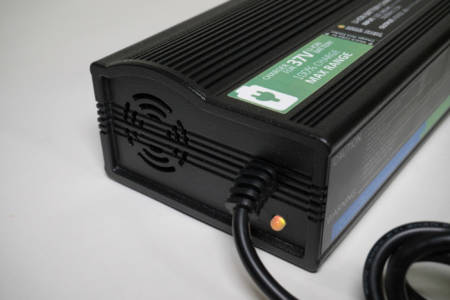
Black plastic case (Current)
How to use:
These ones are easy to use, you can connect the bike and the wall power to the charger in any order that you want.
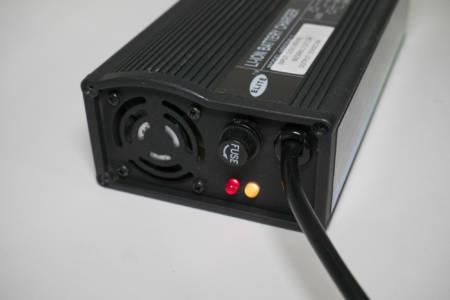
Once connected to both the bike and wall power, the LED will turn orange and begin charging the bike, you might hear a click from inside the charger which is normal, you may not hear any fan noise as it is temperature controlled.
If the battery in the bike is too warm, or the bike is already charged enough. The charger will not charge and the LED will stay green.
In the case of the battery being too warm, you can leave the charger connected and it should start charging shortly once the battery cools down. If it does not start charging on its own, disconnect the charger from the bike for 5 seconds and then re-connect.
Silver metal case
How to use:
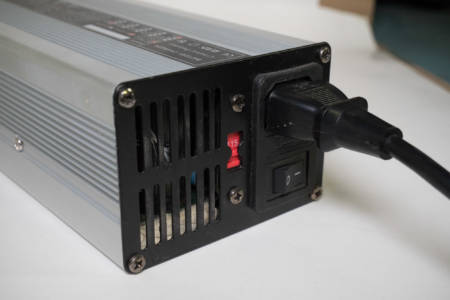
- Check that voltage switch on the back is set to the correct voltage
- Connect charger to wall
- Turn charger power switch to ON (I)
- Connect charger to bike
Once connected to the wall power, the switch is turned on, and connected to the bike, the green LED will turn orange/red and begin charging the bike, and you will hear the fan spin up.
If the battery in the bike is too warm, or the bike is already charged enough. The charger will not charge and the LED will stay green.
In the case of the battery being too warm, you can leave the charger connected and it will start charging shortly once the battery cools down.
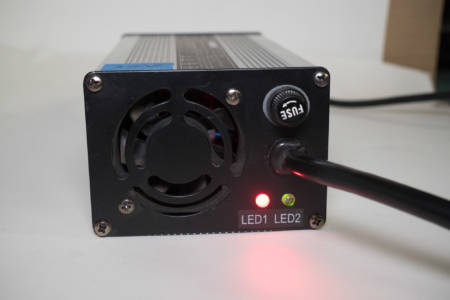
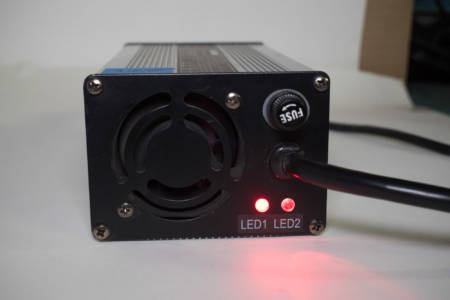
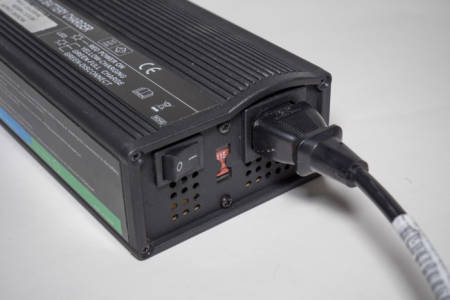
Black metal case
How to use:
- Check that voltage switch on the back is set to the correct voltage
- Connect charger to wall
- Connect charger to bike
- Turn charger power switch to ON (I)
Once connected to both the bike and wall power, the LED will turn orange and begin charging the bike, you might hear a click from inside the charger which is normal, and you will hear the fan spin up.
If the battery in the bike is too warm, or the bike is already charged enough. The charger will not charge and the LED will stay green.
In the case of the battery being too warm, you can leave the charger connected and it should start charging shortly once the battery cools down. If it does not start charging on its own, turn the power switch on the charger off for 20 seconds and then turn back on.
